Configuring SSL in SharePoint 2010 development environment
Once in a while, when working with SharePoint solutions you need to test them on sites using SSL just to be sure that everything is working just as intended. Although I have previously wrote about how to configure SSL for SharePoint development environments, SSL configuration in IIS7 has changed slightly. Find out how to configure SSL on SharePoint 2010 development environments.
When working with SSL in development environments there are two scenarios: you are either creating a new Web Application and would like to make it work with SSL from the very first day or you already have a working Web Application and would like to make it work with SSL as well. Because those scenarios are not that different we will focus on the first one which should provide you with sufficient information should you need to add support for SSL to an existing Web Application.
Configuring SSL for a new Web Application
Let’s start off with creating a new Web Application.
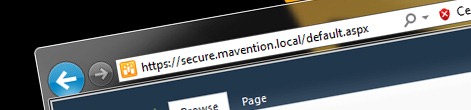
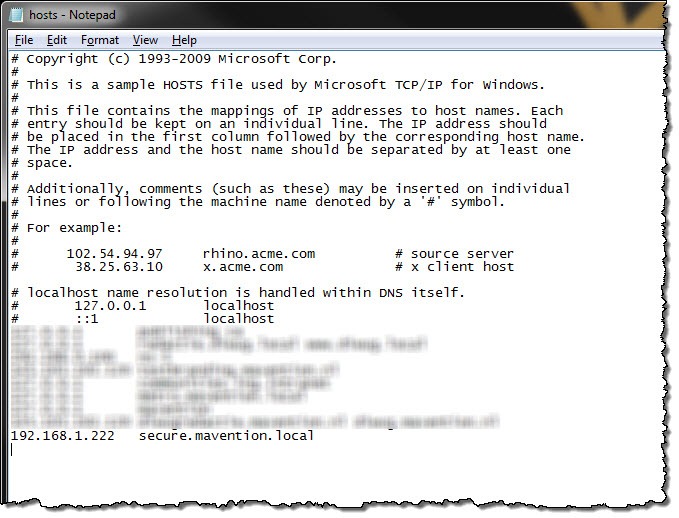
For the purpose of this article I will be using the secure.mavention.local host header which I already added to the HOSTS file on my development machine mapped to the 127.0.0.1 IP address.
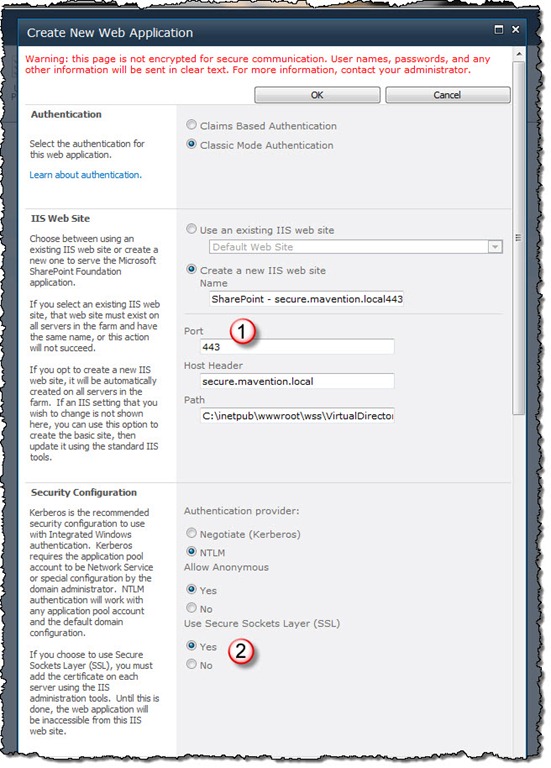
The most important things that you should keep in mind, while creating a new secure Web Application, is to set the port to 443 (1) and in the Security Configuration section set the Use Secure Sockets Layer (SSL) option to Yes.
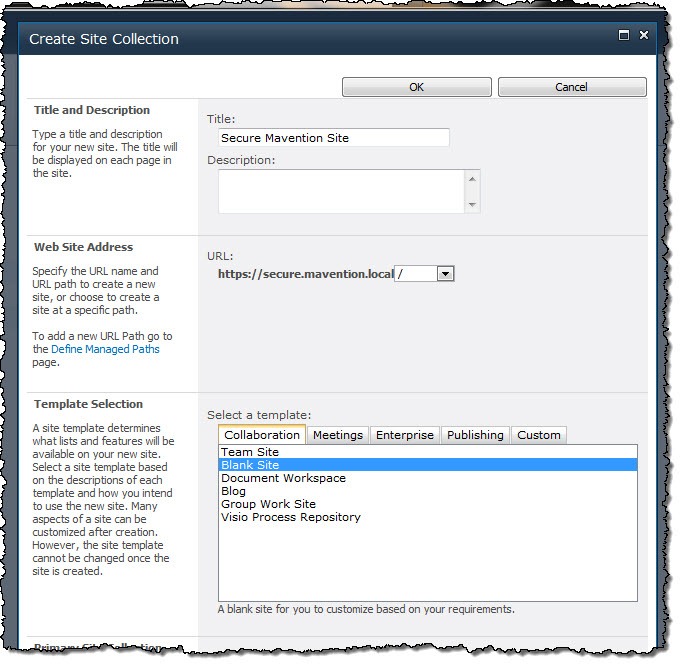
Next, to be able to confirm that everything is working correctly, let’s create a Site Collection. You could create a Site Collection using a specific Site Definition/Web Template but for the purpose of simply confirming that we have configured SSL correctly, using the Blank Site Site Definition is sufficient.
If you choose to navigate to the newly created Site Collection at this moment all you will see is an error message similar to the following:
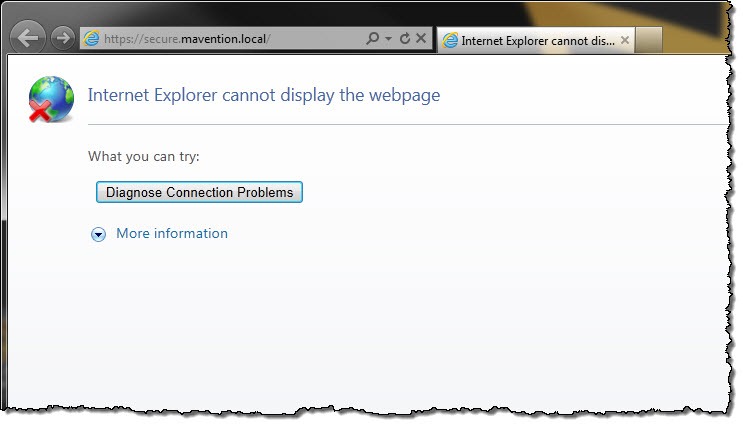
The reason for this error is that, although we have chosen to have a secure site, we haven’t attached any SSL certificate to the IIS Web Site hosting our Web Application.
Creating Self-Signed Certificate in IIS7
To configure an SSL certificate with our Web Application let’s navigate to the IIS Manager.
For the purpose of this article we will use a self signed certificate. If you have a valid SSL certificate you can use it instead by importing it to IIS on your development machine.
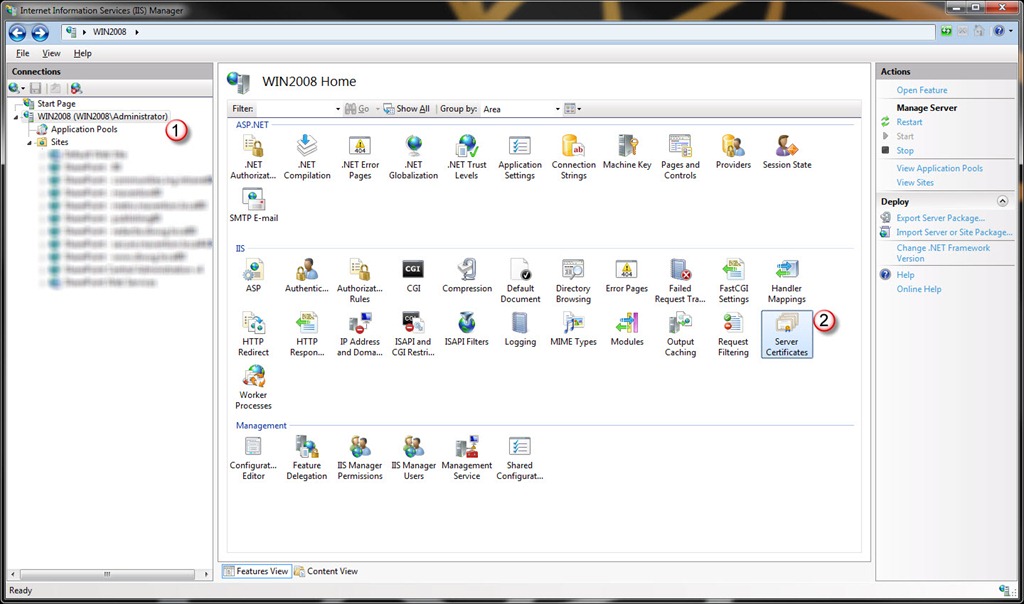
In the Connections list select your local IIS server (1). Then from the IIS section select the Server Certificates option (2).
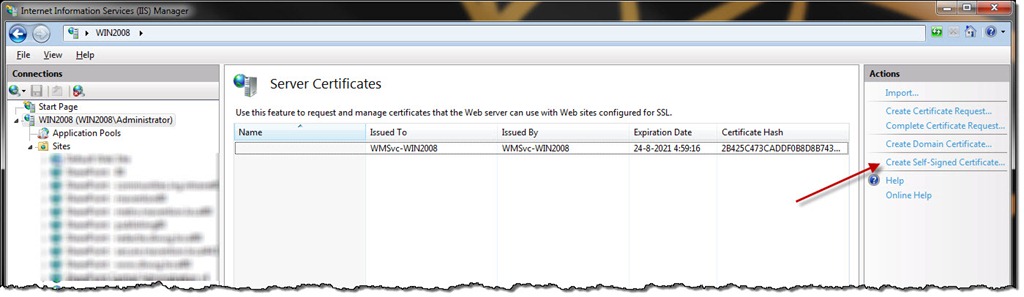
Next, from the Actions toolpane choose the Create Self-Signed Certificate… option.
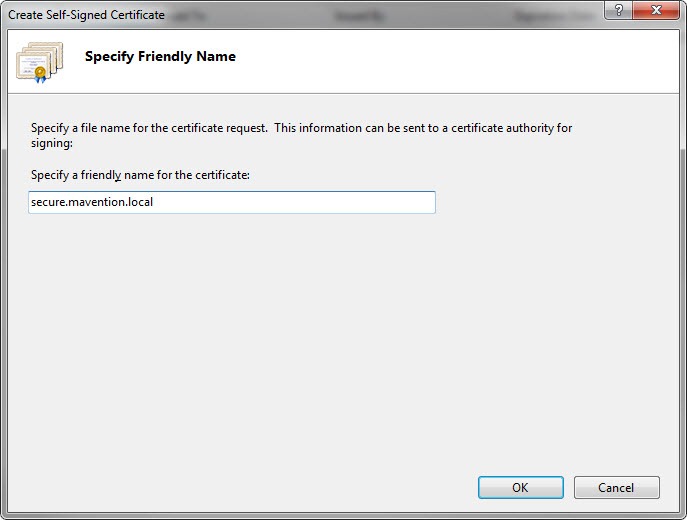
Enter secure.mavention.local as the friendly name of the certificate and confirm the creation process by clicking the OK button.
The next step is to associate the newly created Self-Signed certificate with our Web Application.
Associating SSL certificate with secure Web Application
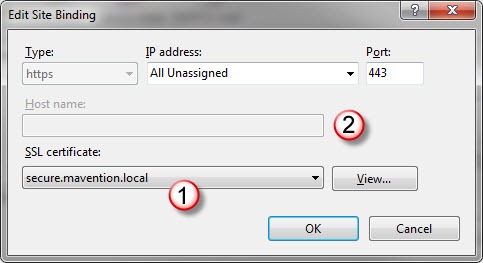
Although IIS Manager allows you to configure a variety of settings for your Web Sites, one thing it doesn’t support is configuring a secure binding based on hostname. As soon as you select an SSL certificate to associate with a binding (1) IIS Manager will clear the existing host header (2).

If you would confirm your changes you would end up with a broken Web Application. Without the host header you would end up landing on the default site instead of our secure Web Application.
You can associate your Self-Signed certificate with your Web Application in two ways.
Using the AppCmd Command Line tool to associate an SSL certificate with an IIS Web Site
One way of associating an SSL certificate with a website is to use the appcmd Command Line tool to set the hostname to an existing secure binding.
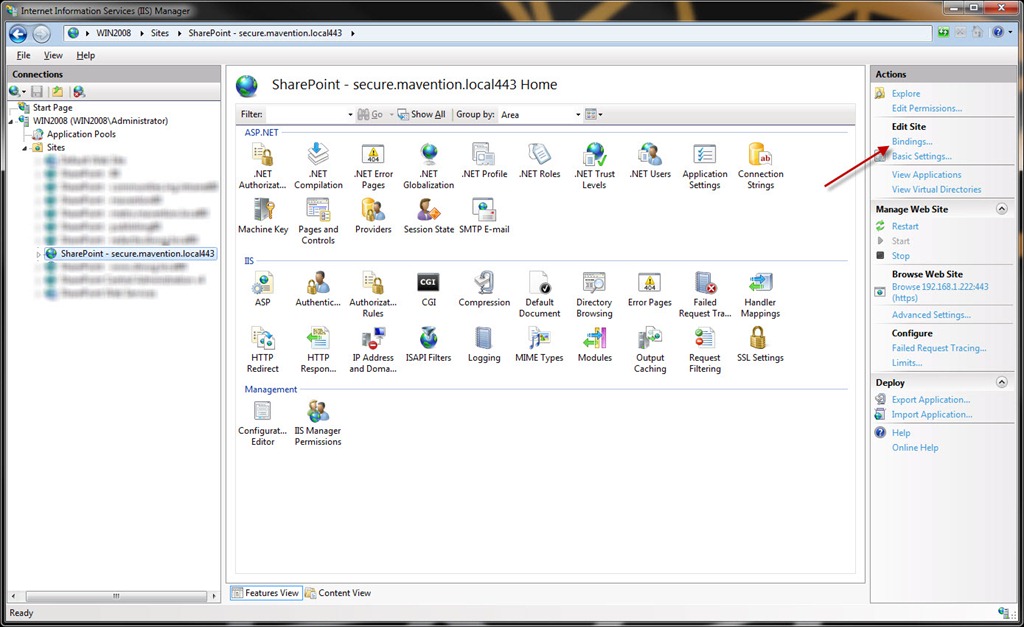
First, in IIS Manager, from the list of available Web Sites select your secure Web Site. Then, from the Actions toolpane select the Bindings… option.
In the Bindings settings select your SSL certificate (1). Note that IIS Manager will remove the previously set host name for your Web Site (2).
Confirm changes by clicking the OK button.
Next, open the Command Prompt as Administrator, change the directory to C:\Windows\System32\inetsrv and type the following command:
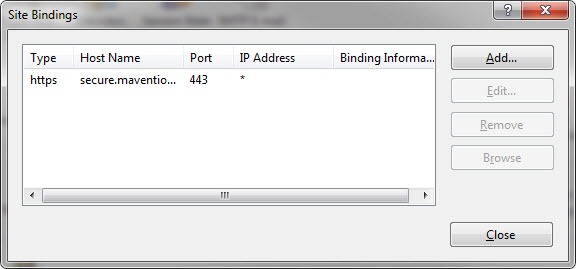
appcmd set site /site.name:"SharePoint - secure.mavention.local443" /bindings.[protocol='https',bindingInformation='*:443:'].bindingInformation:*:443:secure.mavention.localExecuting this command will add the host name to the existing secure binding for your Web Site. If you navigate back to IIS Manager you should see the host name set on the secure binding.
And if you edit the binding you should see that the SSL is correctly associated as we did in the previous step.
Note that, although the host name is correctly configured, IIS Manager doesn’t display it in the Edit Binding window.
Although this approach is rather easy to follow it has a flaw as it allows you to use only one SSL certificate for all Web Sites. If you want to use your development environment for working with multiple secure Web Applications, each using a different SSL certificate you should take a look at the next approach.
Binding SSL certificate by using different IP addresses
Another way of binding SSL certificates to Web Sites in IIS is to use a different IP address for every Web Site. The great advantage of this approach is that it can be fully managed through UI and allows you to use different certificates.
The first thing that you have to do is to add another IP address to your network adapter. You can do this in the Advanced TCP/IP Settings of your Network Adapter.
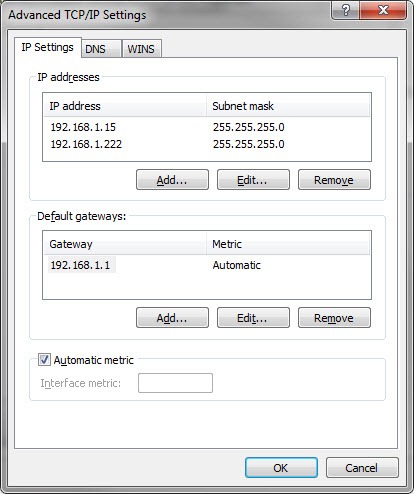
Next, you have to change the binding between the host header and the IP address. As I mentioned before, for the purpose of this article I added an entry to the HOSTS file on my machine. To support this approach I have changed the IP address from 127.0.0.1 to 192.168.1.222 which is the new IP address I added to my network adapter.
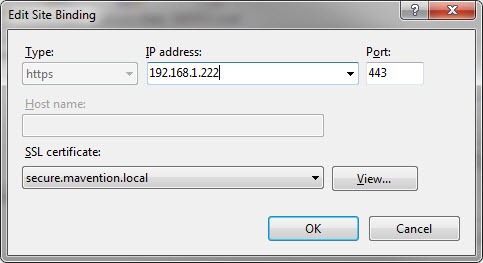
The last step is to modify the binding of your Web Site in IIS. For this open the IIS Manager, from the list of available Web Sites choose the one that hosts your Web Application and from the Actions toolpane choose the Bindings option. In the Site Bindings window select the secure binding and click the Edit… button. In the IP address field type 192.168.1.222 and select the SSL certificate that you want to use. Confirm the changes by clicking the OK button.
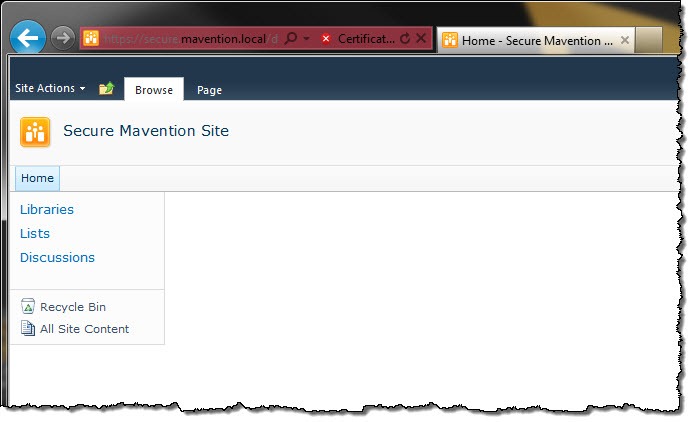
When you navigate to the website now you should see the warning about the untrusted certificate and if you ignore it, you should see the Site Collection that you created initially.
Big thanks to Ton Stegeman for helping researching the solution and wrapping up the process.