Automate building SharePoint Framework solutions with the Office 365 CLI
Did you know that you can use the Office 365 CLI to automate the build process of your SharePoint Framework solutions?
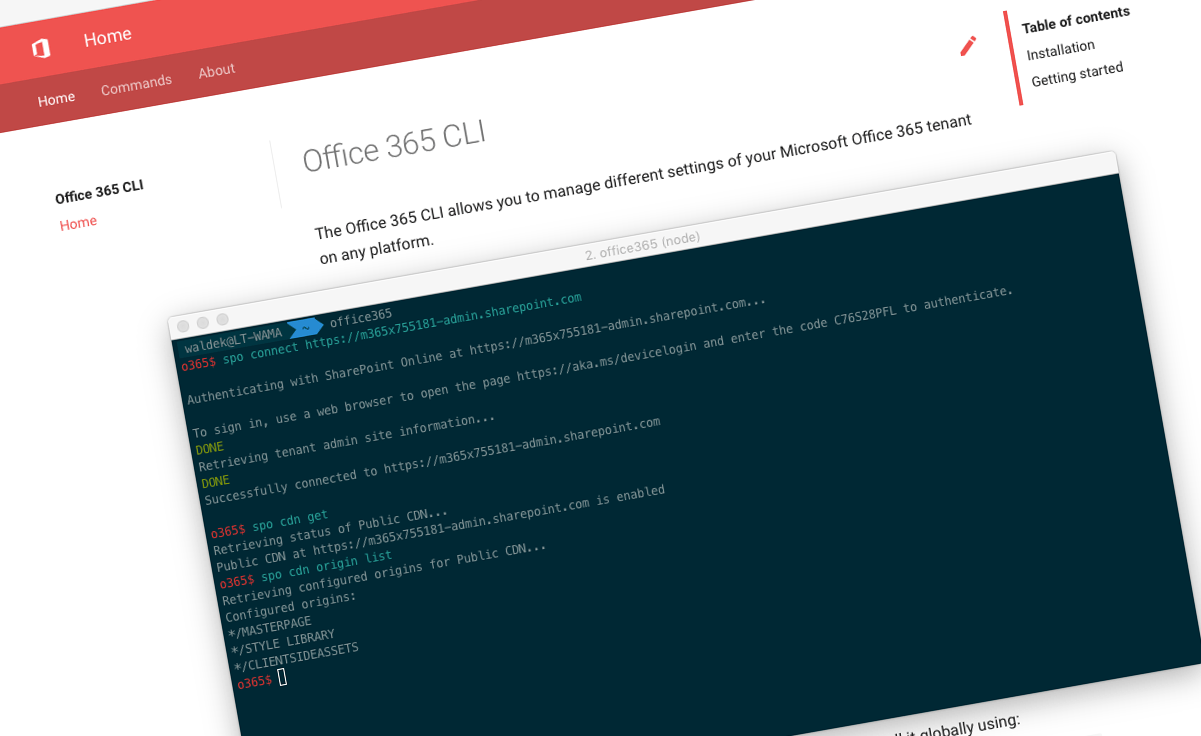
Office 365 CLI
Office 365 CLI is a cross-platform CLI that allows you to manage various configuration settings of Office 365 no matter which operating system or shell you use.
While building solutions for Office 365 expands beyond the Windows operating system, managing many of the platform settings is possible only through PowerShell on Windows. As more and more users work on non-Windows machines, it’s inconvenient for them to have to use a Windows virtual machine to configure their tenants. With the Office 365 CLI you can configure your tenant no matter which operating system you use.
Office 365 CLI for SharePoint Framework developers
If you’re building solutions on the SharePoint Framework, using the Office 365 CLI you can deploy your solutions more efficiently. Let me show you.
Registering SharePoint Framework extensions using custom actions
SharePoint Framework extensions allow you to consistently extend modern SharePoint UI. Using extensions, you can control how fields are rendered in lists, add options to the list toolbar or add new UI elements on pages.
Unlike client-side web parts, SharePoint Framework extensions are enabled by administrators. And there are two ways in which admins can enable them.
First of all, when building the SharePoint Framework solution, developers can include a feature in the solution package. After installing the solution package in a site, the feature gets activated enabling the extension in the given site. While this approach is convenient, it’s quite limiting.
Similarly to web parts, SharePoint Framework extensions can be configurable. But in contrary to web parts, extensions have no UI for specifying their configuration. Instead, the configuration has to be passed through properties. If you choose to deploy an extension using a feature included in the solution package, these properties are fixed. Each time you install the package in a site, the extension will be enabled with the same properties, and it’s a shame to lose this bit of flexibility.
Another, and a more flexible, way to deploy SharePoint Framework extensions, is to programmatically register them in the site using a custom action. When registering the custom action you can specify the values for the extension’s properties, which allows you to enable it with different configuration in each site.
If you wanted to make the Office 365 CLI a part of your provisioning solution, you could use it to register the custom action enabling a SharePoint Framework extension using the following command:
spo customaction add --url https://contoso.sharepoint.com/sites/team-a --title O365Banner --name O365Banner --location ClientSideExtension.ApplicationCustomizer --clientSideComponentId 97ff6cb8-6db8-407c-ab97-fb61e700e68b --clientSideComponentProperties '`{"message":"AC\u0027s site"}`'The url option specifies the URL of the site where the extension should be enabled. The title and name options will help you identify the extension among all other extensions enabled in the site. The location option specifies the type of extension you want to register. The clientSideComponentId option specifies the ID of the extension you want to enable, which should match an extension deployed in your app catalog. Finally, the clientSideComponentProperties property specifies a JSON string with properties to configure the extension with. It’s exactly this last option that allows you to truly benefit of the flexibility that SharePoint Framework extensions offer.
Deploy a number of SharePoint Framework solutions
Depending how you structured your solution, you might end up with a number of solution packages that need to be deployed to your app catalog. While you could deploy them manually one-by-one, why not automate it?
Using the Office 365 CLI in Bash, you could deploy all solutions by executing the following script:
#!/usr/bin/env bash

for sppkg in $(ls *.sppkg); do
    echo "Adding $sppkg..."
    o365 spo app add -p $sppkg --overwrite
    echo "DONE"
done
If the particular solution was previously deployed, it would get automatically updated. But if you’ve just added it for the first time, you might want to deploy it in your tenant:
#!/usr/bin/env bash

apps=$(o365 spo app list -o json | jq -r '.[] | select(.Deployed == false) | {ID} | .[]')

for app in $apps; do
    echo "Deploying $app..."
    o365 spo app deploy -i $app --skipFeatureDeployment
    echo "DONE"
done
This script retrieves the information about solution packages in your tenant app catalog that haven’t been deployed yet. For each one, it calls the Office 365 CLI to deploy it using the tenant-wide deployment. Because Bash doesn’t support processing JSON strings natively, the script uses jq to filter the retrieved list of solution packages.
Auto-deploy your SharePoint Framework solutions
Depending on the contents of your SharePoint Framework solution, you might need to deploy it to your Office 365 tenant to verify it’s working as expected. Using the Office 365 CLI you could build an npm script that integrates with the standard SharePoint Framework build system and automatically deploys the newly generated package to your tenant.
{
  "name": "contoso-portal",
  "version": "1.0.0",
  "private": true,
  "engines": {
    "node": ">=0.10.0"
  },
  "scripts": {
    "build": "gulp bundle",
    "clean": "gulp clean",
    "test": "gulp test",
    "deploy": "gulp bundle --ship && gulp package-solution --ship || echo 'Uploading .sppkg to app catalog...' && o365 spo app add -p ./sharepoint/solution/contoso-portal.sppkg --overwrite && echo 'Retrieving package ID...' && appid=$(o365 spo app list -o json | jq '.[] | select(.Title == \"contoso-portal-client-side-solution\") | .ID' -r) && echo $appid && echo 'Deploying package to all sites...' && o365 spo app deploy -i $appid --skipFeatureDeployment && echo 'DONE'"
  }
  // ...
}
While the deploy script might seem intimidating at first, it’s not. Let’s break it into separate commands:
gulp bundle --ship &&
gulp package-solution --ship ||
echo 'Uploading .sppkg to app catalog...' &&
o365 spo app add -p ./sharepoint/solution/contoso-portal.sppkg --overwrite &&
echo 'Retrieving package ID...' &&
appid=$(o365 spo app list -o json | jq '.[] | select(.Title == \"contoso-portal-client-side-solution\") | .ID' -r) &&
echo $appid &&
echo 'Deploying package to all sites...' &&
o365 spo app deploy -i $appid --skipFeatureDeployment &&
echo 'DONE'
First, the script bundles and packages your solution in release mode. Next, using the Office 365 CLI, it uploads the newly generated solution package to the app catalog, overwriting the previous version if necessary. Then, it retrieves the ID of the uploaded package, and deploys it to all sites in the tenant.
So instead of executing all these steps manually each time you want to deploy an updated version of your package to your tenant, you can execute npm run deploy in the command line and let the SharePoint Framework and Office 365 CLI do all the work for you.
See it in action
Recently, fellow-SharePoint MVP, Andrew Connell and I recorded a short webcast, where we discussed and showed these scenarios in action. You can find the recording on the Voitanos website.