Adding new locations to the Look In dialog
Recently I’ve been asked by one of our customer whether it would be possible to add a new location to the Look In dialog. In their SharePoint solution they’re using a custom Image Library for storing images which are being used across the whole Site Collection. Adding a shortcut to their custom library would definitely simplify their editors work and would improve the editing experience.
Below you can see how the Look In dialog looks like as shipped with SharePoint 2007.
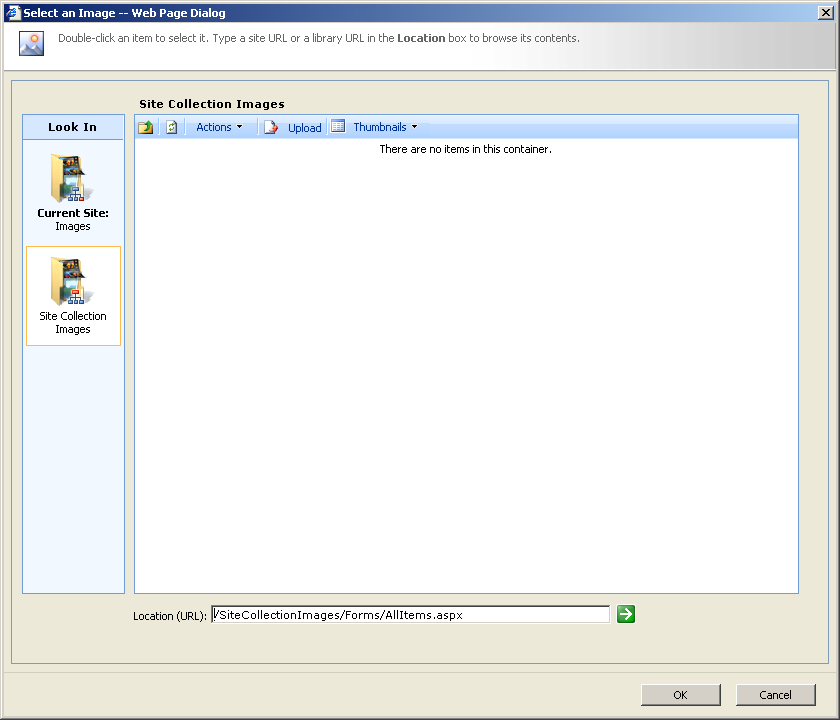
Most editors find the dialog very useful as it allows them browse for files using different views and it resembles the standard open/save file dialog as available in the Office clients. Because of the resemblance you would expect that you can customize the dialog by adding an XML file located somewhere within the Site Collection. Unfortunately…
After a little research I have discovered, that the locations shortcuts are programmed in the control itself. They aren’t defined in any XML file so you cannot modify them. What’s even worse, all of the methods responsible for adding new locations are defined as private. Seems almost like there is nothing you could do…
Looking further I have found a solution to this challenge. While it is ugly, unmanageable and you cannot rely that it will work in the new version, it does work:
So how I did it?
Extending the Look In dialog using Control Adapter
ASP.NET 2.0 Control Adapters are really powerful. Since I have worked with them for the first time while working on the Imtech SharePoint Compliancy Toolkit, I keep on using them whenever things are sealed and yet must be customized to provide the customer the desired experience.
While exploring the HTML rendered by the Look In bar, I have found out that it works in two modes: browsing for documents and images. The HTML rendered by the panel when browsing for images contains two empty placeholders:
<TR><TD class="ms-assetpicker-lookincell " align=middle>
</TD></TR>
<TR><TD class="ms-assetpicker-lookincell " align=middle>
</TD></TR>To add the button I have intercepted the HTML rendered by the control and replaced the first placeholder with the button HTML.
The HTML of a shortcut button is rather ugly and looks like this:
<TR style="CURSOR: auto"><TD class="ms-assetpicker-lookincell  "
style="CURSOR: auto" align="center">
<A title="Customer Images" style="CURSOR: auto"
onclick="__doPostBack('ctl00$PlaceHolderDialogBodySection$PlaceHolder
DialogBodyMainSection$lookInLocations',
'SPList:{0}?SPWeb:{1}:')" href="#"><IMG style="CURSOR: auto"
alt="Customer Images" src="/_layouts/IMAGES/CrntImageLib.gif"
width="50" border="0" /> <BR style="CURSOR: auto" />
<SPAN class="ms-assetitem-lookinlabel-infoline " style="CURSOR: auto">
<STRONG style="CURSOR: auto">Customer:</STRONG></SPAN>
<BR style="CURSOR: auto" />
<SPAN class="ms-assetitem-lookinlabel-infoline "
style="CURSOR: auto">Images</SPAN></A> </TD></TR>
The {0} and {1} parameters must be replaced with respectively the ID of the Image Library you want to browse and the ID of the Site (SPWeb) which contains that library.
Once you know the information above, all you need to do is to put the rendered string together and write it to the output.
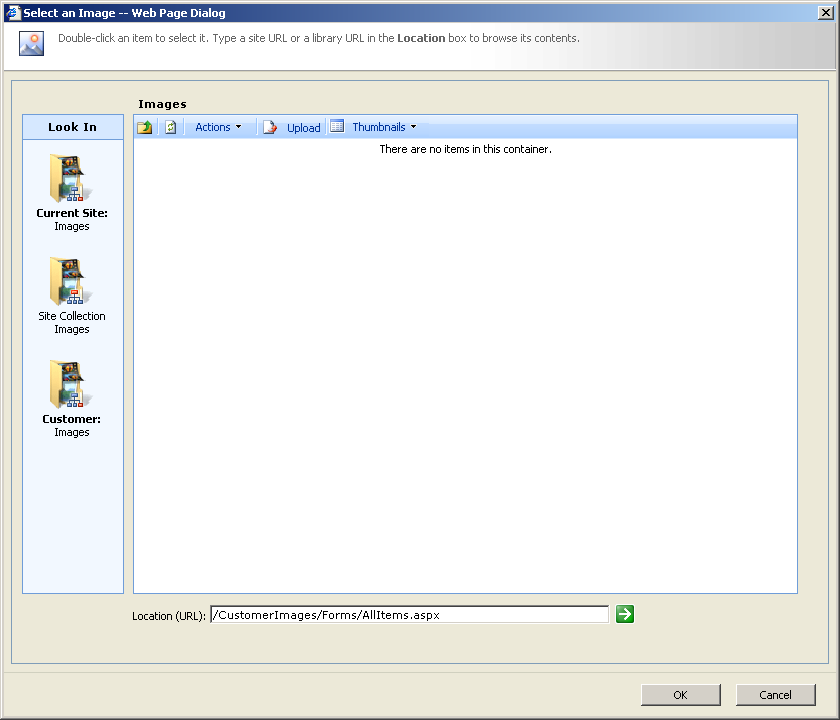
Because the button we have just added isn’t a server control, the experience isn’t 100% the same as with the other buttons. The button doesn’t highlight after the list has been selected:

Compare this screenshot with the one before where the Customer Images Library has been selected.
Having the button not highlighted upon selection seems to me a fair price for getting the shortcut added to the Look In bar. Depending on where in the Site Collection the Image Library is stored my save the content editors a few clicks and some waiting each time they want to add an image.
The last thing to do, to make it all work, is to attach your custom Control Adapter to the LookIn panel. You can do this by creating a .browser file in the App_Browsers directory with the following contents (the controlType and adapterType attributes must be in one line):
<browsers>
    <browser refID="Default">
        <controlAdapters>
            <adapter
controlType="Microsoft.SharePoint.Publishing.Internal.
WebControls.LookInDefaultLocations,
Microsoft.SharePoint.Publishing, Version=12.0.0.0,
Culture=neutral, PublicKeyToken=71e9bce111e9429c"
adapterType="Imtech.SharePoint.Adapters.LookInAdapter,
Imtech.SharePoint, Version=1.0.0.0, Culture=neutral,
PublicKeyToken=0000000000000000" />
        </controlAdapters>
    </browser>
</browsers>
After building the assembly and deploying it either to bin or GAC it should all work and you should be able to see your custom location at the bottom of the Look In list.
Technorati Tags: SharePoint, SharePoint 2007, MOSS 2007, WCM