Building scripts with the Office 365 CLI
Did you know that you can build scripts to automate managing your Office 365 tenant on any platform?
Managing Office 365 on any platform
As development opportunities for extending Office 365 and expand beyond the Windows operating system, many management capabilities, until recently, were still available on Windows. If you wanted to manage tenant properties or use the ALM APIs the only option was to use the SharePoint Online Management Shell or PnP PowerShell, on Windows. Although PowerShell is available on different platforms, both modules rely on SharePoint Client libraries that work only on Windows.
To help developers and administrators, who don’t use Windows, work with Office 365, I decided to start a community-driven effort to build a cross-platform CLI that you can use on any platform to manage your Office 365 tenant: the Office 365 CLI.
It’s interactive
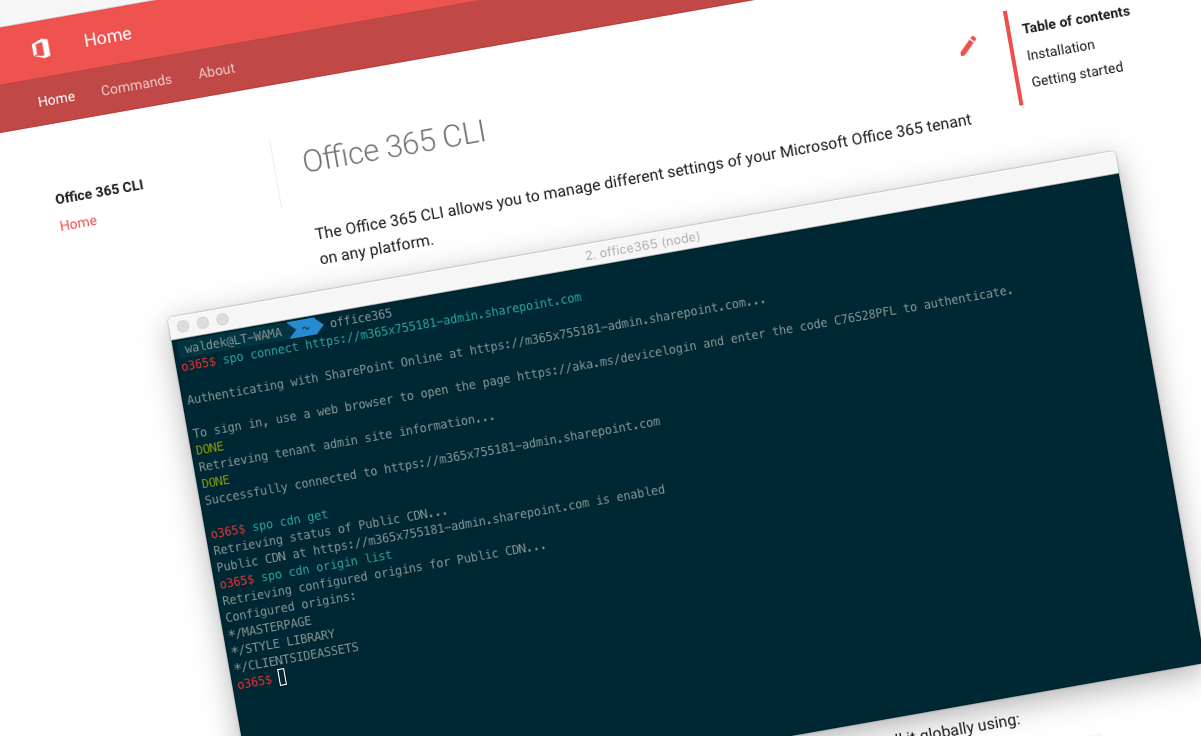
Initially, when we started working on the CLI, it could be used only in immersive (interactive) mode. In the command line you would type office365 or o365, which would take you to a separate command prompt where you could execute the different commands available as a part of the Office 365 CLI. While the CLI was already adding value, the way it worked had one big shortcoming.
Two sides of the coin
If you look at how developers and administrators use PowerShell, you’ll see two different scenarios. They manage their tenant by executing cmdlets directly in the shell or they build scripts that they can execute to perform a number of tasks. The way the Office 365 CLI was built initially, supported the first scenario. But if you wanted to build scripts, the CLI didn’t support assigning command output to variables, parsing the output and passing it to other commands. This use case was too important for the CLI not to support it.
Build scripts with the Office 365 CLI
In the current beta version of the CLI (v0.4.0) we’ve added support for using the Office 365 CLI in a non-interactive mode. Yes, you can now use it to build scripts, such as:
Deploy all apps that are not yet deployed in the tenant app catalog:
# get all apps available in the tenant app catalog
apps=$(o365 spo app list -o json)

# get IDs of all apps that are not deployed
notDeployedAppsIds=($(echo $apps | jq -r '.[] | select(.Deployed == false) | {ID} | .[]'))

# deploy all not deployed apps
for appId in $notDeployedAppsIds; do
  o365 spo app deploy -i $appId
done
First, you use the Office 365 CLI to get the list of all apps from the tenant app catalog using the spo app list command. You set the output type to JSON and store it in a shell variable apps. Next, you parse the JSON string using jq and get IDs of apps that are not deployed. Finally, for each ID you run the spo app deploy Office 365 CLI command passing the ID as a command argument. Notice, that in the script, both spo commands are prepended with o365 and executed as separate commands directly in the shell.
The above script is written in Bash, but you could use the Office 365 CLI in PowerShell as well:
# get all apps available in the tenant app catalog
$apps = o365 spo app list -o json | ConvertFrom-Json

# get all apps that are not yet deployed and deploy them
$apps | ? Deployed -eq $false | % { o365 spo app deploy -i $_.ID }
By the way, I wrote this script in PowerShell on macOS.
Comparing to the Bash script I showed earlier, using the Office 365 CLI is even easier in PowerShell, thanks to its native support for parsing JSON string. Both scripts do exactly the same, so eventually it will be a matter of preference which one you use, but it’s not quite the point I want to make.
With both Bash and PowerShell supported on the different operating systems, it doesn’t matter if you write your scripts in one or the other. The point is, that no matter what operating system your colleagues use, you can write one script and let everyone in your team use it: no matter if they are on macOS, Windows or Linux.
Persisting connection information
In order to support the non-interactive mode for writing scripts using the Office 365 CLI, we had to implement support for persisting connection information.
Previously, when you ran the Office 365 CLI in the interactive mode, the connection information was kept in memory and available to all commands as long as the CLI was running. But in the non-interactive mode, each command is executed as a separate process and Node.js doesn’t make any assumptions about the shell it’s being executed in and its capabilities to persist data across the different commands.
While designing support for persisting connection information, we followed the implementation in the cross-platform Azure CLI. On macOS we store the connection information in the Keychain, on Windows in the Credential Manager and on Linux on the file system. To explain it in more detail, we published a dedicated article on the topic as a part of the Office 365 CLI beta documentation.
Over to you
We keep adding commands to the Office 365 CLI. We have still a long way to go, but we’re getting there, one command at a time. And so far, we had some cool community contributions. If your primary OS is not Windows or you’re working in a team that uses different OSes, give the Office 365 CLI a try, write some scripts and tell us how you like it and what you’d like us to add next, or if you like, contribute - we welcome PRs.
Sharing is caring!