
Bulk-create Planner tasks with Microsoft Flow
So the meeting is over and you’re left with a bunch of action points that you need to put in Planner. Should you ‘get clicking’ or is there a better way?
Automation for the masses
Many applications in Office 365 expose APIs that make it possible to interact with them and automate some tasks. Unfortunately, these APIs are meant primarily for developers and even with the right skills, using them requires quite some effort. But what if all you need to do is to create some tasks in Planner and you don’t have the time and money to start a project, write specs and review some custom code?
What macros are to Office clients, Microsoft Flow is to Office 365. It allows you to stitch the different services both inside and outside of the Microsoft cloud together with just a few clicks, without you having to worry about things like authentication or deployment. Assuming you can use Flow in your organization, you can easily automate many of your daily tasks.
Bulk-create Planner tasks with Flow
Getting back to our scenario. You attended a meeting, took some notes, you all agreed on some follow-up actions that you wrote down. To drive accountability, you want these actions to be in Planner. You have a Planner plan, you have the tasks, you just don’t have tasks in Planner and creating them manually doesn’t quite sound appealing. So instead you turn to Microsoft Flow.
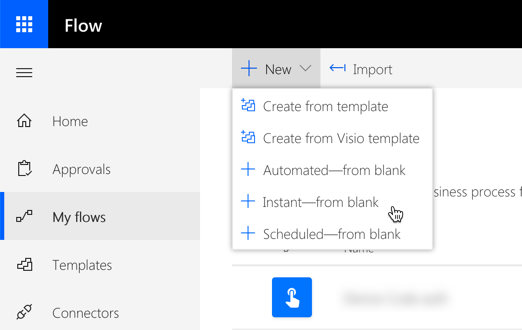
Start, by creating a new Instant Flow.
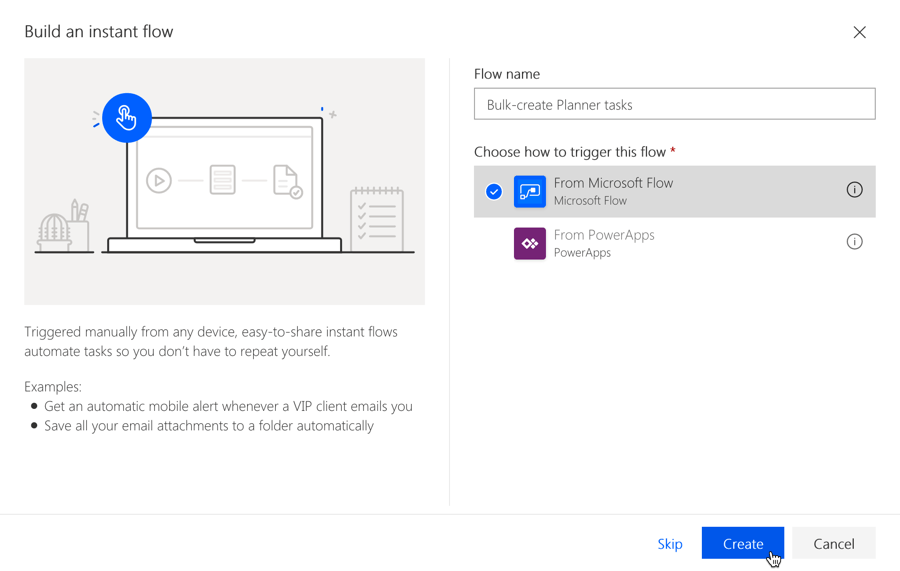
In the dialog, provide the name for your Flow, and select Flow as the application from which it will be triggered.
In the newly created Flow, open the trigger and add a Text input. This will allow you to reuse the Flow in the future should you have more tasks to import.

Give the input a name and a description that will be displayed when you start the Flow.

Next, add a new Initialize variable step. Name the variable Tasks and set its type to Array. As its Value , set the following expression:
split(triggerBody()['text'], '
')
The expression reads the value from the text input you created previously, where each task to create in Planner is entered in a separate line. To use it further on, you need to break the input into separate lines. And to do it, you use the split function. The tricky part, especially if you’ve done some coding in that past, is that in order to split the input string per line, instead of using \n, \r\n or something similar, you actually need to enter the actual line break, press the ‘enter’ key on your keyboard. Without it, you will end up with one line and create a single Planner task with all tasks as its title.
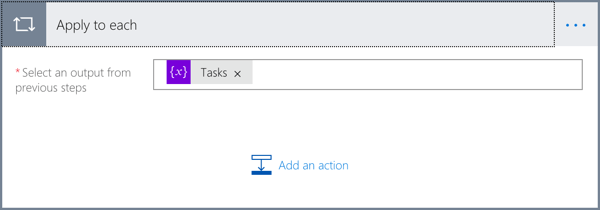
After this step, our tasks to create are stored in an array. So as a next step, we need to iterate through them using the Apply to each step and selecting the Tasks variable as the object to iterate on.
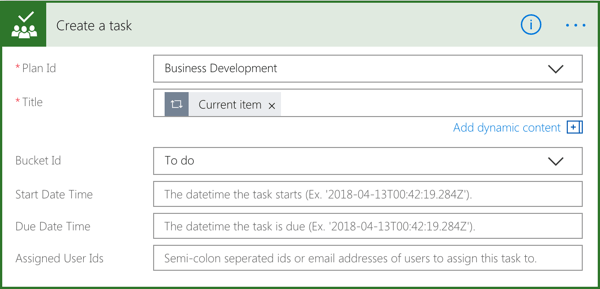
The last step left is to create the actual Planner task for each task from our input. To do this, inside the Apply to each step, add a Create a task Planner step. Sign in to Planner with your account and select the plan where to create the tasks. As the task’s Title, select the Current item dynamic content. Finally, select the bucket where to put the tasks.
The last part left, is to test the Flow. From the top bar, select the Test button and perform the trigger action. In the Tasks input, specify the list of tasks to add to your plan.
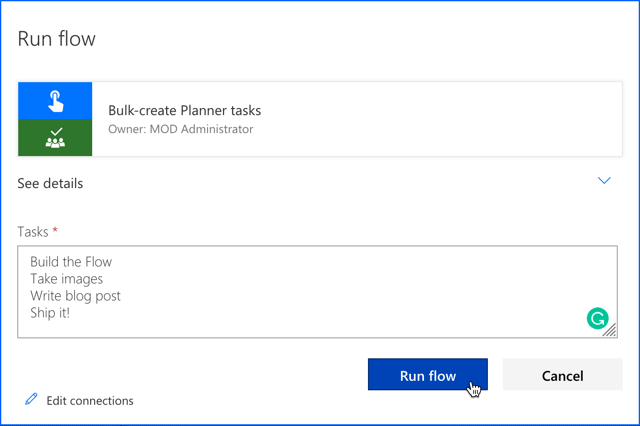
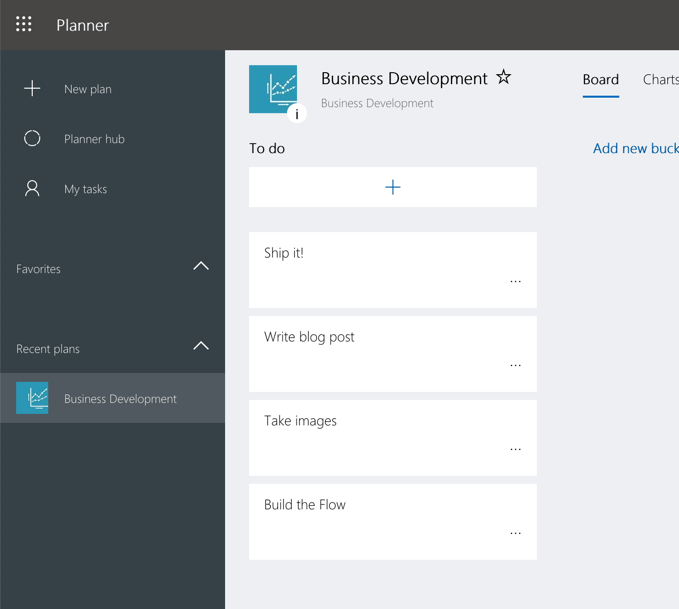
If all went well, you should now see your tasks created in your plan.
Summary
Microsoft Flow is a perfect tool for automating all kinds of tedious and repetitive work in Office 365. Its simplicity and flexibility make it a perfect tool for everyone including seasoned developers who want to quickly get their job done.