Cleaning drop folder of Microsoft assemblies when building SharePoint Projects – TFS Build 2010 tip #2
When building SharePoint Projects using TFS Build 2010 many of standard available Microsoft assemblies are copied to the drop folder. This not only clutters your drop folder but also takes a lot of space on your disk. Find out how to remove all assemblies other than yours when building SharePoint Projects using TFS Build 2010.
Cluttered drop folder – the inconvenience
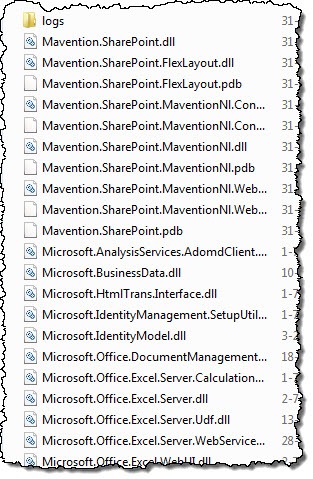
Each time you build a SharePoint Project using TFS Build 2010 it will copy along with your binaries a number of Microsoft assemblies on which your project depends. Those, however, are all standard assemblies available with SharePoint 2010 which you don’t need to ship yourself. Unfortunately you cannot control the process of copying dependent assemblies and eventually you end up with a lot of standard binaries cluttering your output folder and consuming space on your hard disk.
Jeremy Jameson wrote about this issue previously. In his article Jeremy presented a solution based on a custom MSBuild target file that you have to include in your solution and then reference from your project. Although it works, it creates a binding between the project and the build template which might be an issue should you ever want to use another build template. It turns out that you can achieve comparable results by modifying the standard build template and without having to modify your project files!
Cleaning drop folder by modifying the default build template
The process of removing non-project files from the drop folder consists of three steps. First we have to make a list of all files that belong to our project and that we want to keep in the drop folder. Then we have to make a list of all files in the drop folder. The last step is to iterate through the list of all files and compare each file with the list of project files. If the file isn’t named in the list of project files it should be deleted.
Preparations
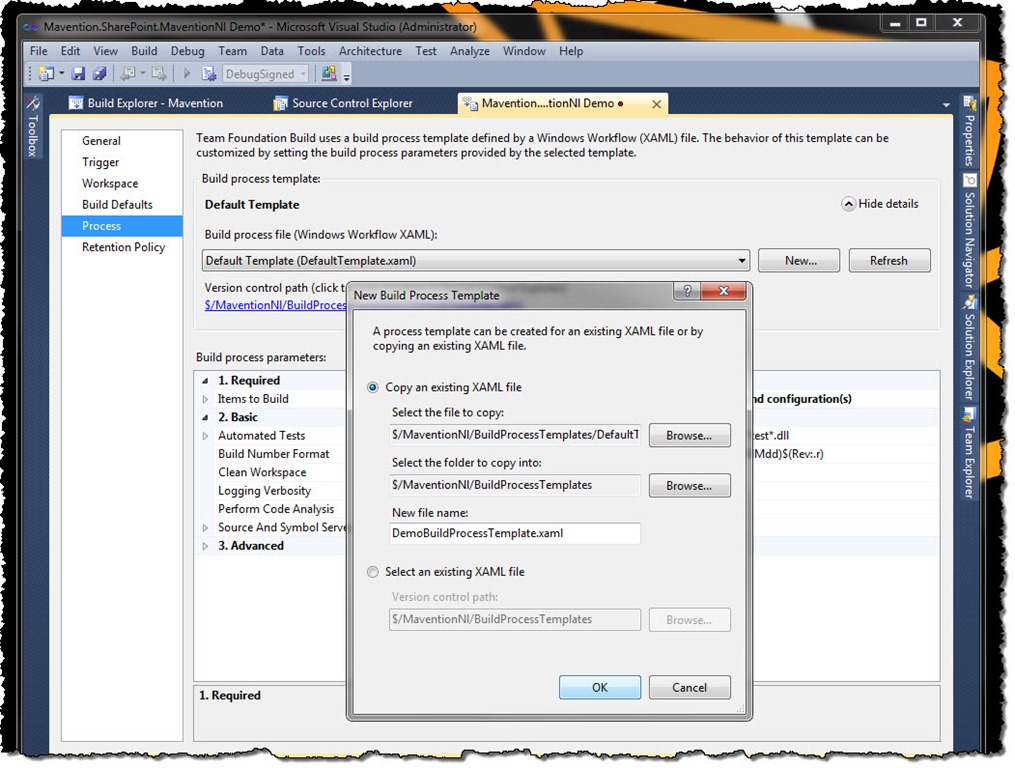
Let’s start by creating a custom build template based on the DefaultTemplate.
Once the Workflow opens, zoom in to the following item:
Sequence > Run On Agent > Try Compile, Test, and Associate Changesets and Work Items > Finally > Revert Workspace and Copy Files to Drop Location > If DropBuild and DropLocation is Set
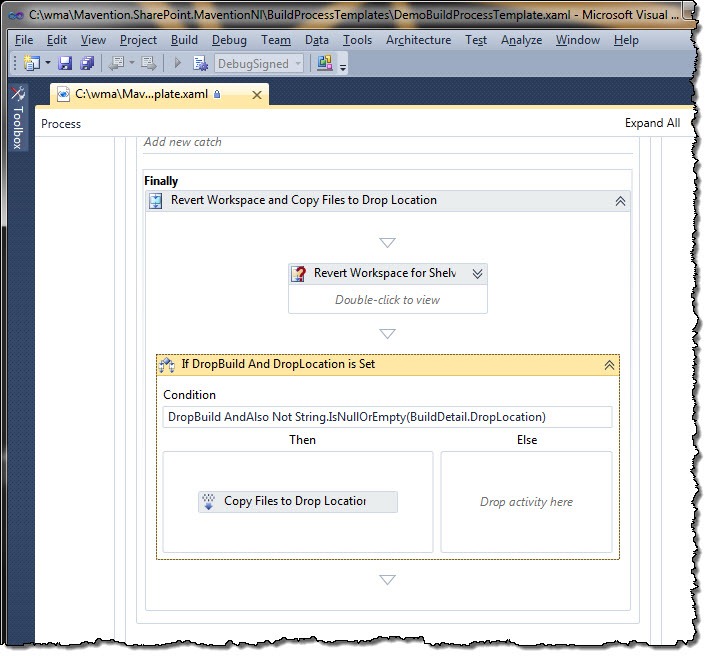
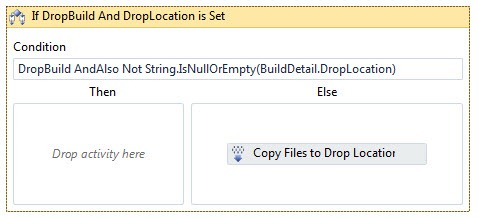
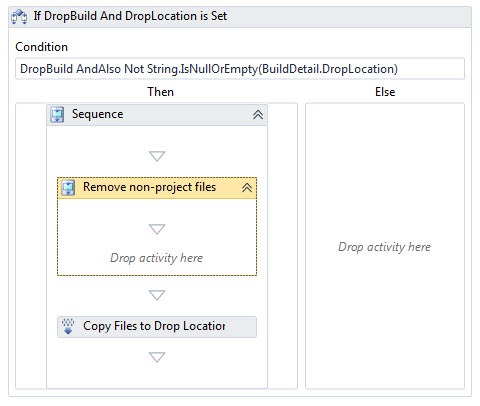
Since the Then clause can contain only one item we have to wrap the Copy Files to Drop Location item into a Sequence. For this temporarily move the Copy Files to Drop Location item to the Else clause.
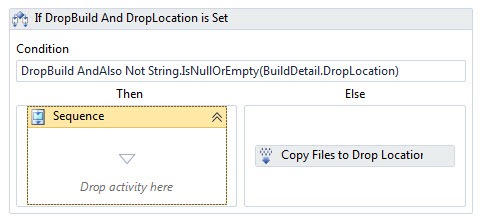
Next add a new Sequence item to the Then clause.
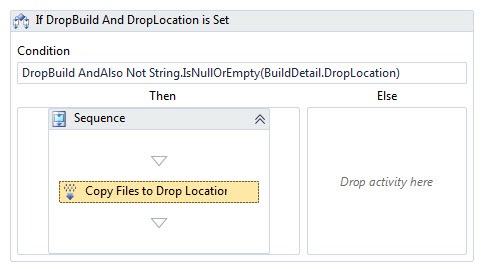
And finally move the Copy Files to Drop Location item into the Sequence that we have just added to the Then clause.
Making a list of project files
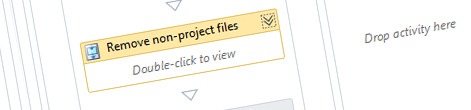
Before the Copy Files to Drop Location add a new Sequence that will wrap our cleaning logic and call it Remove non-project files.
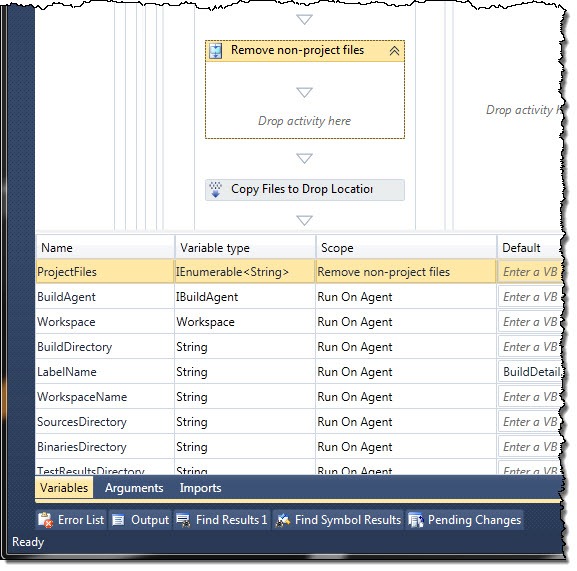
To store the list of project files we will need a variable. Let’s select the Remove non-project files sequence and in the Variables window create a new variable called ProjectFiles of type IEnumerable<String>.
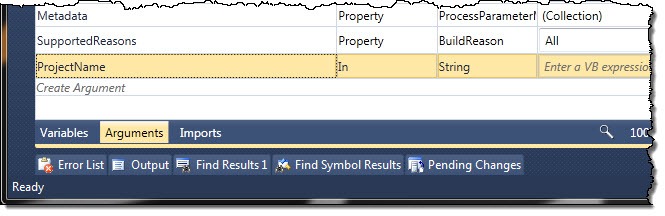
One more thing that we need in order to make a list of project files is the project name against which we will be matching file names. There are many ways in how you could implement this. In this sample we will add a new build property that we will be able to configure through Build Definition settings. For this open the Arguments window and add a new In argument called ProjectName. Set the argument type to String.
Next modify the default value of the Metadata argument (1). In the Metadata Editor click the Add button (2). Set the Parameter Name to ProjectName (3), Display Name to Project Name (4), Category to Required (5) and check the Required checkbox (6).
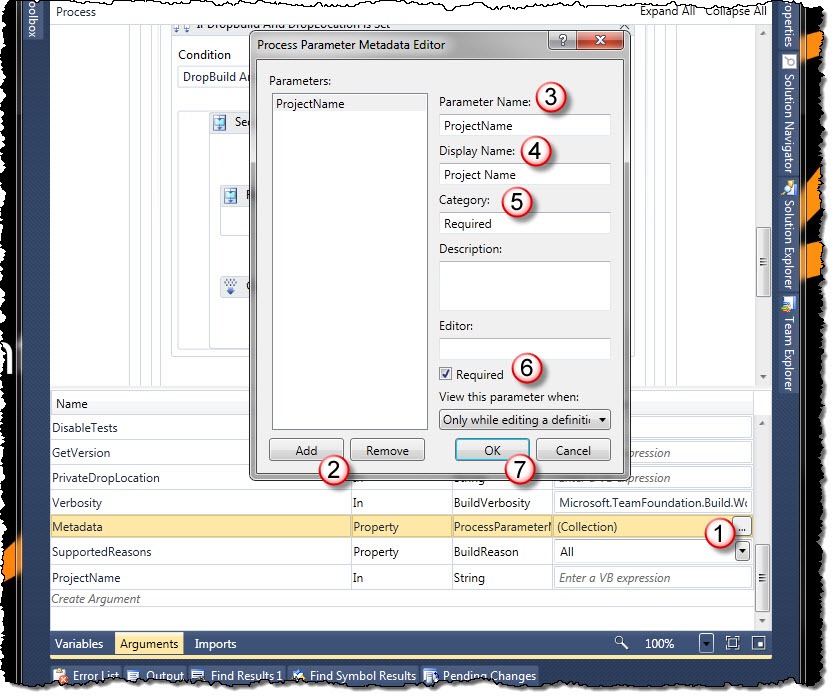
With that confirm the changes by clicking the OK button (7).
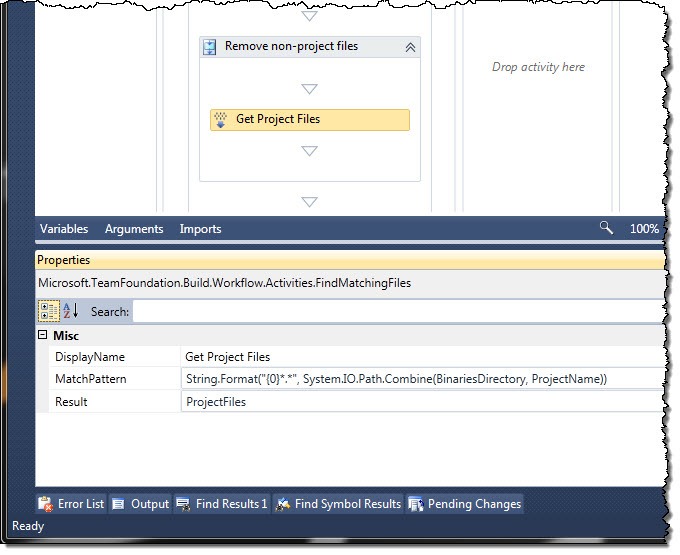
To make a list of all project files add the FindMatchingFiles activity to the Remove non-project files sequence. In its properties set the Display Name to Get Project Files, the Match Pattern to:
String.Format("{0}*.*", System.IO.Path.Combine(BinariesDirectory, ProjectName))and the Result to ProjectFiles.
Making a list of all files in the drop folder
The next step is to make a list of all files in the drop folder. Because we will have to process this list later on we have to store it in a variable. To create the variable select the Remove non-project files sequence and in the Variables window create a new variable called AllFiles of type IEnumerable<String>.

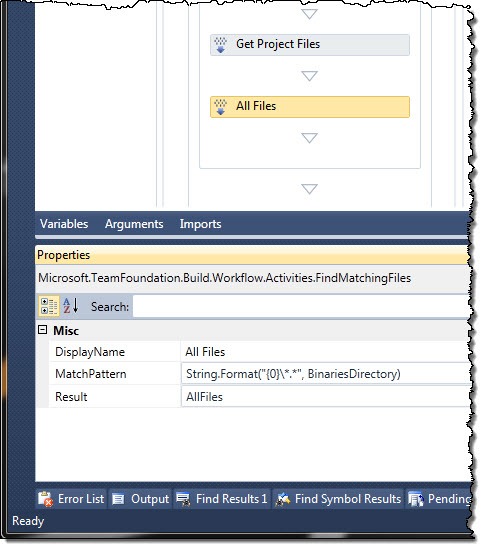
Next add another FindMatchingFiles sequence and set its Display Name to All Files, Match Pattern to:
String.Format("{0}\*.*", BinariesDirectory)and the Result to AllFiles.
Removing non-project files
The last step is to iterate through the list of all files, compare each file against the list of files that belong to our project and if the file is not on that list, delete it.
Under the All Files activity add a ForEach<T> activity, set its Type to String and Values to AllFiles. As the name of the Foreach variable type file.

Next add an If statement that we can use to compare the filename. In its condition type:
Not ProjectFiles.Contains(file)
Finally in the Then clause add a new InvokeMethod activity. Set its Display Name to Delete File, Method Name to Delete, Target Type to System.IO.File and in the parameters list add a new In parameter of type String with the value set to file.

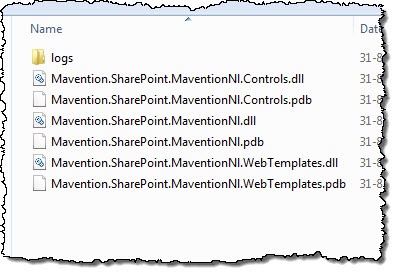
And that’s all. Save and check in the Workflow, and the next time you run a build, you should see no files other than those that belong to your project.