Create an Entra app with API permissions, admin consent and a secret using CLI for Microsoft 365
When building apps for Microsoft 365, the first step is to create an Entra app registration. Here’s how to do it using CLI for Microsoft 365.
First things first: Entra app registrations
When you build apps for Microsoft 365, to access data and insights from Microsoft 365, or even just to let users sign in to your app using their work or school account, you’ll need an Entra app registration. An app registration registers your app with the Microsoft Cloud and defines settings such as API permissions or authentication flows.
You can create an Entra app registration in the Azure portal where you can use the different screens to configure the necessary settings for your app. If you’re building a template for your organization, or want to provide your customers with an automated way, you can script creating an Entra app registration. Here’s how to do it, using CLI for Microsoft 365.
What’s CLI for Microsoft 365
CLI for Microsoft 365 is an open-source, community-built, cross-platform command-line tool, that allows you to manage different aspects of Microsoft 365 and SharePoint Framework projects. It runs on Node.js and you can run it both locally as well as on serverless, containers and in CI/CD.
Create Entra app registration using CLI for Microsoft 365
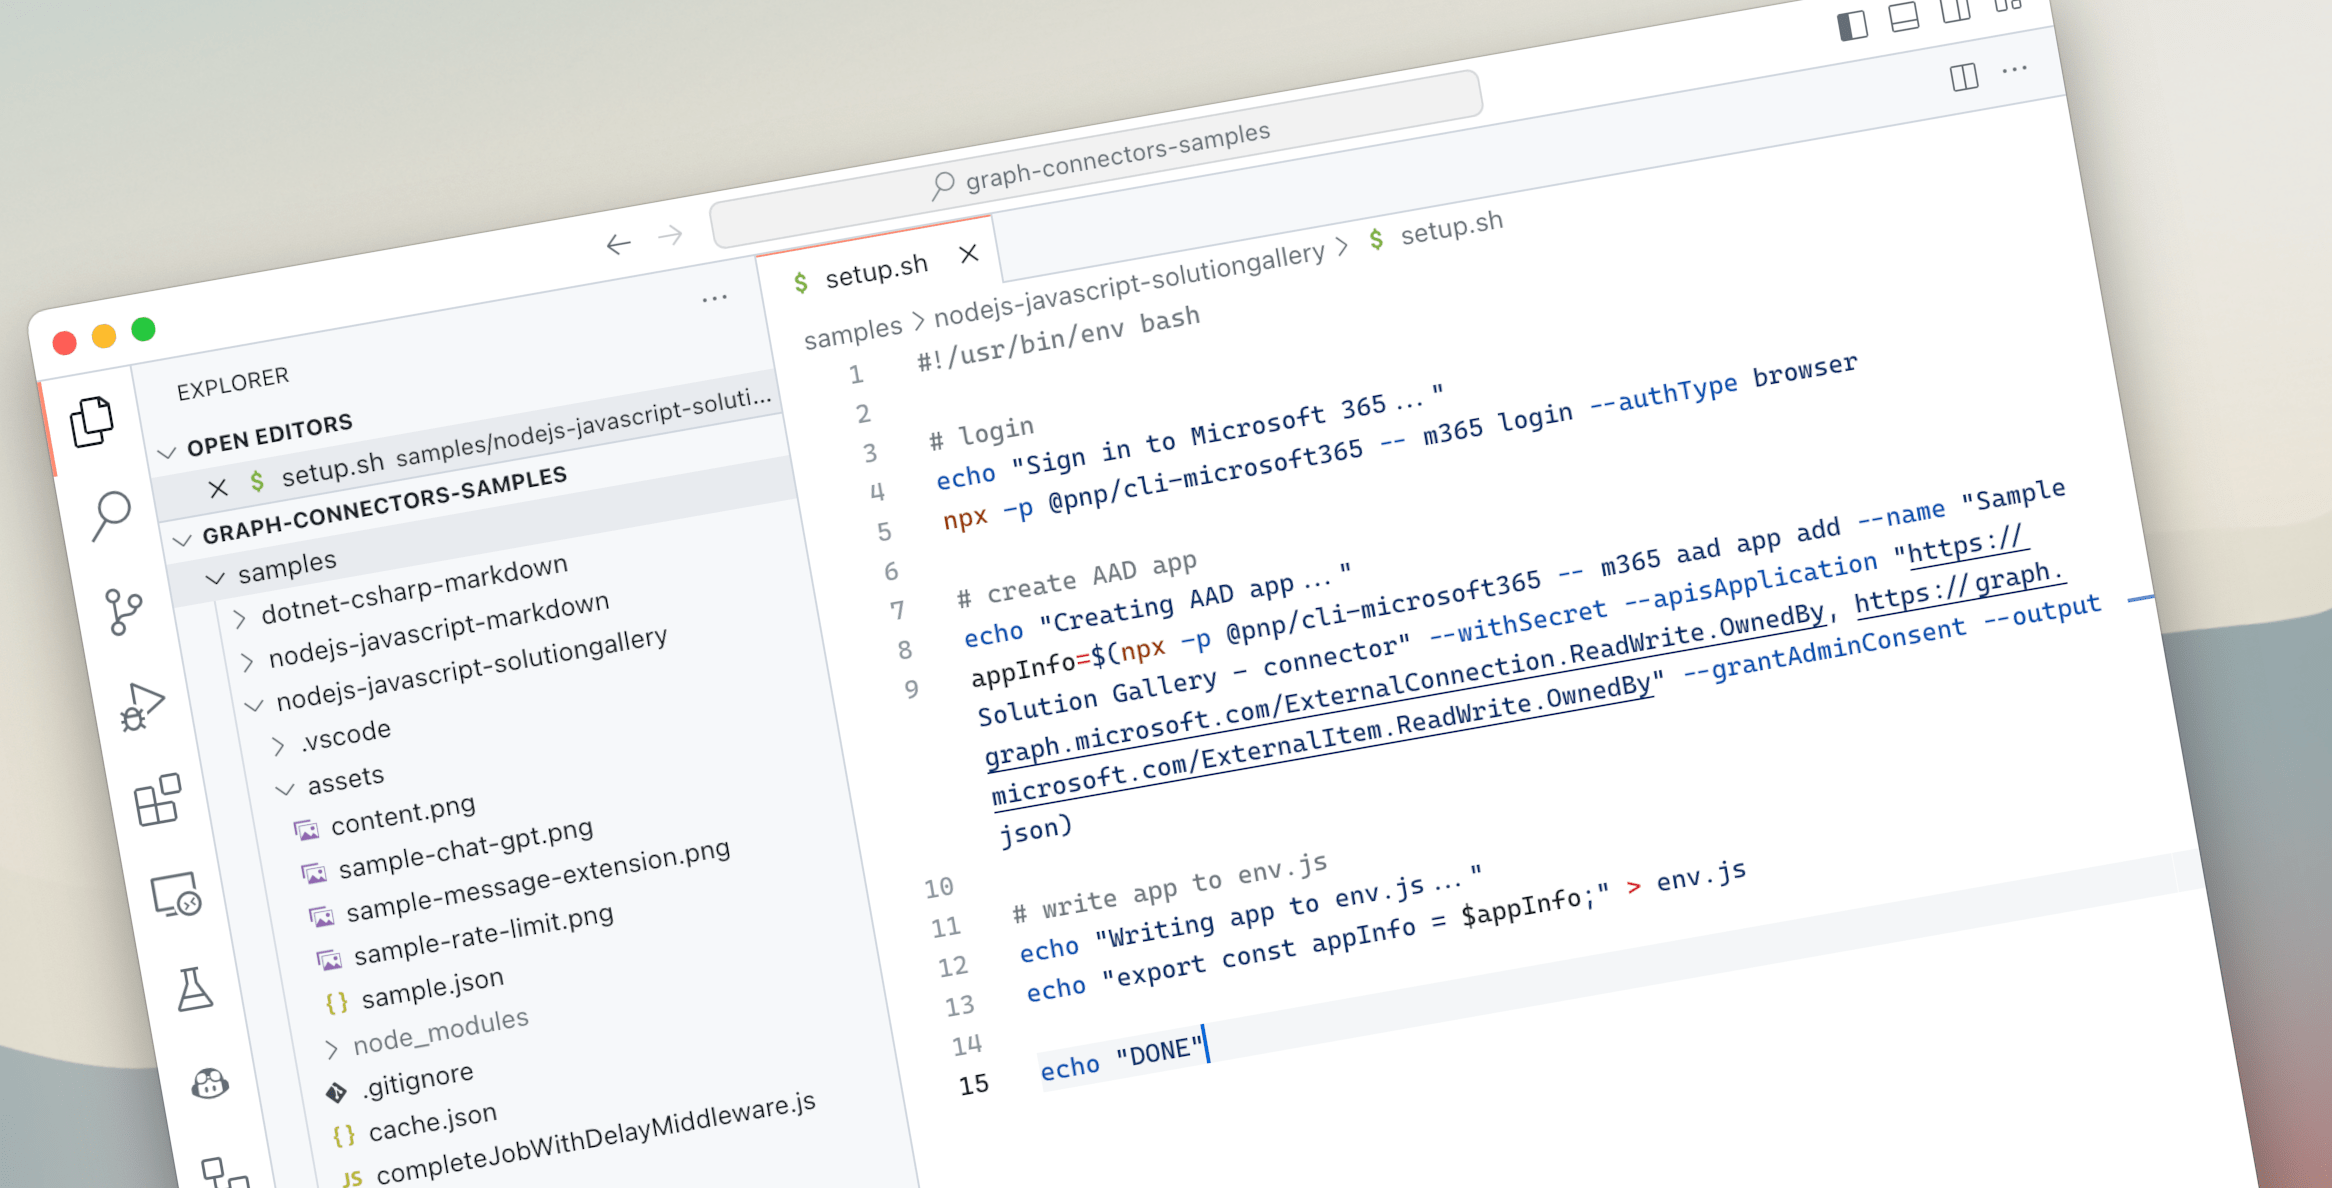
Here’s a bash script that creates an Entra app registration for use with a Microsoft Graph connector. The script configures API permissions, grants admin consent, creates a secret, and stores the information in a local file for use with your application.
Let’s go through it step by step.
#!/usr/bin/env bash

# login
echo "Sign in to Microsoft 365..."
npx -p @pnp/cli-microsoft365 -- m365 login --authType browser

# create AAD app
echo "Creating AAD app..."
appInfo=$(npx -p @pnp/cli-microsoft365 -- m365 aad app add --name "Waldek Mastykarz (blog) - connector" --withSecret --apisApplication "https://graph.microsoft.com/ExternalConnection.ReadWrite.OwnedBy, https://graph.microsoft.com/ExternalItem.ReadWrite.OwnedBy" --grantAdminConsent --output json)

# write app to env.js
echo "Writing app to env.js..."
echo "export const appInfo = $appInfo;" > env.js

echo "DONE"
Before you can use CLI for Microsoft 365, you need to log in with your work or school account. You do this using the m365 login command.
Rather than invoking the command directly, we use npx. npx is a tool provided with npm which allows you to start npm-distributed tools without having to install them first. This is a convenient way to share scripts with others who might not have CLI for Microsoft 365 installed yet.
After signing in with CLI for Microsoft 365, we use the m365 aad app add command to create the app registration. This command is optimized for creating Entra app registrations, which is why it offers you convenient options to specify configuration settings easily. In a human-readable way we specify, that we want to create a new app registration with ExternalConnection.ReadWrite.OwnedBy and ExternalItem.ReadWrite.OwnedBy Microsoft Graph application permissions, we want to grant admin consent (--grantAdminContent) and create a secret (--withSecret).
Finally, we store the output of the command in a variable and then write it to a local file, which we can use in our application to authenticate.
To see this script in action, check out this sample Microsoft Graph connector that uses it.