
Create SharePoint 2010 publishing content easier with Windows Live Writer
SharePoint 2010 has rich capabilities for creating and managing different types of content. Publishing scenarios have however different requirements than for example collaboration solutions. Find out how you can improve the content creation process by using client tools such as Microsoft Word or Windows Live Writer.
SharePoint 2010 – a powerful platform
SharePoint 2010 is a rich platform for creating web-based solutions targeting different scenarios: from collaboration to Internet-facing websites. Considering the variety of all the possible solutions you could build on top of the SharePoint platform, it’s not that hard to imagine that different requirements apply to the process of content creation and management in the context of different solutions.
Creating content for different purposes requires different approaches. In highly collaborative solutions for example you will very likely spend a lot of time working with documents and their metadata. The rich web UI provided with SharePoint simplifies managing documents and the task-oriented Ribbon makes it easy for you to find the functionality you need at the given time.
On the other side of the spectrum are content-centric Internet-facing websites. Although meta tagging is just as important here as in collaboration environments, the focus shifts towards the creative process of writing. Writing an article can take hours and the less cluttered the UI you’re using is, the better you can focus on the creative process. In most scenarios web UI is far from perfect for editing long pages. The dependency on connection and session validation, might lead to you losing your work and this is exactly why using client tools might be an option worth considering.
The idea of writing for the web using client tools has been around for quite a while now. Despite rich web experiences that emerged in the last few years, writing using client tools is convenient. Editors such as Microsoft Word or Windows Live Writer allow us to write blog posts for quite a few years now, and it might surprise that in all that time there is not a single tool that would allow you to create publishing content on the SharePoint 2010 platform.
Using Windows Live Writer to manage SharePoint 2010 publishing content
Mavention Easy Publishing is a proof of concept that I created to show you how you can combine the content creation capabilities of tools such as Windows Live Writer and Microsoft Word with the publishing capabilities of the SharePoint 2010 platform. After installing the tool you can create and edit pages on a SharePoint 2010 Publishing Site just as if it was a regular blog.
Installing Mavention Easy Publishing
The installation process of Mavention Easy Publishing is very easy and comes down to deploying the Mavention Easy Publishing package in your farm. After that you can register your SharePoint 2010 publishing site for editing content. For the purpose of this article I will use Windows Live Writer which provides richer web content editing capabilities than Microsoft Word.
Configuring Windows Live Writer for publishing to a SharePoint 2010 Publishing Site
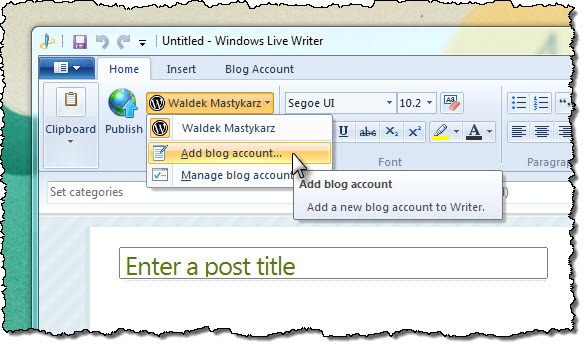
The first thing that you have to do is to register your Publishing Site with Windows Live Writer. For this in the Ribbon, activate the Home tab, and from the Publish group click the Blog accounts drop-down box. Then from the menu choose the Add blog account… option.
When asked about the blog service type that you’re using choose the Other services option and click the Next > button.

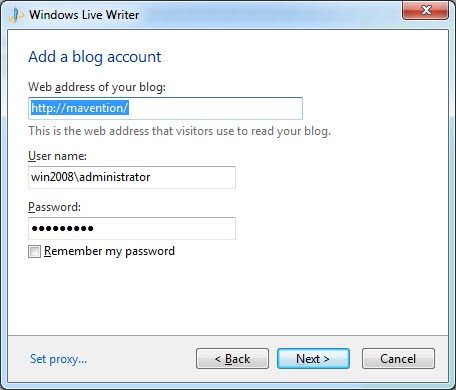
In the Add blog account window enter the URL of your Publishing Site, eg.
http://mavention/In the user name and password field provide the credentials that you want to use for publishing content.
Important: Windows Live Writer doesn’t support NTLM authentication, so for this to work you have to enable your Web Application for supporting authentication using the Blog API. You can do this in the Web Application General Settings section in Central Administration. Additionally you might consider enabling SSL as the credentials are sent in plain text.
Confirm your entry by clicking the Next > button.
Because the site doesn’t provide a Windows Live Writer manifest, we have to manually configure the type of blog (API) that we will use for publishing. As the provider choose Metaweblog API and in the Remote posting web address for your blog text box provide the URL of your Publishing Site followed by /_layouts/mavention/easypublishing.ashx, eg.
http://mavention/_layouts/mavention/easypublishing.ashx
Confirm the entry by clicking the Next > button.
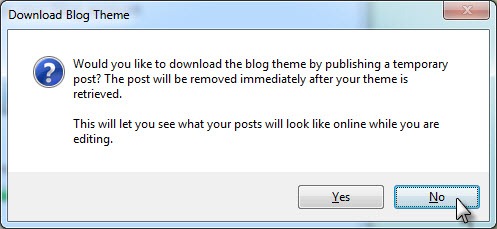
At this moment the Mavention Easy Publishing proof of concept doesn’t support themes, so when asked if you want to download the theme, click the No button.
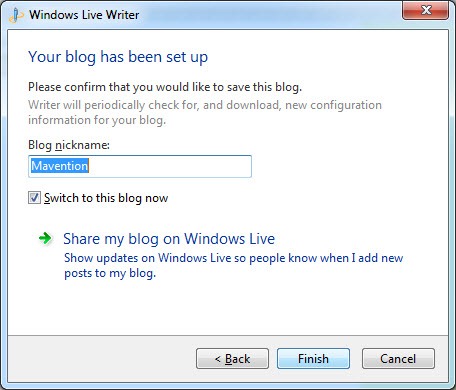
Finally give your Publishing Site a name and confirm the configuration process by clicking the Finish button.
This completes the configuration process and now we’re ready to create and edit content of our Publishing Site using Windows Live Writer.
Creating a new Publishing Page with Windows Live Writer
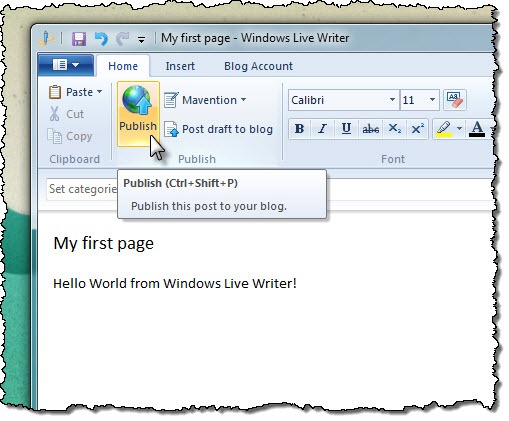
Creating new Publishing Pages is very easy. All you have to do is to create a new blog post. Then provide a title and some body text and from the Publish group click the Publish button.
If you haven’t chosen to remember the credentials Windows Live Writer will prompt you for the username and password while publishing the page.
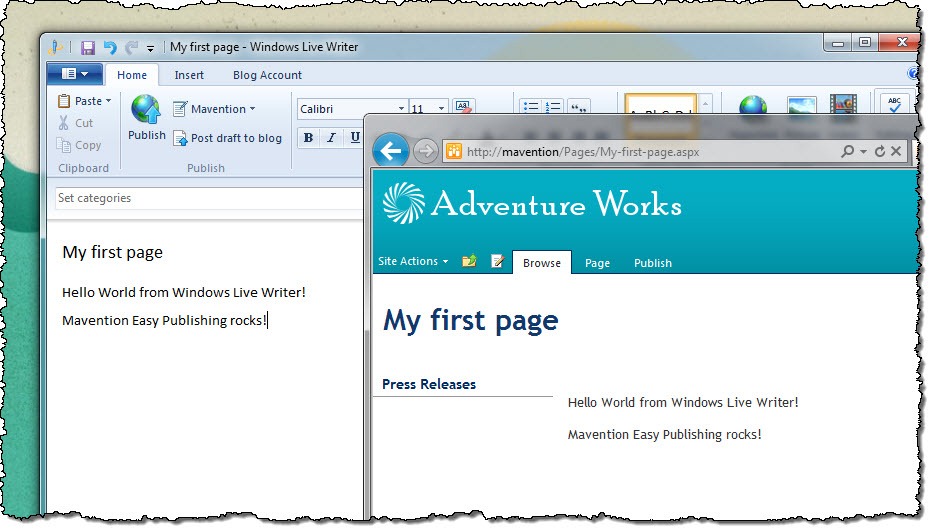
If you navigate to your Publishing Site, you should see your page published just as you entered in Windows Live Writer.

Editing Publishing Pages with Windows Live Writer
Another thing that you might want to use Windows Live Writer for is editing existing pages like you would after having published a draft to your Publishing Site and you would want to continue working on your article.
In Windows Live Writer click the jewel and choose the Open recent post option. In the left pane of the dialog window select your blog and then select the page we have created previously.

After opening the page, edit the content and publish the page. If you navigate to SharePoint you should see the content of your page changed.
Future
The Mavention Easy Publishing Proof of Concept is by no means a complete solution allowing you to replace the SharePoint 2010 web UI with client tools for web writing such as Windows Live Writer. It is more of a trigger showing that it is possible to use tools that you might have already known to simplify working with publishing content in SharePoint 2010.
The proof of concept of Mavention Easy Publishing supports only the most basic editing capabilities such as creating new pages and editing their title and content. Imagine it being extended further allowing you to edit content including rich media, manage page’s metadata and get even more integration and advanced content editing capabilities with SharePoint 2010. Is this something you would care about and be using or is the standard SharePoint 2010 web UI sufficient for your needs? Try it out and tell me what you think.
Download: Mavention Easy Publishing (9,4KB, WSP)