Building dll-code in SharePoint Framework
When building multiple Web Parts on the SharePoint Framework you might want to deploy the shared code separately rather than including it with each Web Part. Here is how to do it.
A new model
SharePoint Framework is a new model for building SharePoint customizations. It uses build toolchain based on open-source tooling such as Gulp and Webpack. These tools automate the build process, creating the distributables in the correct format, allowing developers to focus on building their solutions.
One project for many customizations
Each SharePoint Framework project can consist of one or more Web Parts. Even though you might have multiple Web Parts in a single project, after building the project each Web Part ends up in its own bundle and is capable of running by itself. Unless specified otherwise, each bundled Web Part contains all resources it needs to work as intended. Thinking about Web Parts in a SharePoint Framework project, you could see each one of them as an executable.
Now imagine that you’re working on a big project with multiple Web Parts. All these Web Parts share some code - think utility classes, helpers or some other common functionality. By default, when building your Web Parts, SharePoint Framework would embed all of that code in each Web Part’s bundle. If the shared codebase is significant, there would be quite some overhead downloading the different Web Parts. Overhead, that you could avoid otherwise by separating the shared code from Web Parts.
Separating shared code from Web Parts
There are two ways in which you could separate shared code from Web Parts using it. Each have their pro’s and con’s and which one you choose depends on your specific scenario.
Shared code as a separate package
One way to separate your shared code from Web Parts using it, is by creating a separate project with all your shared code and creating a module out of it. The project wouldn’t even need to be a SharePoint Framework project. As long as the result is a module, that you could refer to in your Web Parts, you could use any tools and frameworks you want. Once ready, you would publish the code somewhere and load it in your Web Parts as an external script.
The key characteristic of this approach is separation. The dll-code is developed and maintained in a separate project. It’s hosted separately and it can have a separate lifecycle from the Web Parts using it. The dll-code can be reused not only by multiple Web Parts in a single SharePoint Framework project but also by multiple SharePoint Framework projects.
Shared code as a library bundle in the Web Part project
Using SharePoint Framework we can build not only Web Parts but also code libraries. Similarly to how we can have multiple Web Parts in a single SharePoint Framework project, we can also define libraries that, just as Web Parts, will be built into separate bundles.
What is a SharePoint Framework library
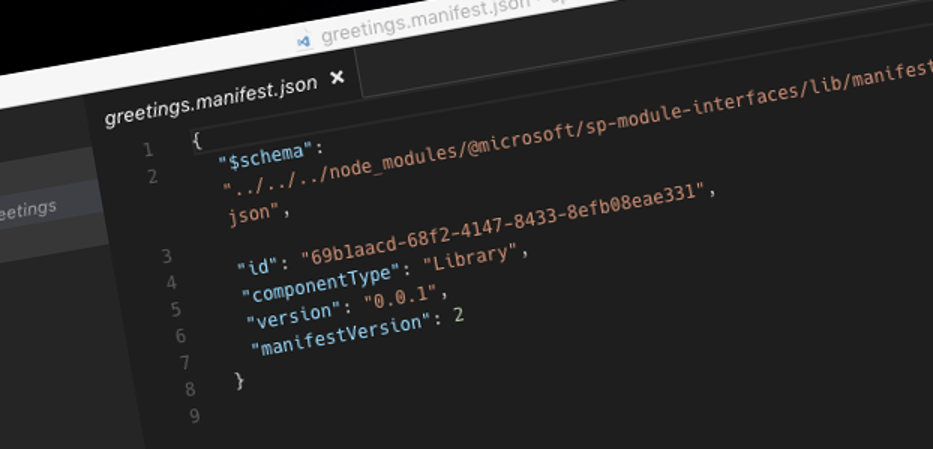
Just like a SharePoint Framework Client-Side Web Part, a SharePoint Framework Library consists of a manifest and code. Library manifest is very much like a Web Part manifest:
{
  "$schema": "../../../node_modules/@microsoft/sp-module-interfaces/lib/manifestSchemas/jsonSchemas/clientSideComponentManifestSchema.json",

  "id": "69b1aacd-68f2-4147-8433-8efb08eae331",
  "componentType": "Library",
  "version": "0.0.1",
  "manifestVersion": 2
}
The main difference, comparing to a Web Part manifest, is that the componentType property is set to Library and the preconfiguredEntries section is not defined.
Just like a Web Part, for a SharePoint Framework Library to be built, it must be registered with the project through the config/config.json file:
{
  "entries": [
    {
      "entry": "./lib/webparts/helloWorld/HelloWorldWebPart.js",
      "manifest": "./src/webparts/helloWorld/HelloWorldWebPart.manifest.json",
      "outputPath": "./dist/hello-world.bundle.js"
    },
    {
      "entry": "./lib/libraries/greetings/greetings.js",
      "manifest": "./src/libraries/greetings/greetings.manifest.json",
      "outputPath": "./dist/greetings.bundle.js"
    }
  ],
  // omitted for brevity
}
As you can see, the registration entries for Web Parts and Libraries are identical. While in the example above the library is defined in the src/libraries folder, you can define it in any folder structure you prefer as long as the path is located under src.
In contrary to the previous approach of building dll-code as separate packages, SharePoint Framework Libraries can co-exist in the same project as Web Parts and use the same build infrastructure as Web Parts. While they are built as standalone UMD modules and theoretically could be used in other projects as well, you are most likely to be using them when sharing code amongst multiple Web Part in one project. When working with SharePoint Framework libraries you have to keep in mind that they adhere to the same rules as Web Parts. Whenever something in the library changes a new bundle with a new name is created. This requires updating references to the library in all Web Parts using it - at least if you want to benefit of the latest changes.
Building SharePoint Framework Libraries
Building SharePoint Framework Libraries is very similar to building Web Parts. There are however a few things you need to take care of in order for the code to build correctly and allow to be referenced after the bundle is created.
To illustrate the process of creating a SharePoint Framework Library, let’s use as an example two classes, that we would like to bundle together in a module, allowing us to consistenly greet the users in our Web Parts:
export class PoliteGreeting {
  public sayHello(name: string): string {
    return `Hello ${name}`;
  }
}
export class ShortGreeting {
public sayHi(name: string): string {
return `Hi ${name}`;
}
}Source code of the complete project for this article is available on GitHub at https://github.com/waldekmastykarz/spfx-sample-dllcode.
Creating code files
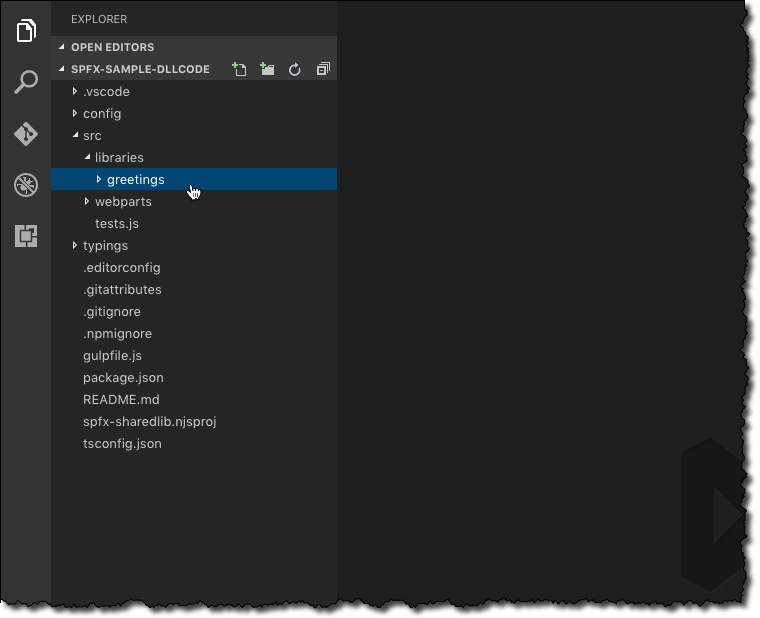
To start, let’s create the src/libraries/greetings folder where we will store the files of our library.
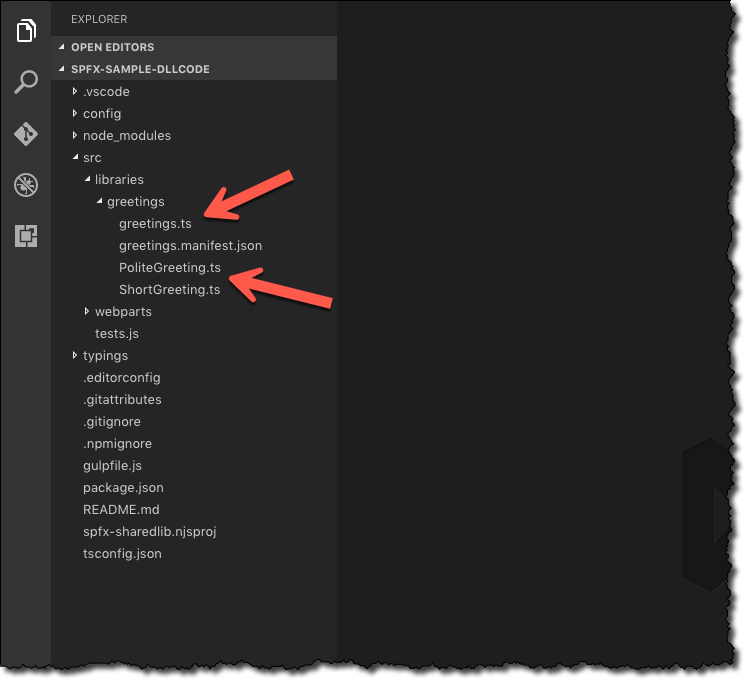
Next, let’s create a separate file for each of our classes and additional file that will serve as the main entry point of our bundle (greetings.ts):
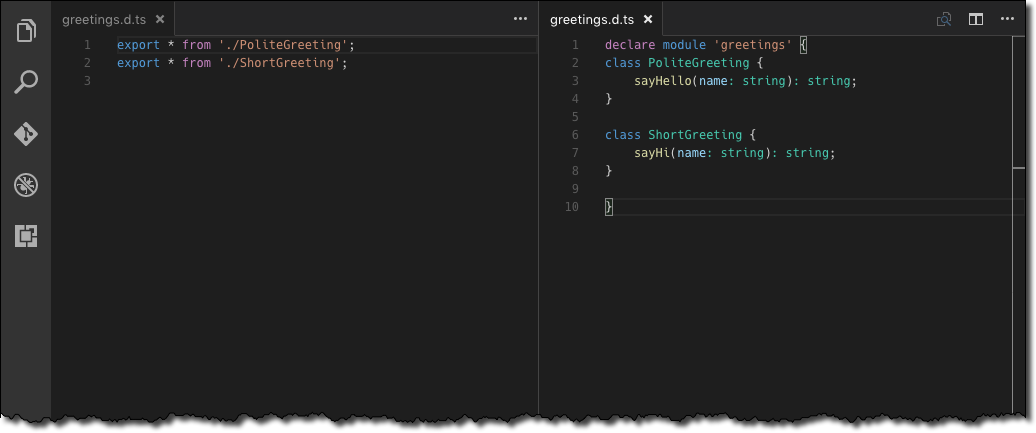
export * from './PoliteGreeting';
export * from './ShortGreeting';Defining the library manifest
The last file, that we need for our library, is the manifest (greetings.manifest.json) that we specified in the config/config.json file:
{
  "$schema": "../../../node_modules/@microsoft/sp-module-interfaces/lib/manifestSchemas/jsonSchemas/clientSideComponentManifestSchema.json",

  "id": "69b1aacd-68f2-4147-8433-8efb08eae331",
  "componentType": "Library",
  "version": "0.0.1",
  "manifestVersion": 2
}Registering the library with the project’s build process
With our code files and manifest ready, to have it built, we need to register the newly created library with the project’s build process. We do that by adding an entry to the config/config.json file’s entries array:
{
  "entries": [
    {
      "entry": "./lib/webparts/helloWorld/HelloWorldWebPart.js",
      "manifest": "./src/webparts/helloWorld/HelloWorldWebPart.manifest.json",
      "outputPath": "./dist/hello-world.bundle.js"
    },
    {
      "entry": "./lib/libraries/greetings/greetings.js",
      "manifest": "./src/libraries/greetings/greetings.manifest.json",
      "outputPath": "./dist/greetings.bundle.js"
    }
  ],
  // omitted for brevity
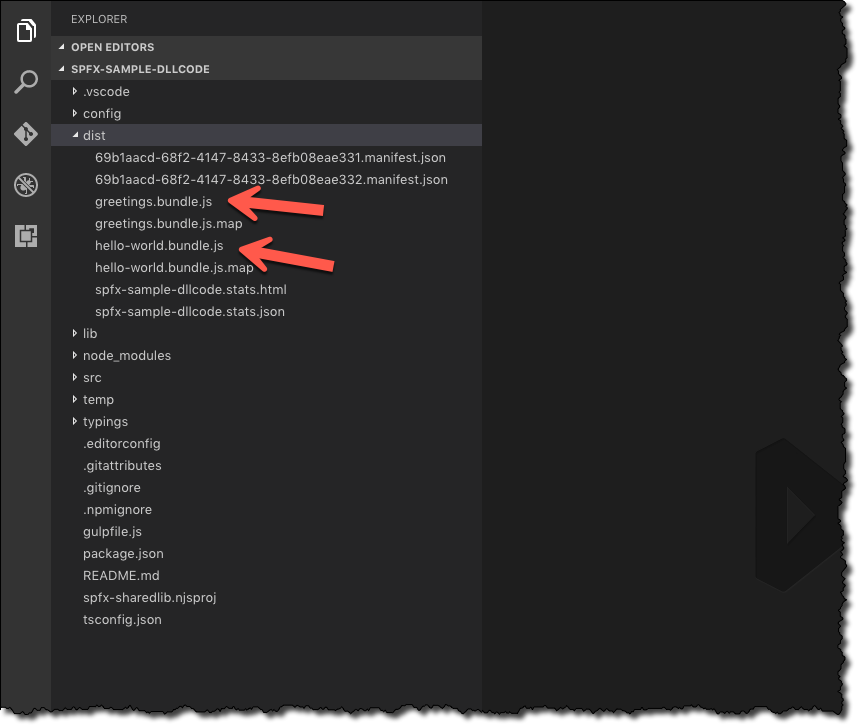
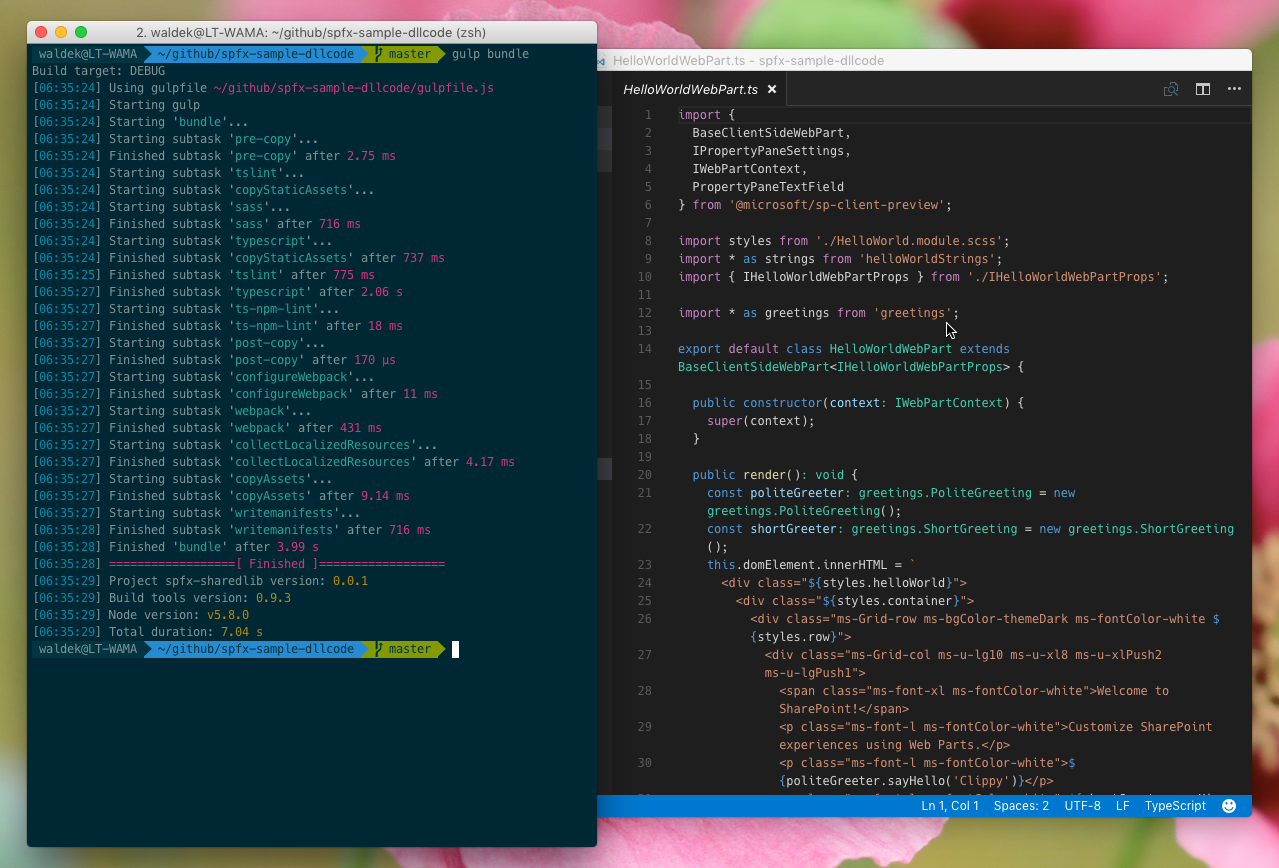
}To confirm that everything is working as expected, let’s execute gulp bundle in the command line. The bundle task should succeed and in the dist folder you should see two bundles: one with the Web Part and one with the Library.
With our bundle ready, let’s make use of it in our Web Part, and that’s a tricky part.
Referencing the Library in the Web Part
Usually, to reference other classes stored in the same project, in TypeScript we can use the import clause passing the relative path to the class file:
import * as greetings from '../../libraries/greetings/greetings';If we did that however, the referenced code would be included in the Web Part’s bundle, which we don’t want to be. So how do we reference our library so that we can benefit of TypeScript’s desing-time typesafety features and load the shared code from a separate file on runtime?
Registering the library as an external project resource
Because our shared code is built into a separate bundle, we can register it with the project as an external script. To do this, we register the greetings bundle in the config/config.json file’s externals array:
{
  // omitted for brevity
  "externals": {
    "@microsoft/sp-client-base": "node_modules/@microsoft/sp-client-base/dist/sp-client-base.js",
    "@microsoft/sp-client-preview": "node_modules/@microsoft/sp-client-preview/dist/sp-client-preview.js",
    "@microsoft/sp-lodash-subset": "node_modules/@microsoft/sp-lodash-subset/dist/sp-lodash-subset.js",
    "office-ui-fabric-react": "node_modules/office-ui-fabric-react/dist/office-ui-fabric-react.js",
    "react": "node_modules/react/dist/react.min.js",
    "react-dom": "node_modules/react-dom/dist/react-dom.min.js",
    "react-dom/server": "node_modules/react-dom/dist/react-dom-server.min.js",
    "greetings": "./dist/greetings.bundle.js"
  },
  // omitted for brevity
}greetings is the name of the module that we will use in our Web Parts, when referencing the shared resources. The script path might seem confusing: even though we specify the path to the dist folder, SharePoint Framework will automatically fix the reference when executing release builds.
Referencing the library in the Web Part
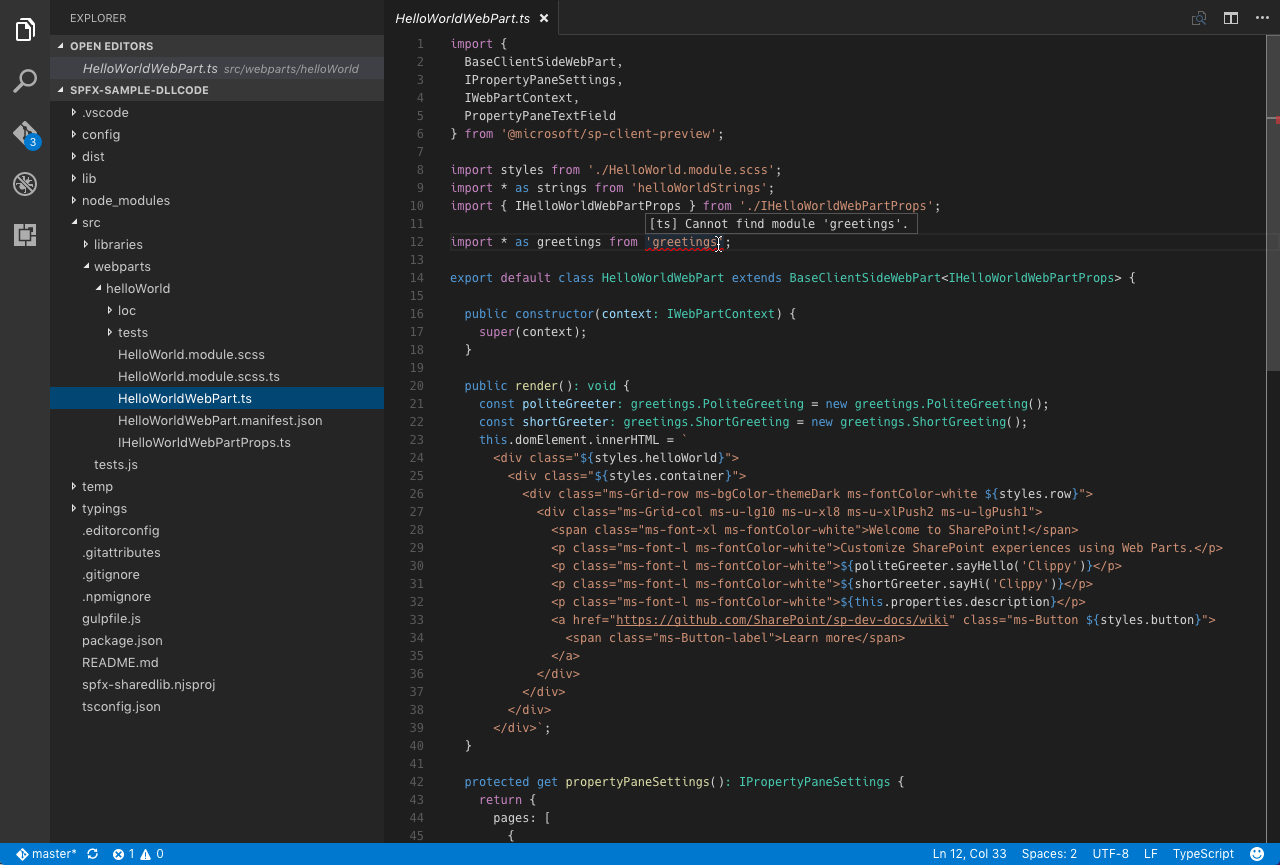
If you would try to reference the shared resources in a Web Part right now, you would see an error similar to following:
Cannot find module ‘greetings’.
It’s not surprising if you think about it: we specified the path that the SharePoint Framework should use to load the library on runtime, but we haven’t supplied any information about the library to TypeScript. And even though the module is just a few folders away, it isn’t registered under the name we have just used. So how do tell TypeScript what our library looks like?
Ambient module definition
One way to tell TypeScript about the shape of our library is by creating an ambient module definition that wraps the classes into a namespace and describes their methods (greetings.d.ts):
declare module 'greetings' {
  class PoliteGreeting {
      sayHello(name: string): string;
  }

  class ShortGreeting {
      sayHi(name: string): string;
  }
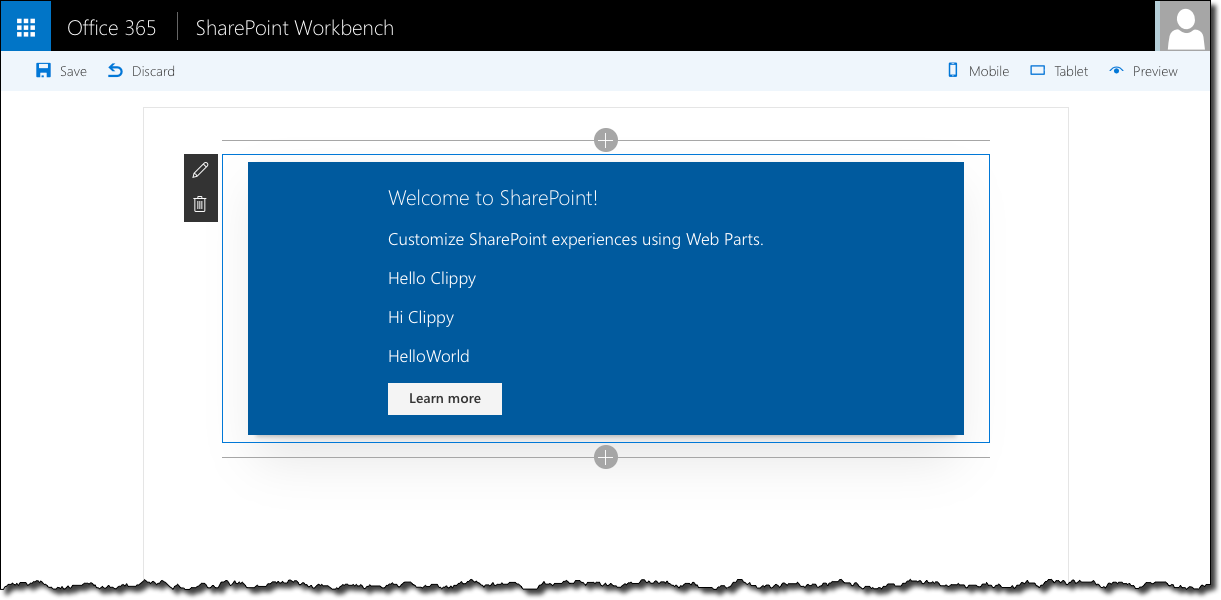
}With that file in the project and referenced in the tsd.d.ts file, if we were to reference the library, it would work just as expected, both design-:
and runtime:
Automatically updating library typings file
Given that TypeScript uses typings to verify that all references are correct, it’s essential that library typings reflect what’s in the library’s code. But as we created this file manually, does that mean that we have to keep it manually up-to-date each time we change the signature or contents of one of our library classes?
Each time you build your SharePoint Framework project, typings for each TypeScript file are created in the lib folder. This is true for both Web Parts and Libraries. If you however examine typings generated for the library files, you will see that they are different from the typings that we have just created ourselves.
This has to do with the difference between how TypeScript processes modules and how they are packed with Webpack into bundles. The good news is, that using the open-source tools at our disposal, we can easily generate the required definitions and automatically keep them up-to-date reflecting the latest changes in the library code.
We need typings for our library in order to use it when building our Web Parts. Generating these typings isn’t however a part of the SharePoint Framework build process and is something that we can do separately using a regular Gulp task.
Generating typings for our library consists of three steps: deleting any old typing files in the lib folder, generating typings based on the library’s .ts files and using these typings to generate the definitions for our library in the typings folder.
Let’s start by installing the packages that we will need in this process:
$ npm i gulp-clean gulp-typescript gulp-util through2 -DBecause we need these packages only during development we store them as a development dependency (the -D argument).
Next, let’s add references to these packages in gulpfile.js:
var through = require('through2'),
    util = require('gulp-util'),
    spawn = require('child_process').spawn,
    clean = require('gulp-clean'),
ts = require('gulp-typescript');Before we start building our tasks, let’s define the paths to the different directories that we will be needing in the process:
var libsPath = 'lib/libraries';
var srcPath = 'src/libraries';
var greetingsLibraryFolder = 'greetings';Step 1. Clear old code definitions
Let’s implement the first task to clean up any definitions for our library code:
gulp.task('update-greetings-typings:clean-old-typings', () => {
  return gulp.src(`${libsPath}/${greetingsLibraryFolder}/**`, { read: false })
    .pipe(clean());
});Using Gulp we’re reading the list of all files in the library’s intermediate folder and pass them to the Gulp clean plugin to delete them. By setting the read property to false, we ensure that Gulp won’t be trying to read the contents of the files while we are deleting them.
Step 2. Generate typings for the latest library code
Next, we implement the task that will generate typings for our latest library code:
gulp.task('update-greetings-typings:get-latest-typings', ['update-greetings-typings:clean-old-typings'], () => {
  var tsResult = gulp.src(`${srcPath}/${greetingsLibraryFolder}/**/*.ts`)
    .pipe(ts({
      outDir: `${libsPath}/${greetingsLibraryFolder}`,
      module: 'umd',
      declaration: true
    }));
  return tsResult.dts.pipe(gulp.dest(`${libsPath}/${greetingsLibraryFolder}`));
});Using Gulp we’re getting all .ts files from the library’s source folder and pass them to the Gulp typescript plugin. We set the output directory to the intermediate library folder, set the module type to umd and specify, that TypeScript should generate declarations. Finally, we pass the generated definitions and store them in the intermediate library folder.
By default, when you request Gulp to execute multiple tasks, it will run them in parallel. Because our tasks should be run in a specific order, we specify the clean-old-typings task as the dependency for the get-latest-typings task.
Step 3. Generate definitions for the library
Using the typings generated in the previous step, we can now generate the definitions for our library:
gulp.task('update-greetings-typings:build-lib-typings', ['update-greetings-typings:get-latest-typings'], () => {
  return gulp.src(`${libsPath}/${greetingsLibraryFolder}/**/*.d.ts`)
    .pipe(updateLibTypings('greetings.d.ts'))
    .pipe(gulp.dest('./typings'));
});

var updateLibTypings = function (typingsFilePath, opt) {
  var typings = ["declare module 'greetings' {"];
  var latestFile;

  function processTypings(file, encoding, cb) {
    if (file.isNull() || file.isStream()) {
      cb();
      return;
    }

    latestFile = file;

    var contents = file.contents.toString('utf8');
    if (contents.indexOf('export declare class ') === -1) {
      cb();
      return;
    }

    contents = contents.replace('export declare class ', 'class ');
    typings.push(contents);
    cb();
  }

  function endStream(cb) {
    if (!latestFile) {
      cb();
      return;
    }

    typings.push('}');

    var file = latestFile.clone({ contents: false });
    file.path = latestFile.base + typingsFilePath;
    file.contents = new Buffer(typings.join('\r\n'));
    this.push(file)
    cb();
  }

  return through.obj(processTypings, endStream);
}We start with using Gulp to read all newly generated typings for our library code files. We pass these files to a custom Gulp pipe function that we use to process the contents of the typings. For each typings file, we check if it defines a class and, if it does, we change its signature and add the updated contents to an array. When all files have been processed, we combine all array entries into a string which, at that time, contains typing definitions for all our library classes wrapped into a module declaration.
Once again, to ensure that our tasks are executed in the right order, we specify the get-latest-typings task as a dependency for the build-lib-typings task.
Step 4. Create main task to wrap all subtasks
To simplify generating library typings, let’s create a parent task that will call the other tasks that we have just implemented:
gulp.task('update-greetings-typings', [
  'update-greetings-typings:clean-old-typings',
  'update-greetings-typings:get-latest-typings',
  'update-greetings-typings:build-lib-typings'
], () => {
});We configure all our subtasks as dependencies for our main task. By itself, Gulp would execute all these tasks in parallel. However, as we specified dependencies on each task as well, Gulp will take it into account and execute all tasks one after another.
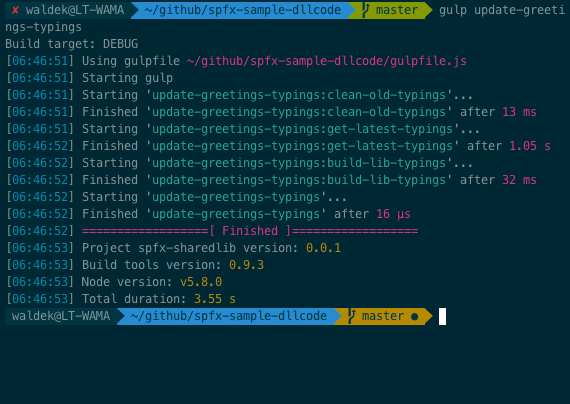
If we would call gulp update-greetings-typings now, Gulp would clean the intermediate library folder of any files, use TypeScript to transpile the library code and generate definitions for it, and combine the generated definitions into one definition file for the library.
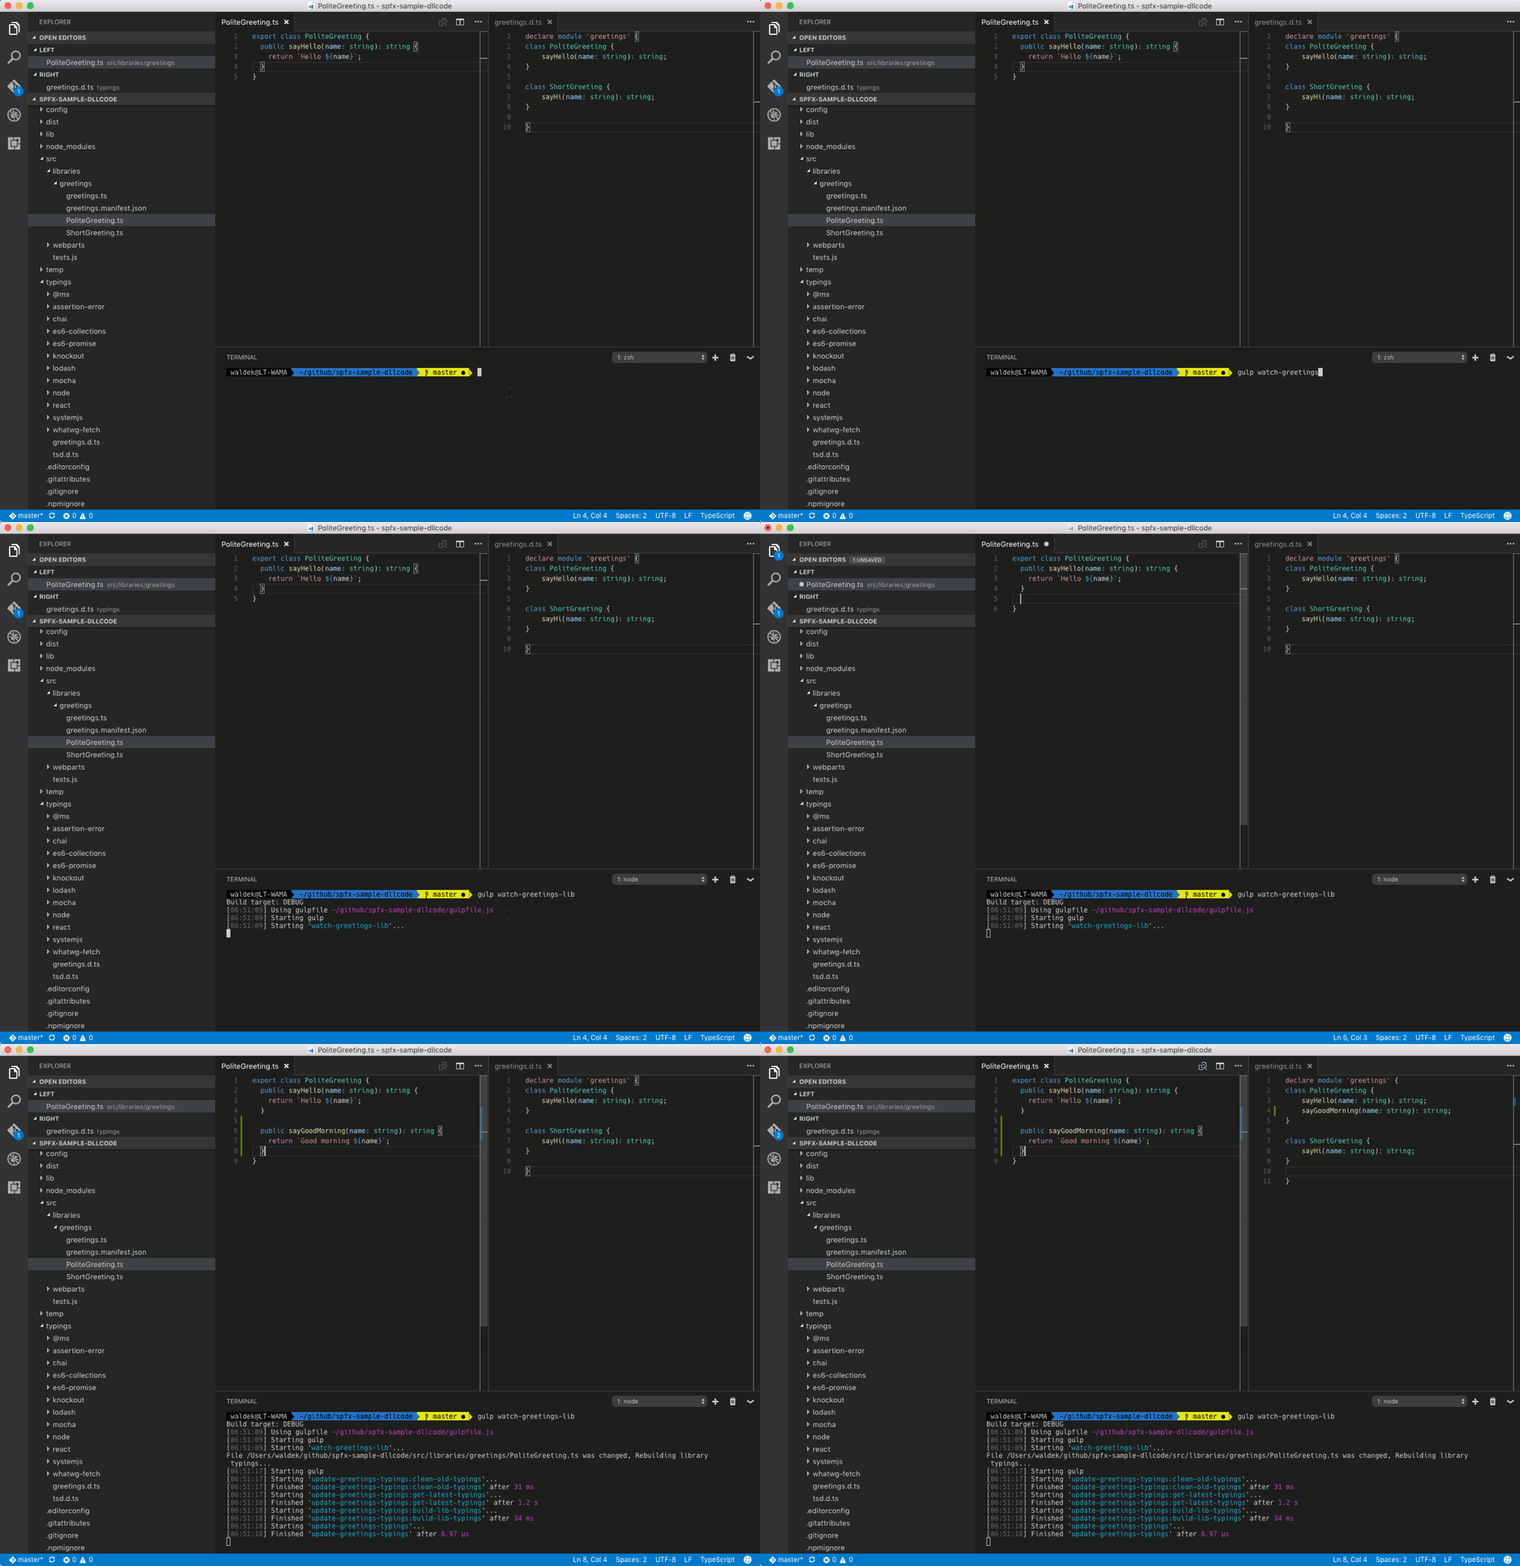
With the current setup, every time you would change something in the library, you would have to call the update-greetings-typings task to refresh the library definitions. This is already a great improvement, comparing to manually creating the typings and keeping them up-to-date. But using Gulp we can improve the developer experience even further.
Aside from defining regular tasks, using Gulp we can define watchers that monitor file changes and execute tasks if a change occurs. In our case, we could define a watcher, that would monitor changes to the library source files, and if a change occured, would automatically rebuild the library definitions:
gulp.task('watch-greetings-lib', (cb) => {
  var watcher = gulp.watch(`${srcPath}/${greetingsLibraryFolder}/**/*.ts`, ['update-greetings-typings']);
  watcher.on('change', (event) => {
    console.log(`File ${event.path} was ${event.type}, Rebuilding library typings...`);
  });
});Comparing to a regular Gulp task, which stops after execution, a Gulp task using a watcher should keep running to allow watcher to monitor and respond to file changes. This can be achieved by receiving the task’s callback function (the cb argument in the task function) but not calling it.
Summary
When building multiple Web Parts on the SharePoint Framework you might want to deploy the shared code separately rather than including it with each Web Part. When doing so you can either create it as a separate package or you can build a SharePoint Framework Library and reference it from your Web Parts. Each approach has its pros and cons and it’s up to you to decide which one is the most suitable one for your scenario.
Check out sample code on GitHub at https://github.com/waldekmastykarz/spfx-sample-dllcode.
