Use Docker containers like a pro
Using Docker containers, you can simplify your development process. With the Docker Visual Studio Code extension, you can make it even easier!
Simplify your dev toolchain in Docker containers
Docker containers offer you a great opportunity to package your toolchain and its dependencies and easily distribute it among everyone in your team. With a preconfigured Docker image, you can cut your onboarding process from hours full of frustration to having people install Docker while drinking a cup of coffee and running a single command. And it’s not just about the distribution of the toolchain.
As you work on your app, your toolchain will keep evolving. Likely, over time, the dependencies will change and you will want to upgrade them to make use of the latest features and improvements. Without Docker, each dev on your team would have to do it by themselves, wasting time unnecessarily. If you chose to package your toolchain in a Docker image, however, one person on your team updates the Docker image and tells everyone to pull it. That’s it. From now on, everyone on your team is on the latest version of your dev toolchain, seamlessly.
Using Docker images: is it really that easy?
Using Docker can be intimidating. While you don’t need to understand the whole underlying Docker infrastructure to just use an image, you need to specify the right command to start the right image, expose correct ports, map hostname, mount volumes, etc.
In the CLI for Microsoft 365 project, that I’m co-maintaining, we use a Docker image to preview docs before submitting/merging PRs. Our docs are built using MkDocs which is a Python tool that requires a specific Python runtime as well as a few other things. Rather than having people waste time and set up MkDocs and its dependencies on their machine, we recommend using the Docker image that allows them to focus on their task at hand, which is verifying their docs changes. To preview the docs using the Docker image, you’d need to run the following command:
docker run --rm -it -p 8000:8000 -v ${PWD}:/docs squidfunk/mkdocs-material:3.1.0This is a variant of the command for *sh. If you’re on Windows or use PowerShell instead, you’d need to adapt it to resolve the current folder. Oh, and have I mentioned that you need to change the working directory to docs first?
Yes, you could put it in an npm script and have it resolve the path automatically, but there is a better - easier way.
How to use Docker images like a pro with the Docker Visual Studio Code extension
The Docker Visual Studio Code extension is meant to help you build and manage Docker images run Docker containers. It abstracts away fiddling with the command-line and arguments and allows you to focus on your work instead.
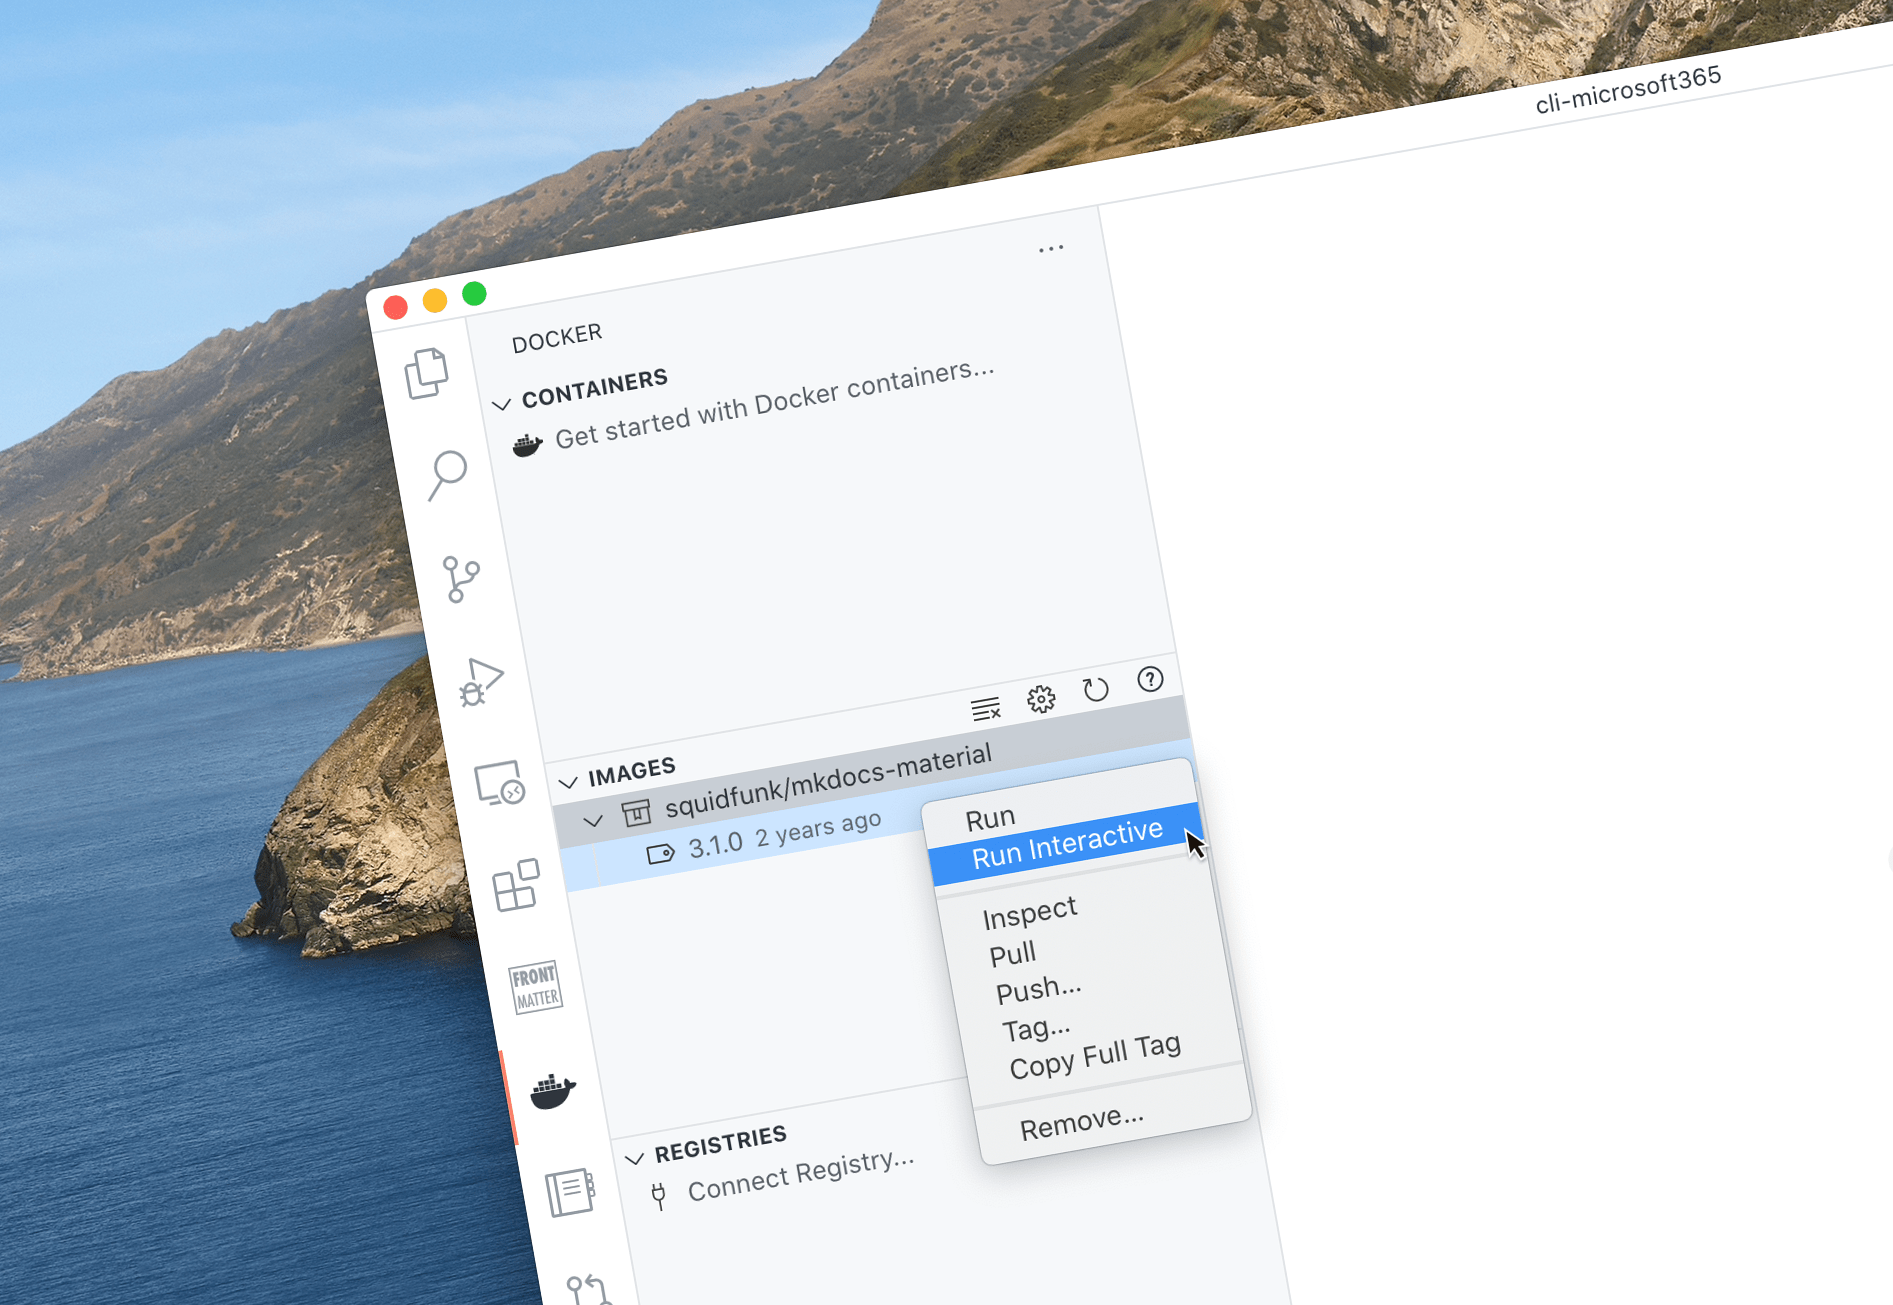
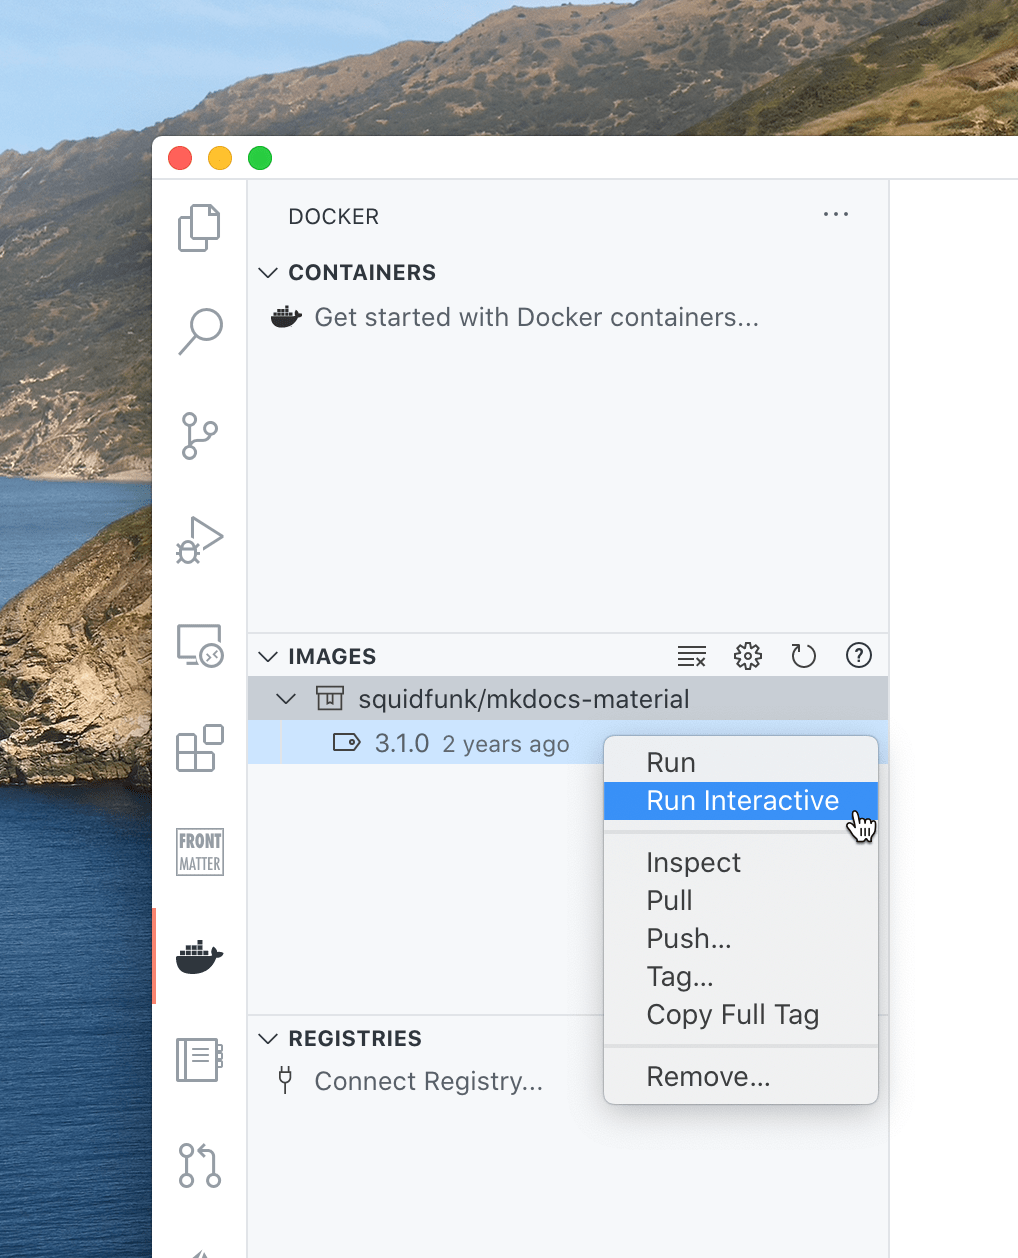
After installing the extension, it will present you with the list of images available on your machine. By connecting to a registry, like Docker Hub, you will be able to pull additional images. To run the container, all you need to do is to right-click the particular image and from the context menu choose Run. No fiddling with the command line!

Often though, you will need to run the Docker container with several parameters. And here is how you can customize the Docker extension to pass them into your image.
Option 1: Define a task for your container
One way to instruct the Docker extension how to run your container is by defining a task in the .vscode/tasks.json file in your project. The Docker extension introduces a new type of task named docker-run that you can use for running Docker containers.
Consider the command I mentioned previously, required to run MkDocs to preview docs in the CLI for Microsoft 365 project:
docker run --rm -it -p 8000:8000 -v ${PWD}:/docs squidfunk/mkdocs-material:3.1.0An equivalent task in VSCode would be:
{
  "version": "2.0.0",
  "tasks": [
    {
      "label": "Run docs container",
      "type": "docker-run",
      "dockerRun": {
        "image": "squidfunk/mkdocs-material:3.1.0",
        "ports": [{
          "containerPort": 8000,
          "hostPort": 8000
        }],
        "volumes": [{
          "localPath": "${workspaceFolder}/docs",
          "containerPath": "/docs"
        }],
        "remove": true
      }
    }
  ]
}
In the dockerRun section we define the name of the image we want to run, how we want to map ports, how we want to map volumes, and whether the container should be removed after it’s stopped to free disk space on our computer. Notice the ${workspaceFolder} token in the localPath property that we can use to have VSCode automatically resolve for us the full path of our project on the disk.
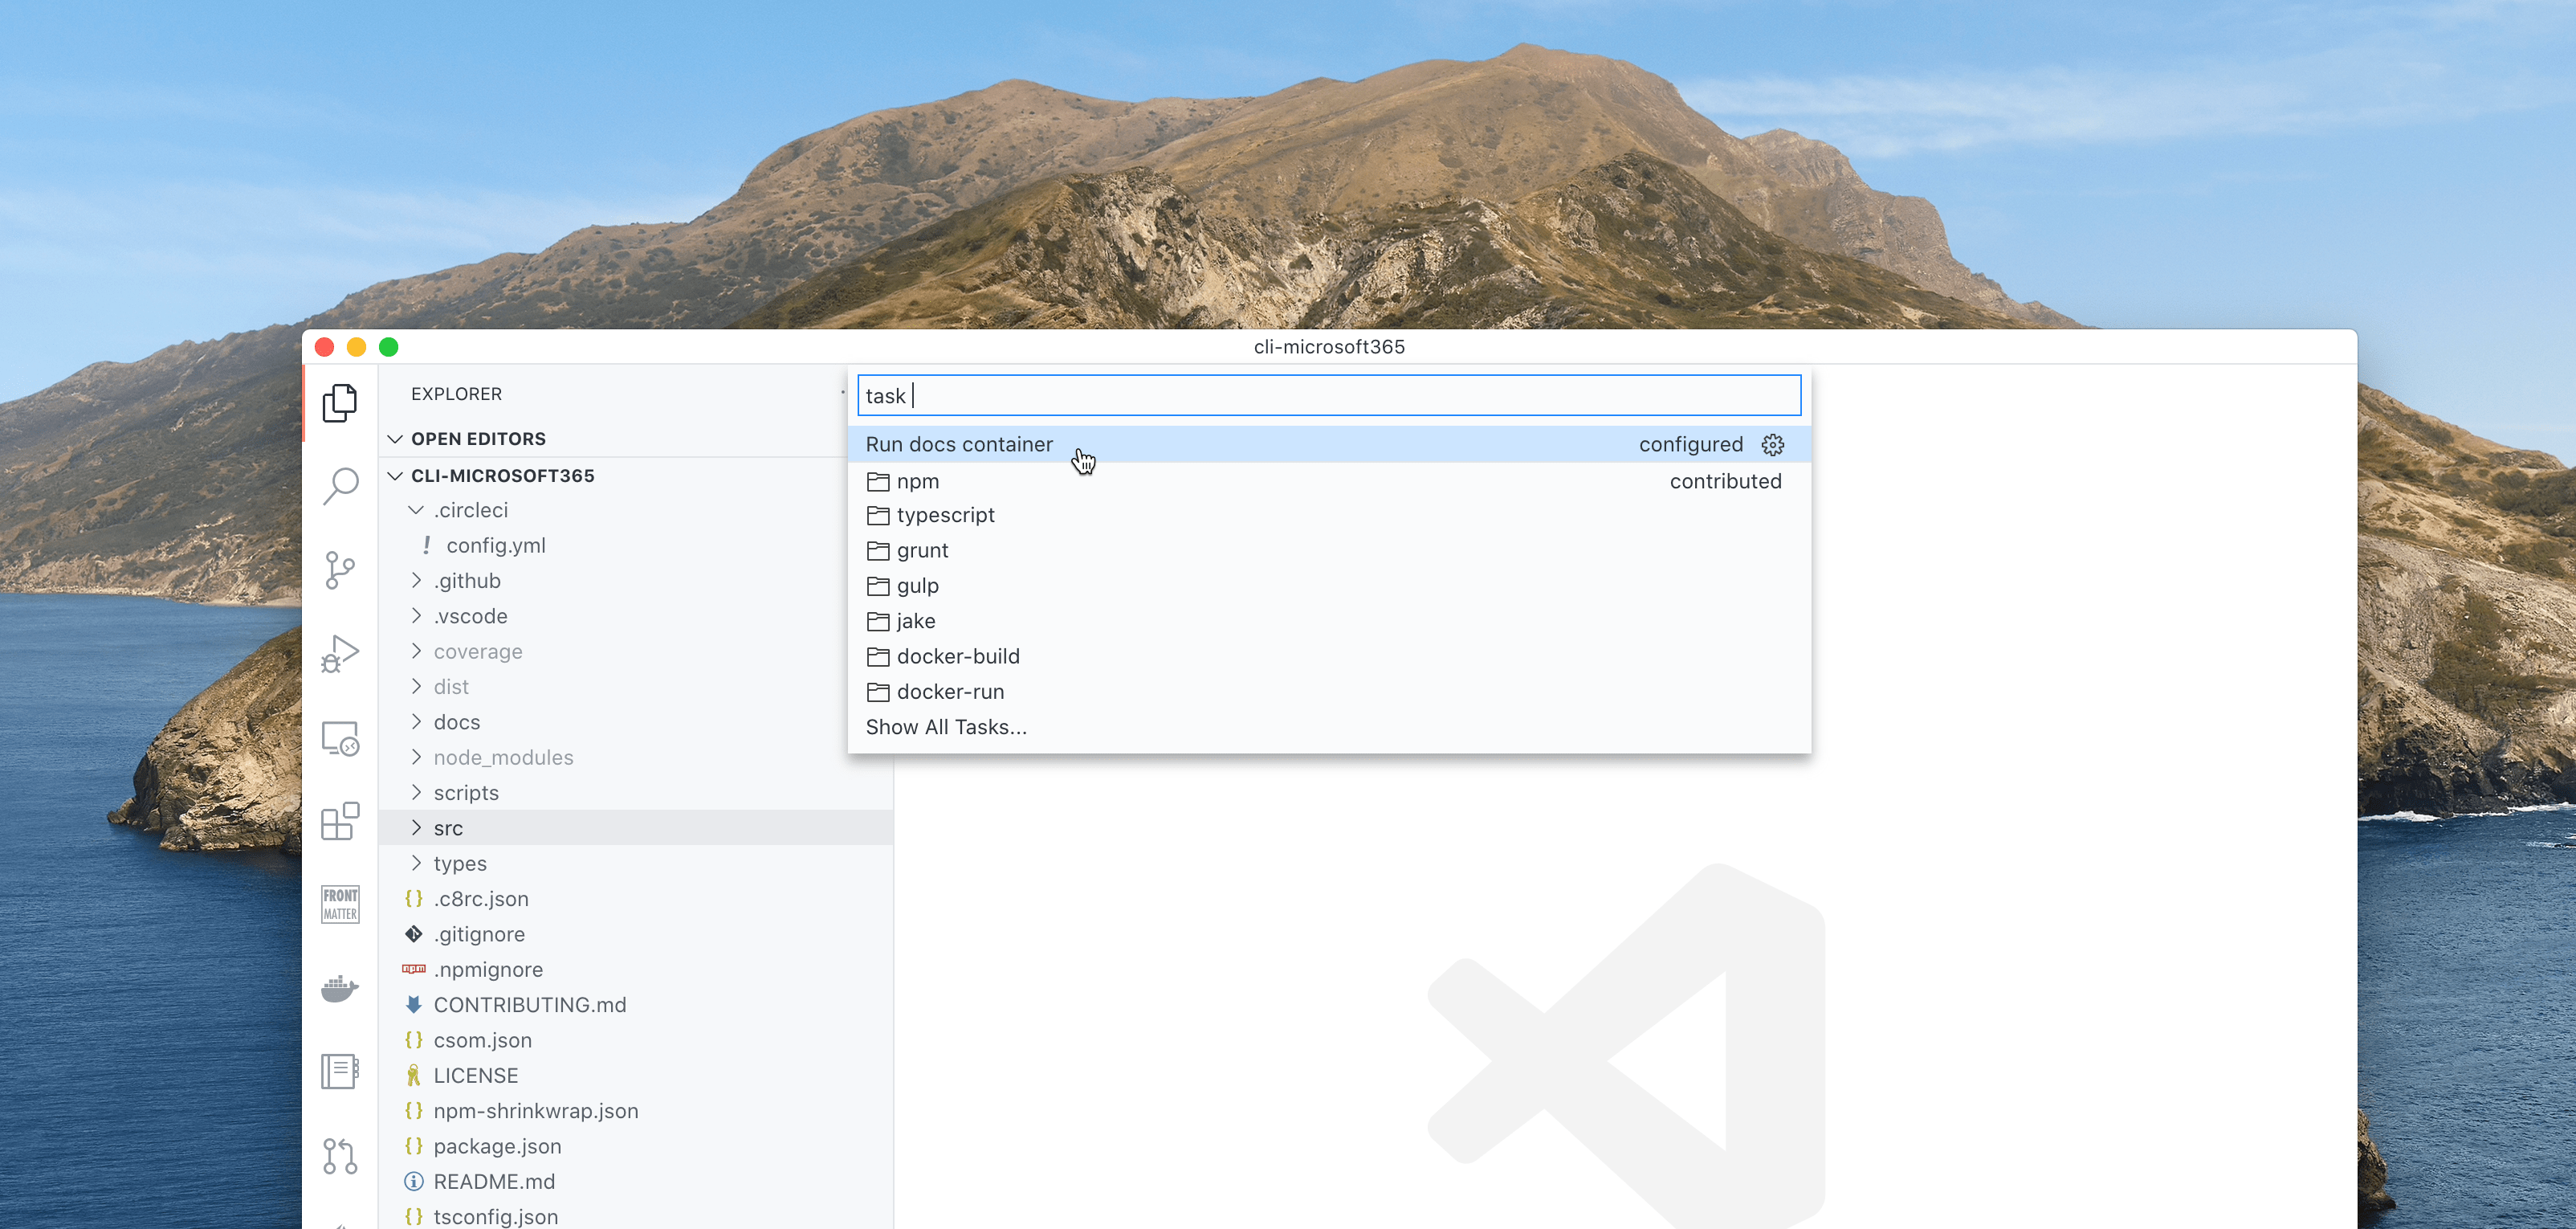
To run this task, you’d open the command palette, type task and from the list of tasks, select Run docs container.

This option of running Docker containers is great in case you haven’t used the image previously and don’t have it on your machine yet. Rather than having to browse for the right image in the registry, you can have the Docker extension pull it for you automatically.
Option 2: Customize the Docker run command
Another way to run your Docker container is by selecting the image from the list of images, and from the context menu choosing Run or Run interactive.

For this option to work as intended though, you need to instruct the Docker extension which arguments to pass to your image. To do that, you will need to adjust VSCode settings in the .vscode/settings.json file in your project (or globally in your machine if you use the same configuration across multiple projects).
{
  "docker.commands.runInteractive": [
    {
      "label": "Default run command",
      "template": "docker run --rm -it ${exposedPorts} ${tag}"
    },
    {
      "label": "Run docs container",
      "template": "docker run --rm -it ${exposedPorts} -v ${workspaceFolder}/docs:/docs ${tag}",
      "match": "squidfunk"
    }
  ]
}
In this example, we retain the default way of running containers (labels are just for information and are not displayed in VSCode) and add a new option, specific to our image. Note, how we extend the default template with instructions to map volumes to the docs folder. Using the match property, which accepts a regular expression, we instruct the Docker extension to use this template on all images that match squidfunk.
After applying this setting, you won’t see any changes in the UI in Visual Studio. But when you run an image interactively, and its name matches the specified pattern, it will be run with the predefined arguments.
This option is very convenient if you have pulled the required Docker image previously and want to quickly run it.
Summary
The Docker extension for Visual Studio Code significantly simplifies working with Docker images and containers in your project. Not only it offers a convenient way of pulling images and running containers but it also does an awesome job in helping you build images for your team. Abstracting away the different commands and arguments, it allows you to focus on your job, saving you precious time.
Over to you: do you use Docker containers in your projects? If so, have you tried the Docker extension for Visual Studio Code yet?