Handle app button events in Microsoft Teams tabs
Did you know that you can respond to user clicking on the app button of your Microsoft Teams personal app?
Embed web apps in Microsoft Teams through custom tabs
If you have a custom web app, you can expose it in Microsoft Teams as a custom tab. This is a great way to bring your app to where your users are and let them access important information in the context of their work.
By embedding your app in Teams, you lower the threshold for users to work with your app. What’s more, if you expose your app as a personal app, users will be able to access it directly from the left rail no matter where in Teams they are.
Build full-page tabs in Microsoft Teams
In my recent article, I showed you how you can remove the tab-header bar in your Microsoft Teams personal app to provide users with a more tailored experience.

Taking it a step further, did you know that you can interact with users clicking on your app’s button in the left rail and for example, show a menu of your application?

Handle app button events in Microsoft Teams tabs
In version 1.8 of Microsoft Teams JS SDK, Microsoft introduced three new handlers for responding to users interacting with the app button: registerAppButtonClickHandler, registerAppButtonHoverEnterHandler and registerAppButtonHoverLeaveHandler. These handlers allow you to respond to users respectively clicking, hovering over and hovering away from the app button of your app when pinned in the left rail.
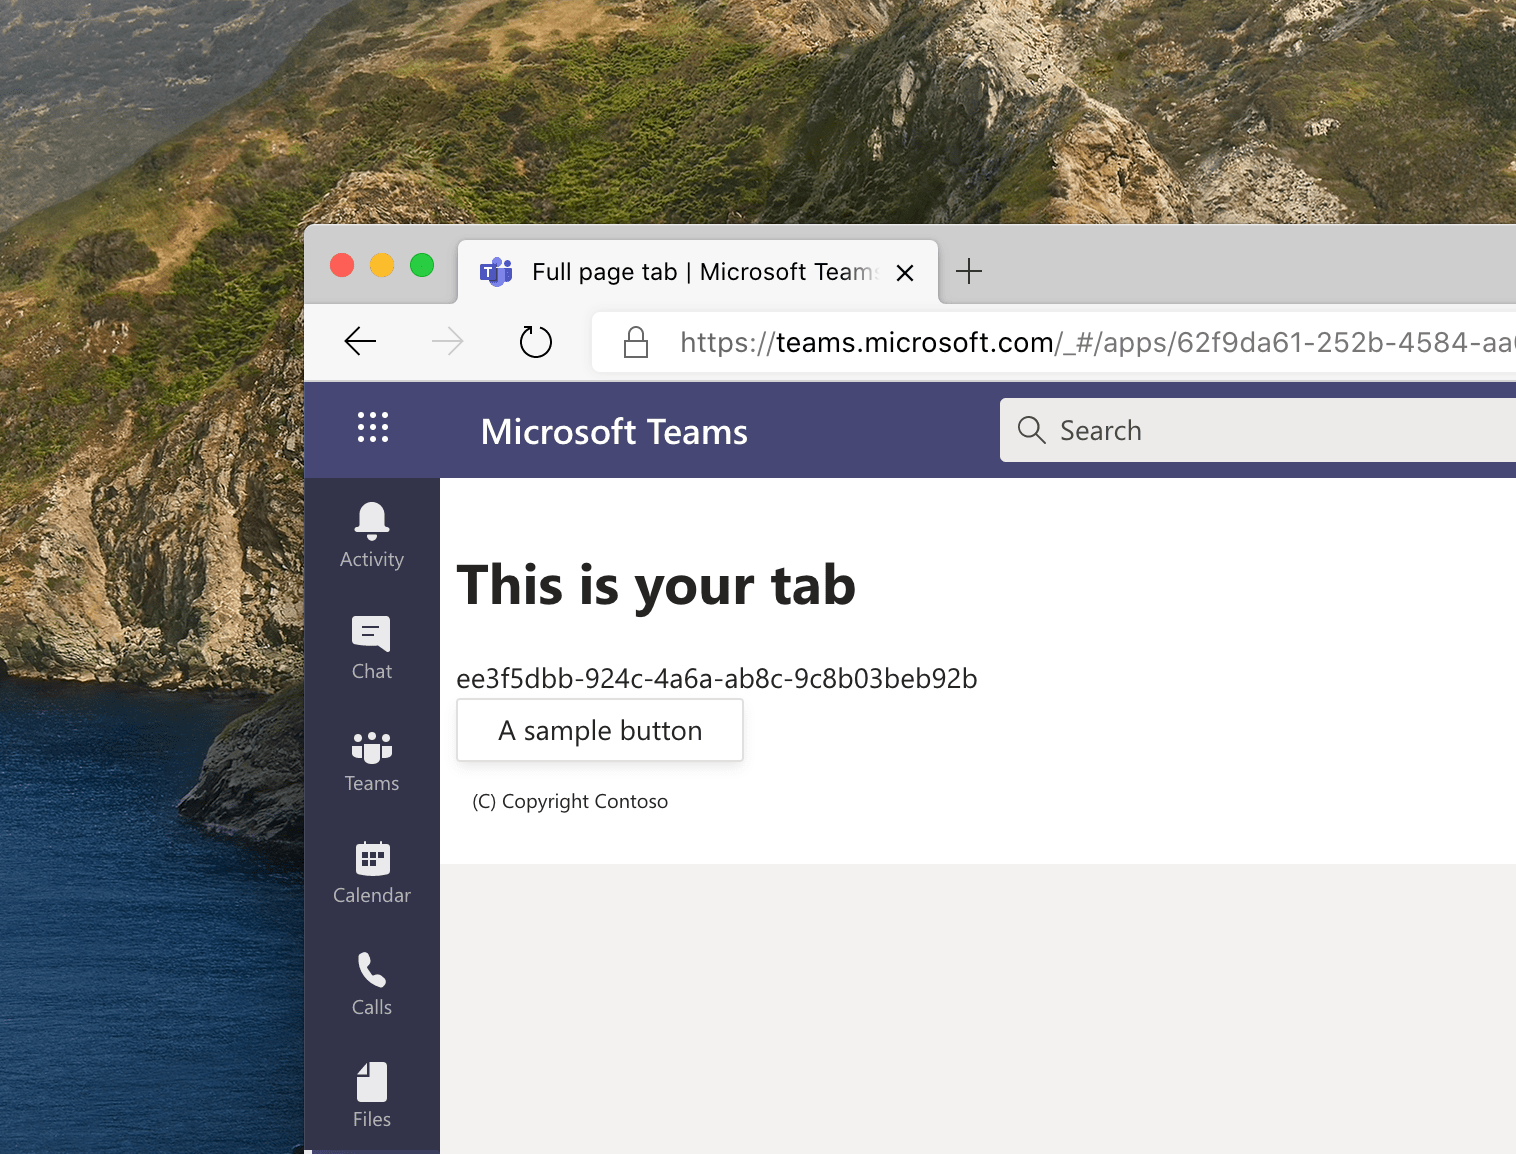
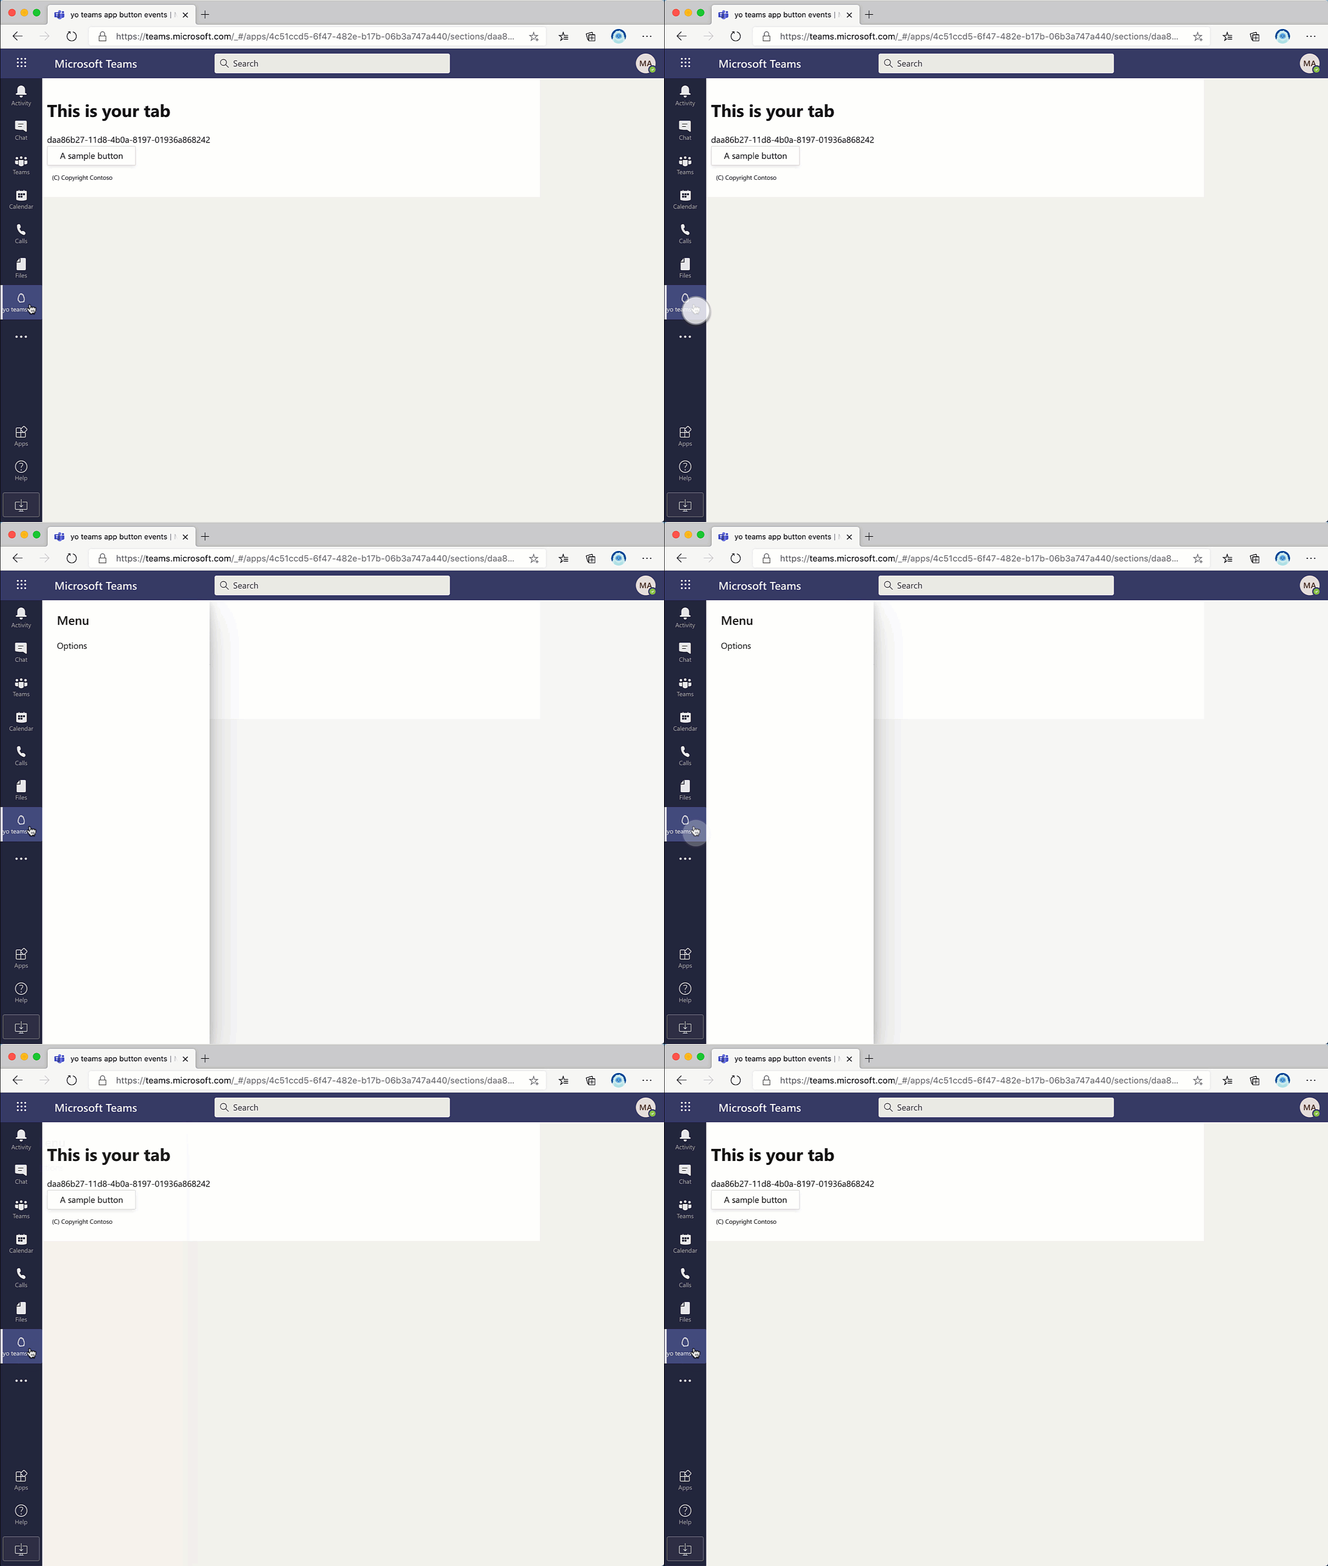
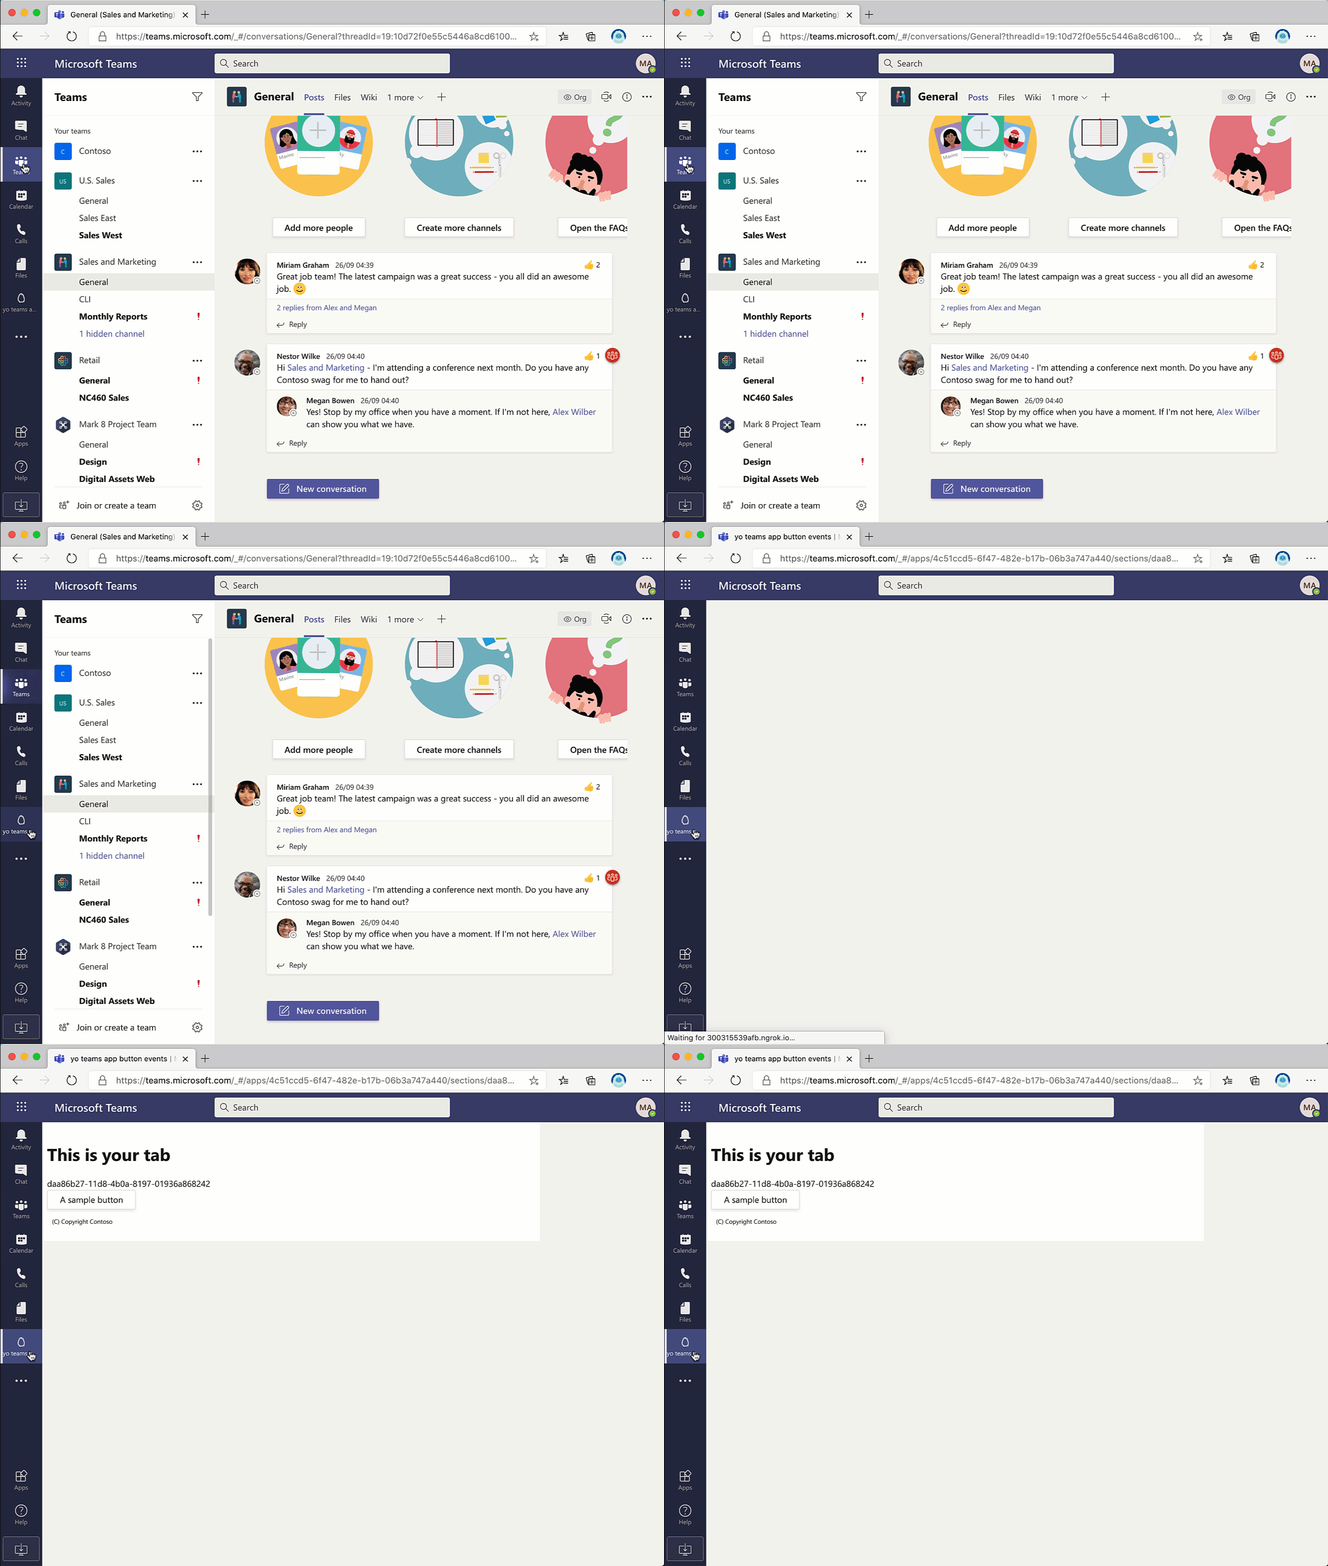
On the first interaction with the app button, your app opens, just as usual.

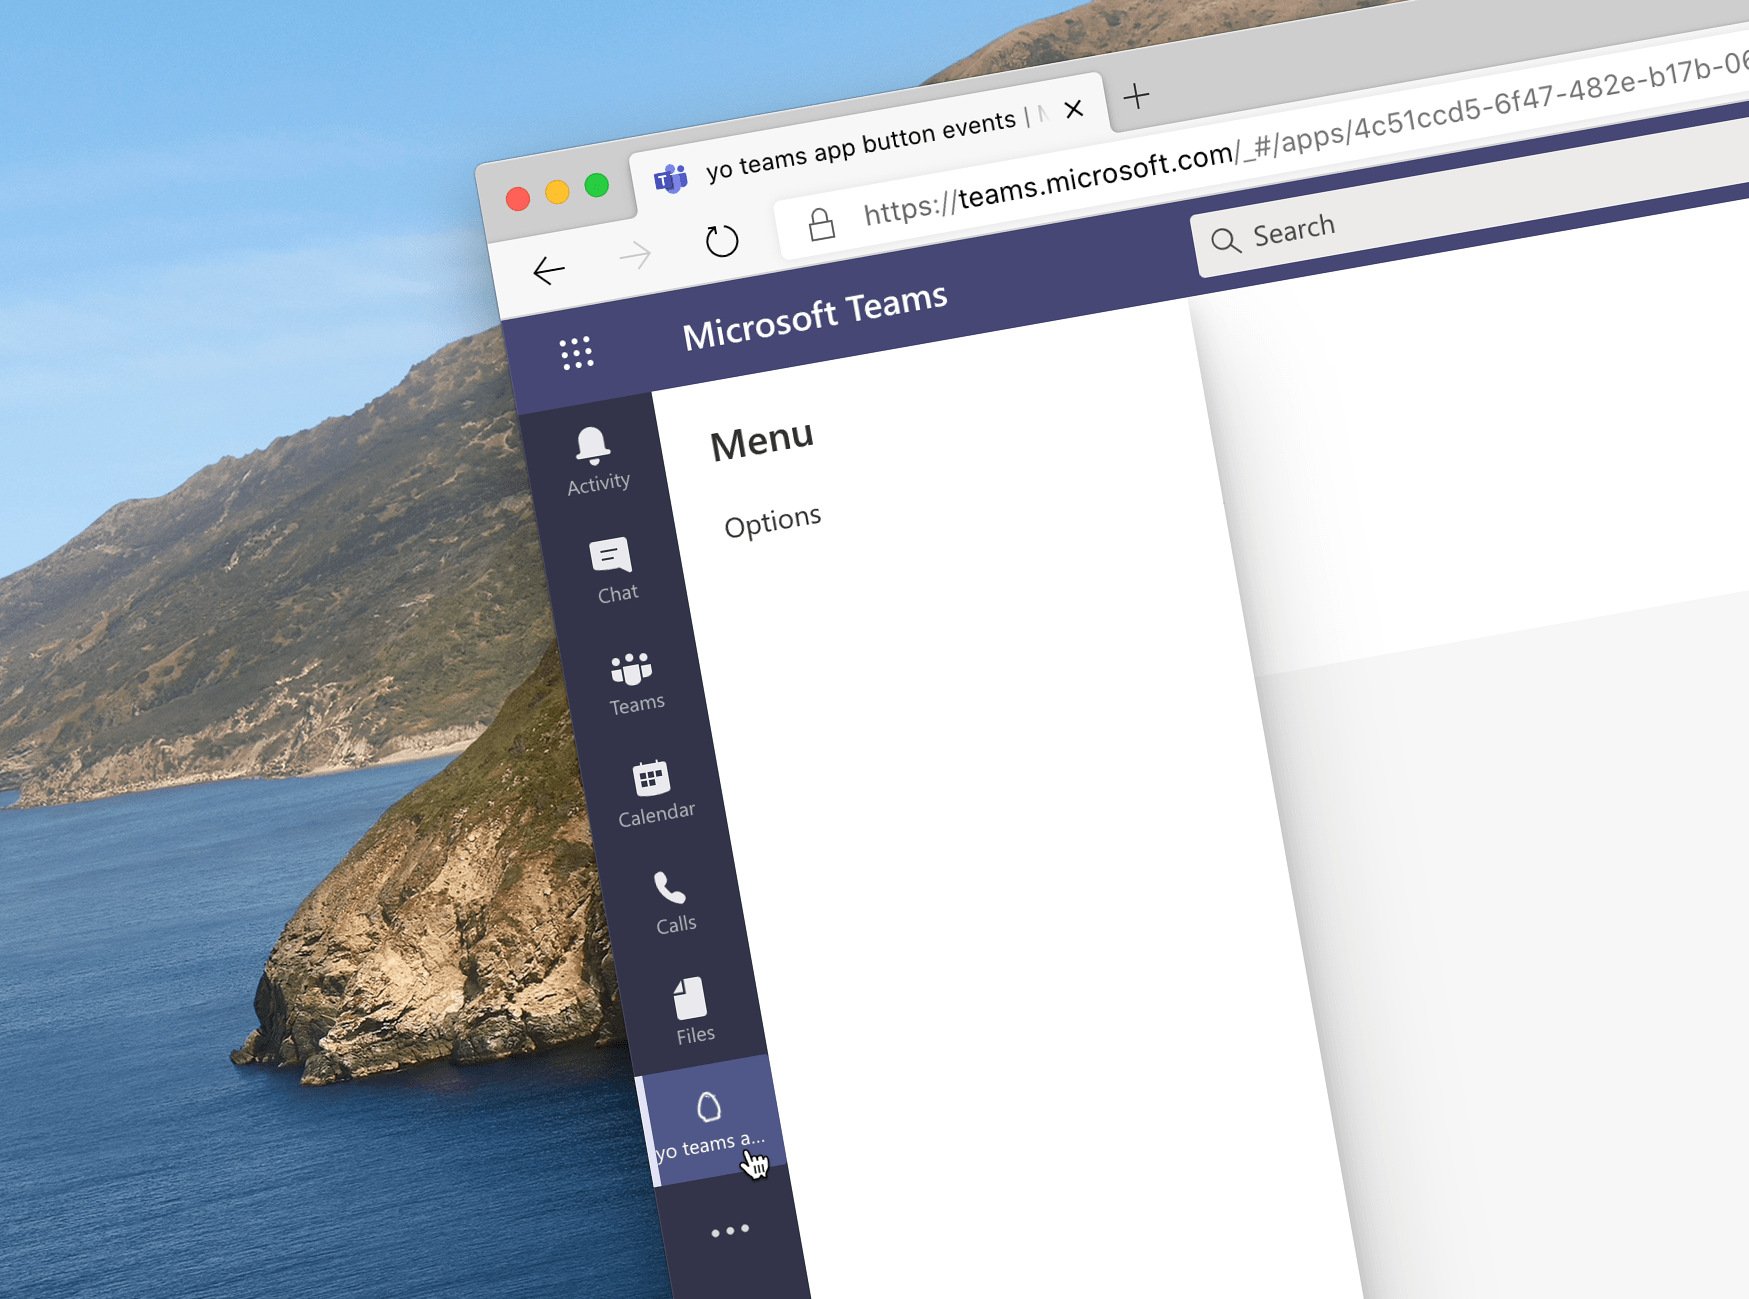
Once your app is open though, if user clicks on the app button again, it will trigger your event handler, showing for example a menu panel.

Following code snippets are based on tab code scaffolded using yo teams.
To implement this behavior, you’d start with registering a handler for one or more app button events in the componentWillMount method of your component:
export class OverviewTab extends TeamsBaseComponent<IOverviewTabProps, IOverviewTabState> {
    // [...] trimmed for brevity

    public async componentWillMount() {
        this.updateTheme(this.getQueryVariable("theme"));

        if (await this.inTeams()) {
            microsoftTeams.initialize();
            microsoftTeams.registerOnThemeChangeHandler(this.updateTheme);
            microsoftTeams.registerAppButtonClickHandler(() => this.handleAppButtonClick());
            microsoftTeams.getContext((context) => {
                microsoftTeams.appInitialization.notifySuccess();
                this.setState({
                    entityId: context.entityId
                });
                this.updateTheme(context.theme);
            });
        } else {
            this.setState({
                entityId: "This is not hosted in Microsoft Teams"
            });
        }
    }

    // [...] trimmed for brevity
}
If you wanted to show a panel with some options, the handleAppButtonClick method, could be similar to:
// [...] trimmed for brevity
import { teamsTheme } from "@fluentui/react-northstar";

export interface IOverviewTabState extends ITeamsBaseComponentState {
    entityId?: string;
    appMenuVisible: boolean;
}

// [...] trimmed for brevity

export class OverviewTab extends TeamsBaseComponent<IOverviewTabProps, IOverviewTabState> {
    constructor(props: IOverviewTabProps) {
        super(props);

        this.state = {
            appMenuVisible: false,
            theme: teamsTheme
        };
    }

    // [...] trimmed for brevity

    private handleAppButtonClick() {
        this.setState((prevState, props) => {
            return {
                appMenuVisible: !prevState.appMenuVisible
            };
        });
    }
}
Finally, in the render method, you’d display the panel:
import { Panel, PanelType } from "@fluentui/react/lib/Panel";

// [...] trimmed for brevity

export class OverviewTab extends TeamsBaseComponent<IOverviewTabProps, IOverviewTabState> {
    // [...] trimmed for brevity

    /**
     * The render() method to create the UI of the tab
     */
    public render() {
        return (
            <Provider theme={this.state.theme}>
                <Panel
                    isLightDismiss
                    headerText="Menu"
                    isOpen={this.state.appMenuVisible}
                    onDismiss={() => this.setState({appMenuVisible: false})}
                    type={PanelType.smallFixedNear}>
                    <p>Options</p>
                </Panel>
                {/* [...] trimmed for brevity */}
            </Provider>
        );
    }

    private handleAppButtonClick() {
        this.setState((prevState, props) => {
            return {
                appMenuVisible: !prevState.appMenuVisible
            };
        });
    }
}
At this moment, Fluent UI Northstar, used by default in code scaffolded by yo teams, doesn’t offer a panel component. Instead, you’d need to install
@fluentui/reactand load it from there.
While this example illustrates using the click-event to show a side-panel with navigation, the possibilities are endless and limited only by your creativity.
For more information about these new event handlers see the documentation.