DIY: Office 365 Cloud Shell
What if you could manage your Office 365 tenant using a web terminal as you do with Azure?
A case for a command line on the web
Managing platforms using a web site is great. At least at first. You clearly see what you’re doing and can change configuration with just a few clicks. Until you get to changing the same settings over and over again and clicking around becomes cumbersome.
Automating the configuration steps using a CLI or PowerShell cmdlets saves you time. But comes at a price. You need to install some prerequisites and regularly update the set of commands to manage the latest capabilities of your platform. But what if you could just use the command line and not have to worry about installing anything or keeping it up-to-date? What if it was all done for you?
For a long time, Microsoft Azure has been offering, next to the web portal, the Cloud Shell - a command line on the web, for managing its assets and configuration. With a single click, you can open a command line in your browser and use the Azure CLI or PowerShell cmdlets to manage assets in your Azure subscription. It’s always up-to-date and you can just use it. What if you could do the same for your Office 365 tenant?
Office 365 Cloud Shell
While there is no Cloud Shell available for Office 365, you can make one yourself. And there are two ways to do it.
Following examples are based on the Office 365 CLI. Theoretically, you could achieve similar results with the SPO- or PnP PowerShell.
Add Office 365 CLI to the Azure Cloud Shell
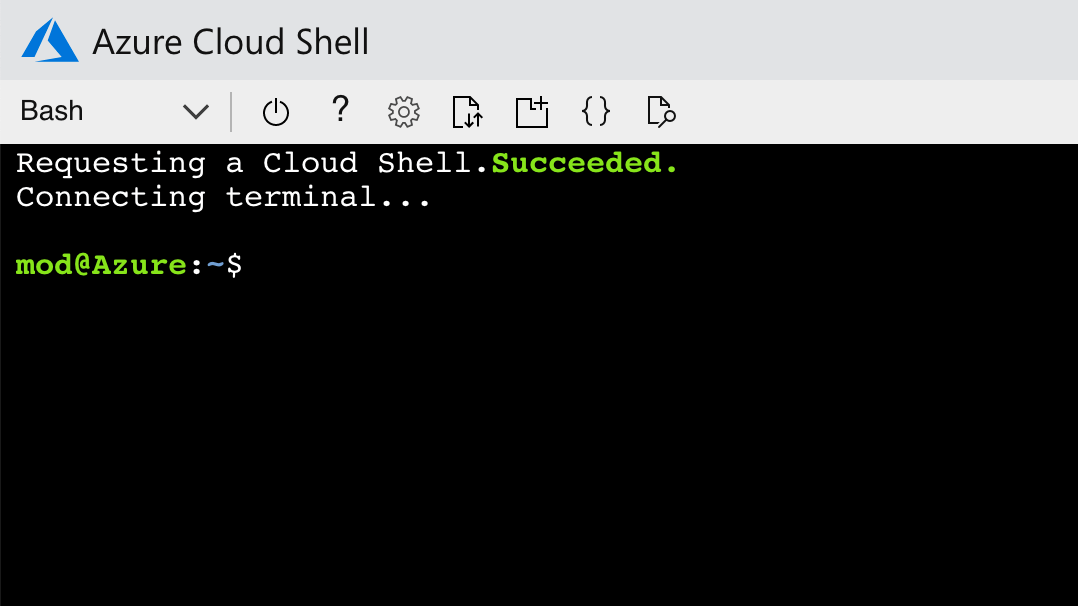
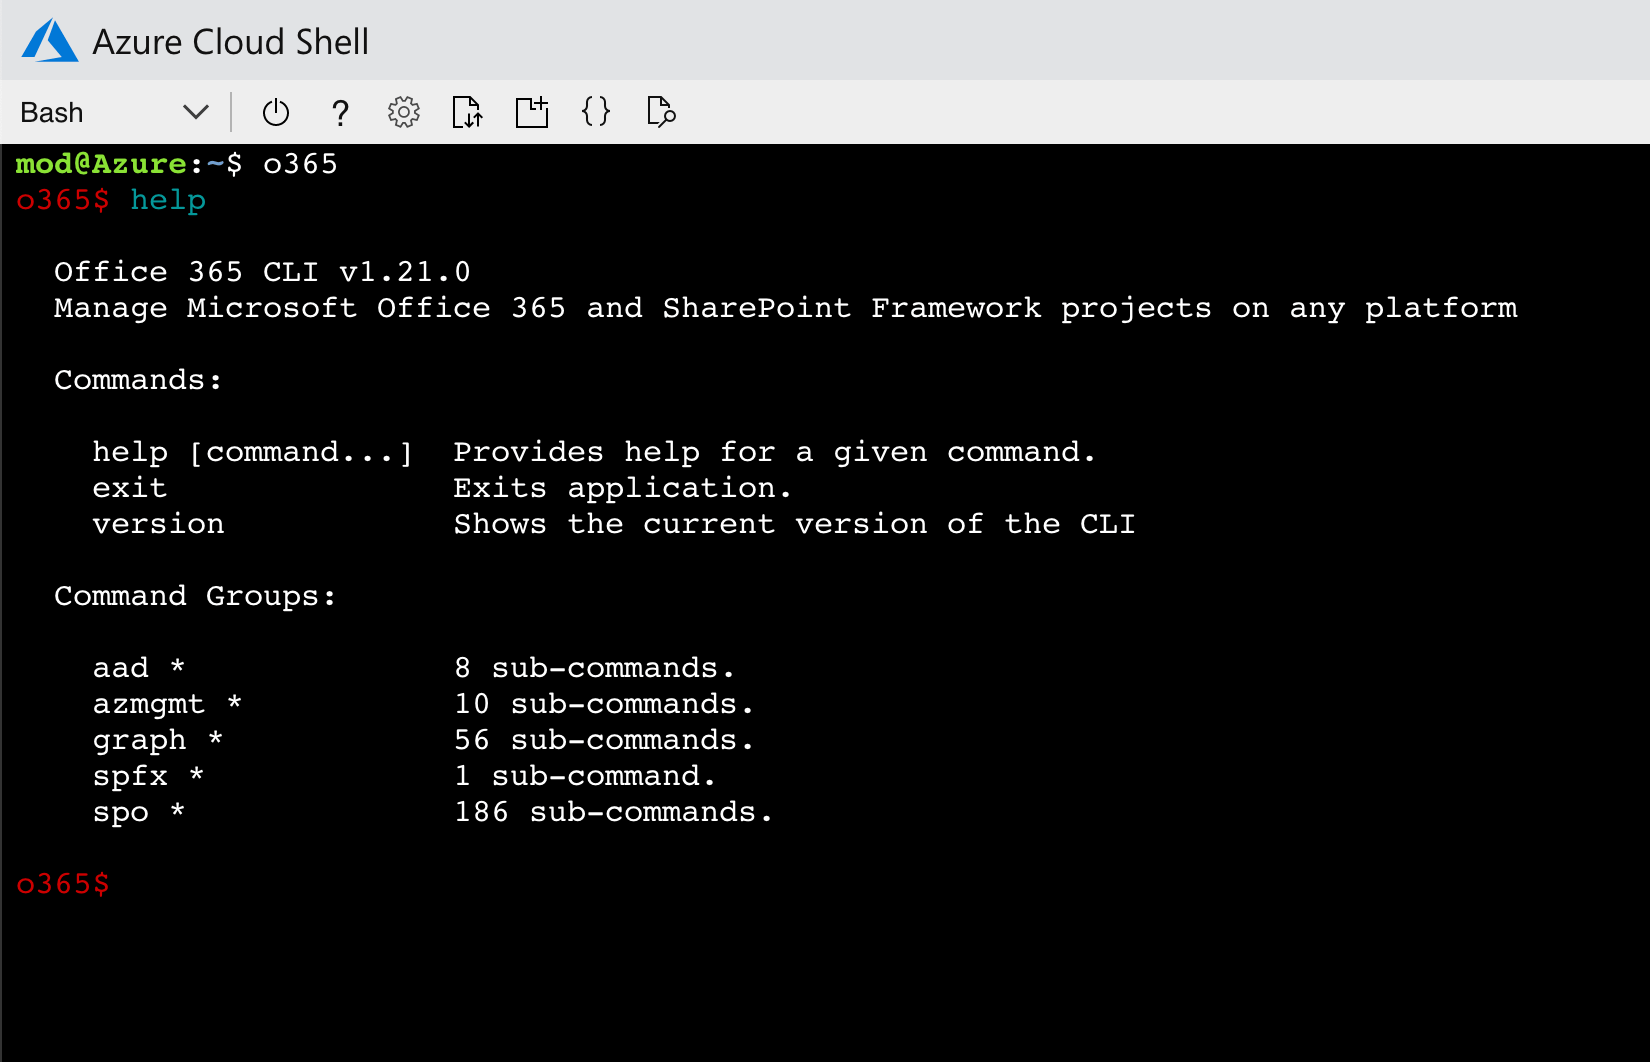
One way to create a cloud shell for your Office 365 tenant is by installing the Office 365 CLI in the Azure Cloud Shell. It requires very little setup and no maintenance, other than occasionally updating the CLI to install the latest version. If you have access to the Azure Cloud Shell, it’s probably the easiest way to set it up. Scott Hoag has a nice article explaining the necessary steps to get it done.
Build your own Office 365 Cloud Shell
If you don’t have access to the Azure Cloud Shell, but you can get hold of some Azure resources, you can build your own Office 365 Cloud Shell.
Following is a high-level overview of the different building blocks and considerations involved in building your own Office 365 Cloud Shell. All code and setup instructions are available on GitHub.
Before you get started, here is the list of things you will need:
- Azure subscription with an Azure Container Registry (ACR) and Azure Container Instances (ACI), to host the Docker container with Office 365 CLI
- Office 365 tenant with app catalog, to deploy the SharePoint Framework web part
- permissions on the Resource Group with ACR and ACI, to push the Docker image and deploy a container
- tenant admin permissions in Office 365, to approve the permissions for the web part to communicate with the container
- Docker installed locally, to build the Docker image
- Node with npm and gulp installed locally, to build the SharePoint Framework solution
High-level architecture
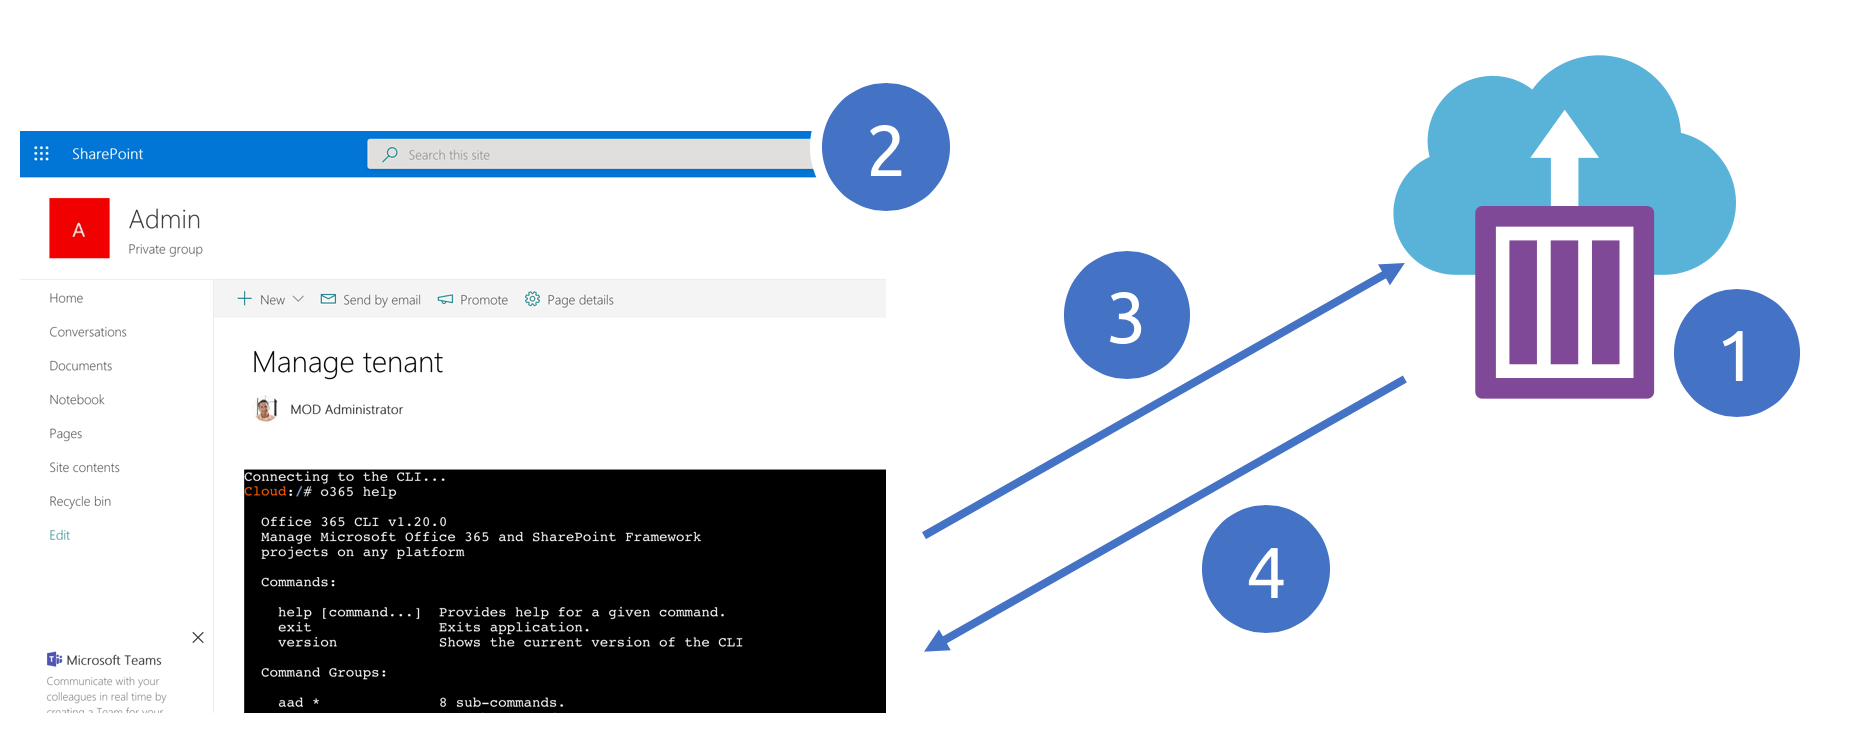
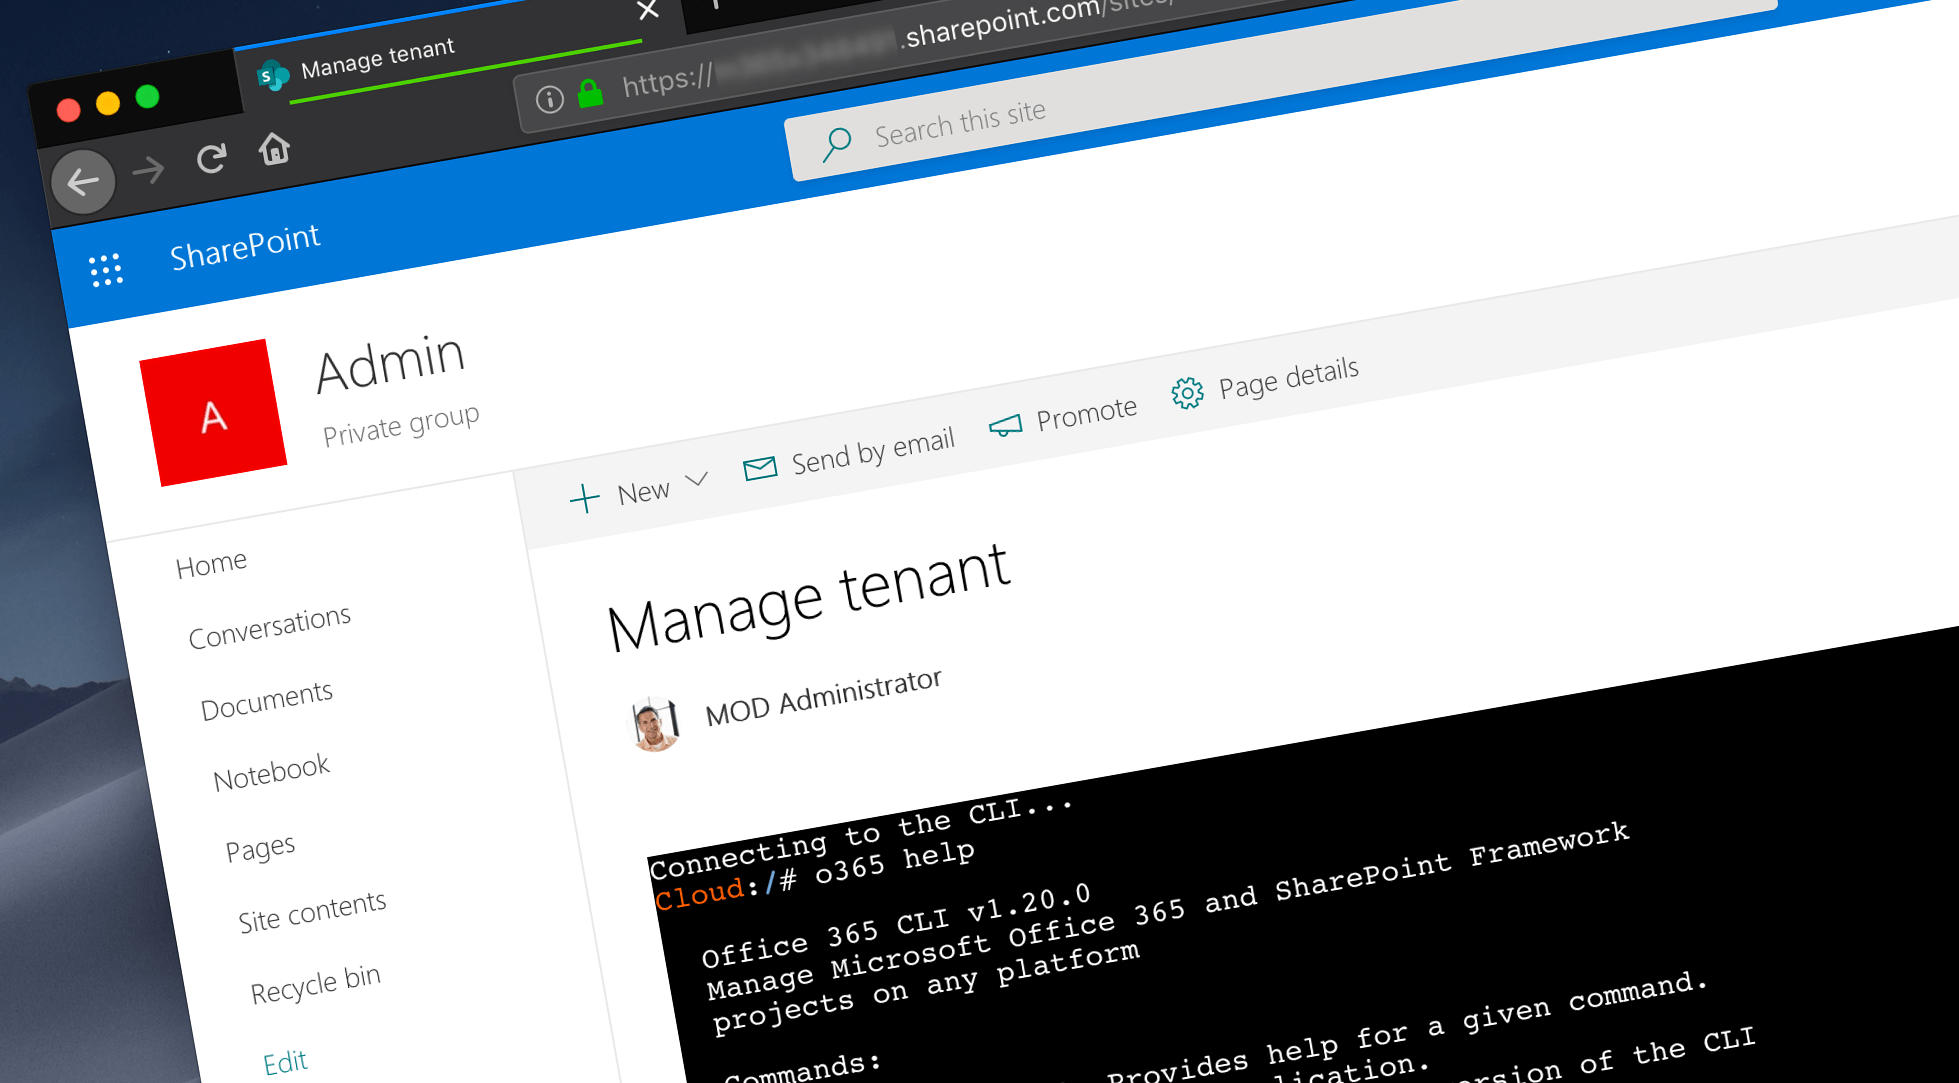
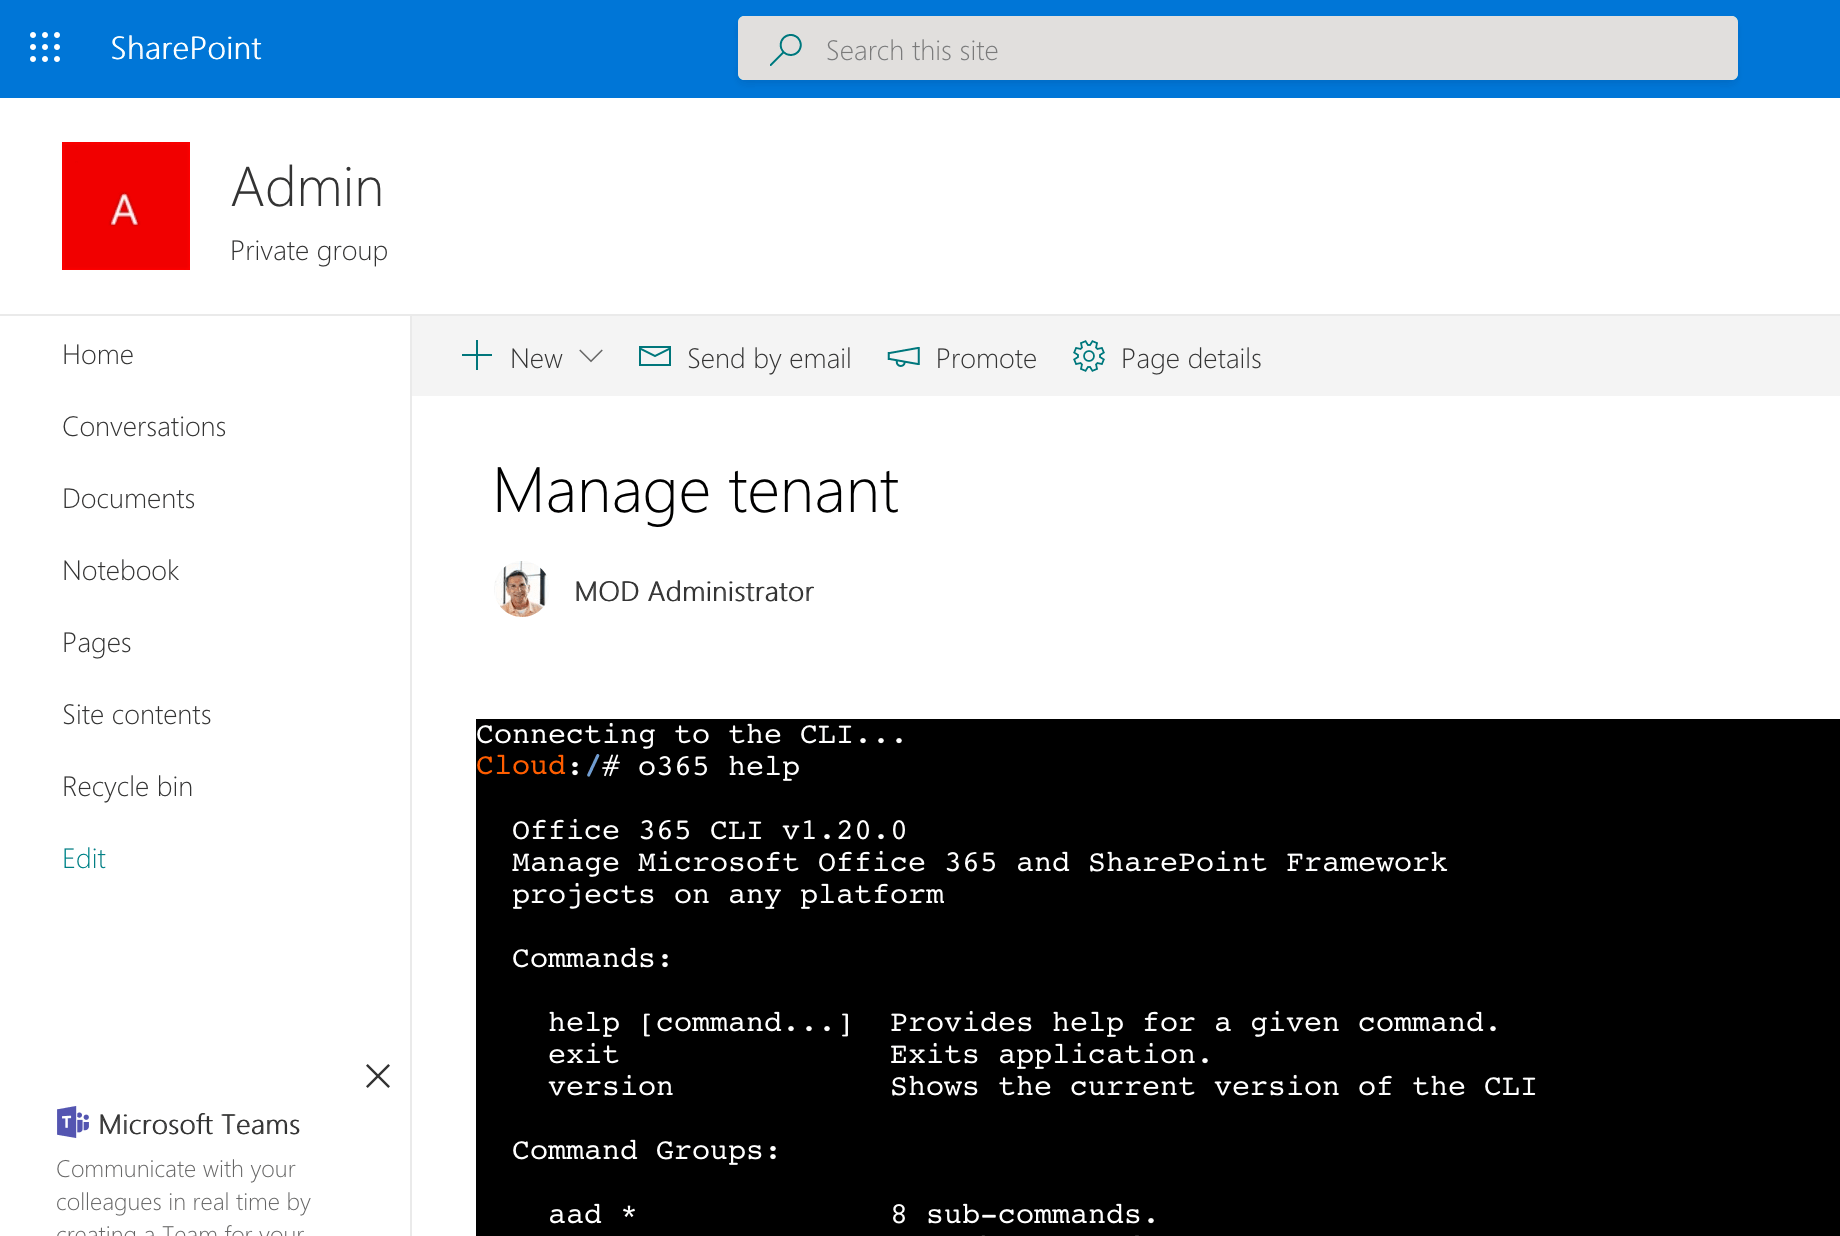
Office 365 Cloud Shell consists of two pieces: a Docker container with the Office 365 CLI running on Azure Container Instances (1) and a SharePoint Framework web part which communicates with the container (2). The web part contains a web terminal. Each command you type is sent to ACI for execution (3). The output of each command is sent back to the web part to be displayed in the web terminal (4). The web part and ACI communicate with each other using a web socket to pass the input and output between each other efficiently.
Setup the Docker image
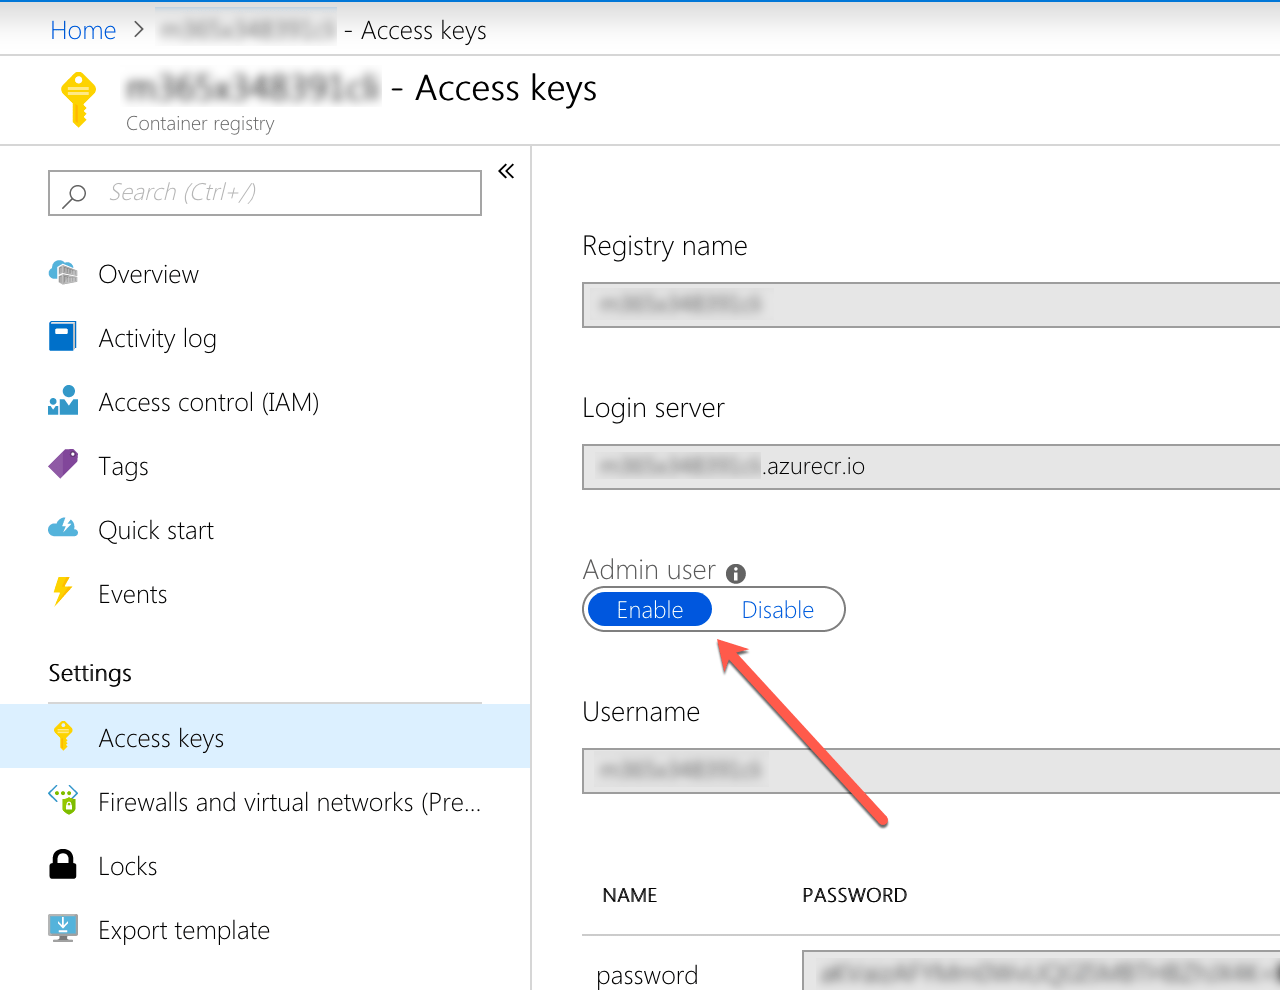
In the list of prerequisites, I mentioned using an Azure Container Registry. In fact, using the ACR is optional. Because the Docker image with the Office 365 CLI doesn’t contain any sensitive information, you could just as well host it publicly on Docker Hub. If you prefer to keep the image private, start with creating the ACR so that you have a place to host your image. Don’t forget to enable the admin account, so that you can log in to your registry and push the image to it using the docker cli on your machine.
The Docker image is simple and uses the standard Node.js Docker image as a base.
FROM node:10.15.3

RUN npm i -g @pnp/office365-cli
COPY ./loop.sh /usr/src/loop.sh
COPY ./.bashrc /root/.bashrc

CMD /bin/bash /usr/src/loop.sh
On top, it adds the Office 365 CLI and two files: loop.sh which is a bash script to keep the image running and a .bashrc file to define a custom command prompt. The loop.sh file is defined as the command of the image. It creates an infinite loop that keeps the container running. Without it, the container would start and stop immediately when ran on ACI.
Build the web part
The SharePoint Framework web part uses Xterm.js as the web terminal. It’s a common package used among others by the Azure Cloud Shell or Visual Studio Code. Xterm offers rich configuration capabilities, but to keep things simple, the web part uses a basic configuration that just works:
this.term = new (xterm as any).Terminal({ convertEol: true });The web part communicates with the Docker container using the Azure REST API. It starts, by executing the /bin/bash command:
this.azMgmtHttpClient
.post(`https://management.azure.com/subscriptions/${this.properties.subscription}/resourceGroups/${this.properties.resourceGroup}/providers/Microsoft.ContainerInstance/containerGroups/${this.properties.containerGroup}/containers/${this.properties.container}/exec?api-version=2018-10-01`, AadHttpClient.configurations.v1, {
  headers: {
    'content-type': 'application/json'
  },
  body: JSON.stringify({
    "command": "/bin/bash",
    "terminalSize": {
      "rows": this.term.rows,
      "cols": this.term.cols
    }
  })
})
By itself, the command doesn’t do anything else than starting an instance of Bash in the container. ACI will, however, respond with a URL of the web socket that you can use to communicate with the container and seamlessly run Office 365 CLI commands!
Once the web part retrieved the response from the ACI, it opens up new web socket using the URL specified by the ACI:
this.socket = new WebSocket(res.webSocketUri);Communication with the container through the socket is secured with a password which is a part of ACI’s response. Once the socket has been opened, the password must be sent back to ACI or the socket will expire:
this.socket.onopen = (e) => {
  this.socket.send(res.password);
};
After instantiating the socket, the web part sets up an event handler, that passes the data sent by the container through the socket to the terminal to be displayed to the user:
this.socket.onmessage = (e) => {
  this.term.write(e.data);
};
Additionally, all user input in the terminal is passed through the socket:
this.term.on('data', (data) => {
  this.socket.send(data);
});
From now on, every command typed in Xterm will be sent to the Docker container running on ACI, executed and whatever output it produces will be sent back through the socket and displayed in Xterm.
Communicating with the Azure REST API
Azure REST API is secured by Azure AD and to call it, you have to provide a valid OAuth bearer token. Thanks to the AadHttpClient in the SharePoint Framework, obtaining an access token for an API secured with AAD is easy, assuming communicating with that API has been permitted by the tenant admin.
To request permissions to communicate with the REST API, the SharePoint Framework solution issues a permission request:
{
  "$schema": "https://developer.microsoft.com/json-schemas/spfx-build/package-solution.schema.json",
  "solution": {
    // ...
    "webApiPermissionRequests": [
      {
        "resource": "Windows Azure Service Management API",
        "scope": "user_impersonation"
      }
    ]
  },
  // ...
}
Before the web part can be used, the above permission must be granted by the tenant admin. If you want to increase the security of your tenant, you can change the solution to run in isolated mode where the permission will be granted only to this specific solution:
{
  "$schema": "https://developer.microsoft.com/json-schemas/spfx-build/package-solution.schema.json",
  "solution": {
    // ...
    "isDomainIsolated": true,
    // ...
  },
  // ...
}
That’s all there is to it. Deploy the solution, grant the permission, start the container, add the web part to the page, provide the details to access your container and you’re ready to go!
Considerations
The setup of the solution is relatively simple to help you get started. If you wanted to use this setup in production, here are some things that you should take into account.
Avoid unnecessary costs
In the current setup, the web part assumes that the container is running. Ideally, it would automatically start it when needed and stop when it’s no longer used. Until then, you should stop the container when you no longer need it to avoid unnecessary costs.
Restrict access to the container
By default, everyone with access to your Azure subscription could connect to your Docker container with Office 365 CLI in it. With that, they could manage your tenant on your behalf. To prevent this from happening, you should limit the access to the container so that only you can access it. If your colleagues want to use the solution too, you should create dedicated containers for them that only they can access. After all, using these containers you’re managing your Office 365 tenant with tenant admin permissions.
Log out in the CLI
When you no longer use the container, log out from Office 365 in the CLI. In case someone would get access to the container, it would have your refresh token stored which could be used to get access to your Office 365 tenant on your behalf.
Room for improvement
In case you’re interested, here are some ideas about how you could improve the solution further.
Use isolated permissions
Instead of granting permissions to access the Azure REST API to all scripts in your tenant, you can grant them only to this particular solution. It will help you to improve the security posture of your intranet and avoid risks.
Automate managing the container
You could extend the solution, so that whenever you open the page with the web part on it, the web part automatically deploys a new container in ACI, configures its permissions so that only you access it and automatically connects to it. When you leave the page or have not used it for some time, the web part would automatically delete the container. This adjustment would also allow you to use a single web part for you and your colleagues.
That’s all there is to it. Give it a try, tell me what you think and if you have other ideas to improve the setup, I’d love to hear them too!