
Use Prompty with Foundry Local
Prompty is a powerful tool for managing prompts in AI applications. Not only does it allow you to easily test your prompts during development, but it also provides observability, understandability and portability. Here’s how to use Prompty with Foundry Local to support your AI applications with on-device inference.
Foundry Local
At the Build ‘25 conference, Microsoft announced Foundry Local, a new tool that allows developers to run AI models locally on their devices. Foundry Local offers developers several benefits, including performance, privacy, and cost savings.
Why Prompty?
When you build AI applications with Foundry Local, but also other language model hosts, consider using Prompty to manage your prompts. With Prompty, you store your prompts in separate files, making it easy to test and adjust them without changing your code. Prompty also supports templating, allowing you to create dynamic prompts that adapt to different contexts or user inputs.
Using Prompty with Foundry Local
The most convenient way to use Prompty with Foundry Local is to create a new configuration for Foundry Local. Using a separate configuration allows you to seamlessly test your prompts without having to repeat the configuration for every prompt. It also allows you to easily switch between different configurations, such as Foundry Local and other language model hosts.
Install Prompty and Foundry Local
To get started, install the Prompty Visual Studio Code extension and Foundry Local. Start Foundry Local from the command line by running foundry service start and note the URL on which it listens for requests, such as http://localhost:5272 or http://localhost:5273
Create a new Prompty configuration for Foundry Local
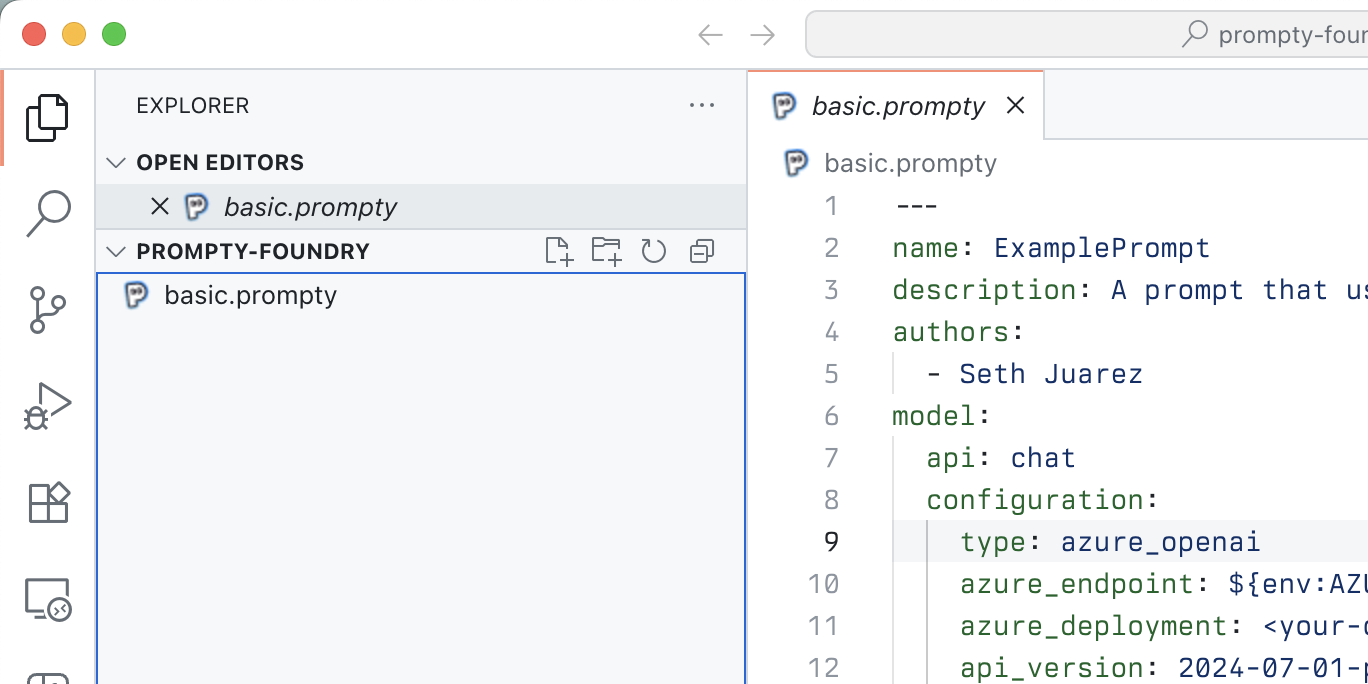
If you don’t have a Prompty file yet, create one to easily access Prompty settings. In Visual Studio Code, open Explorer, click right to open the context menu, and select New Prompty. This creates a basic.prompty file in your workspace.
Create the Foundry Local configuration
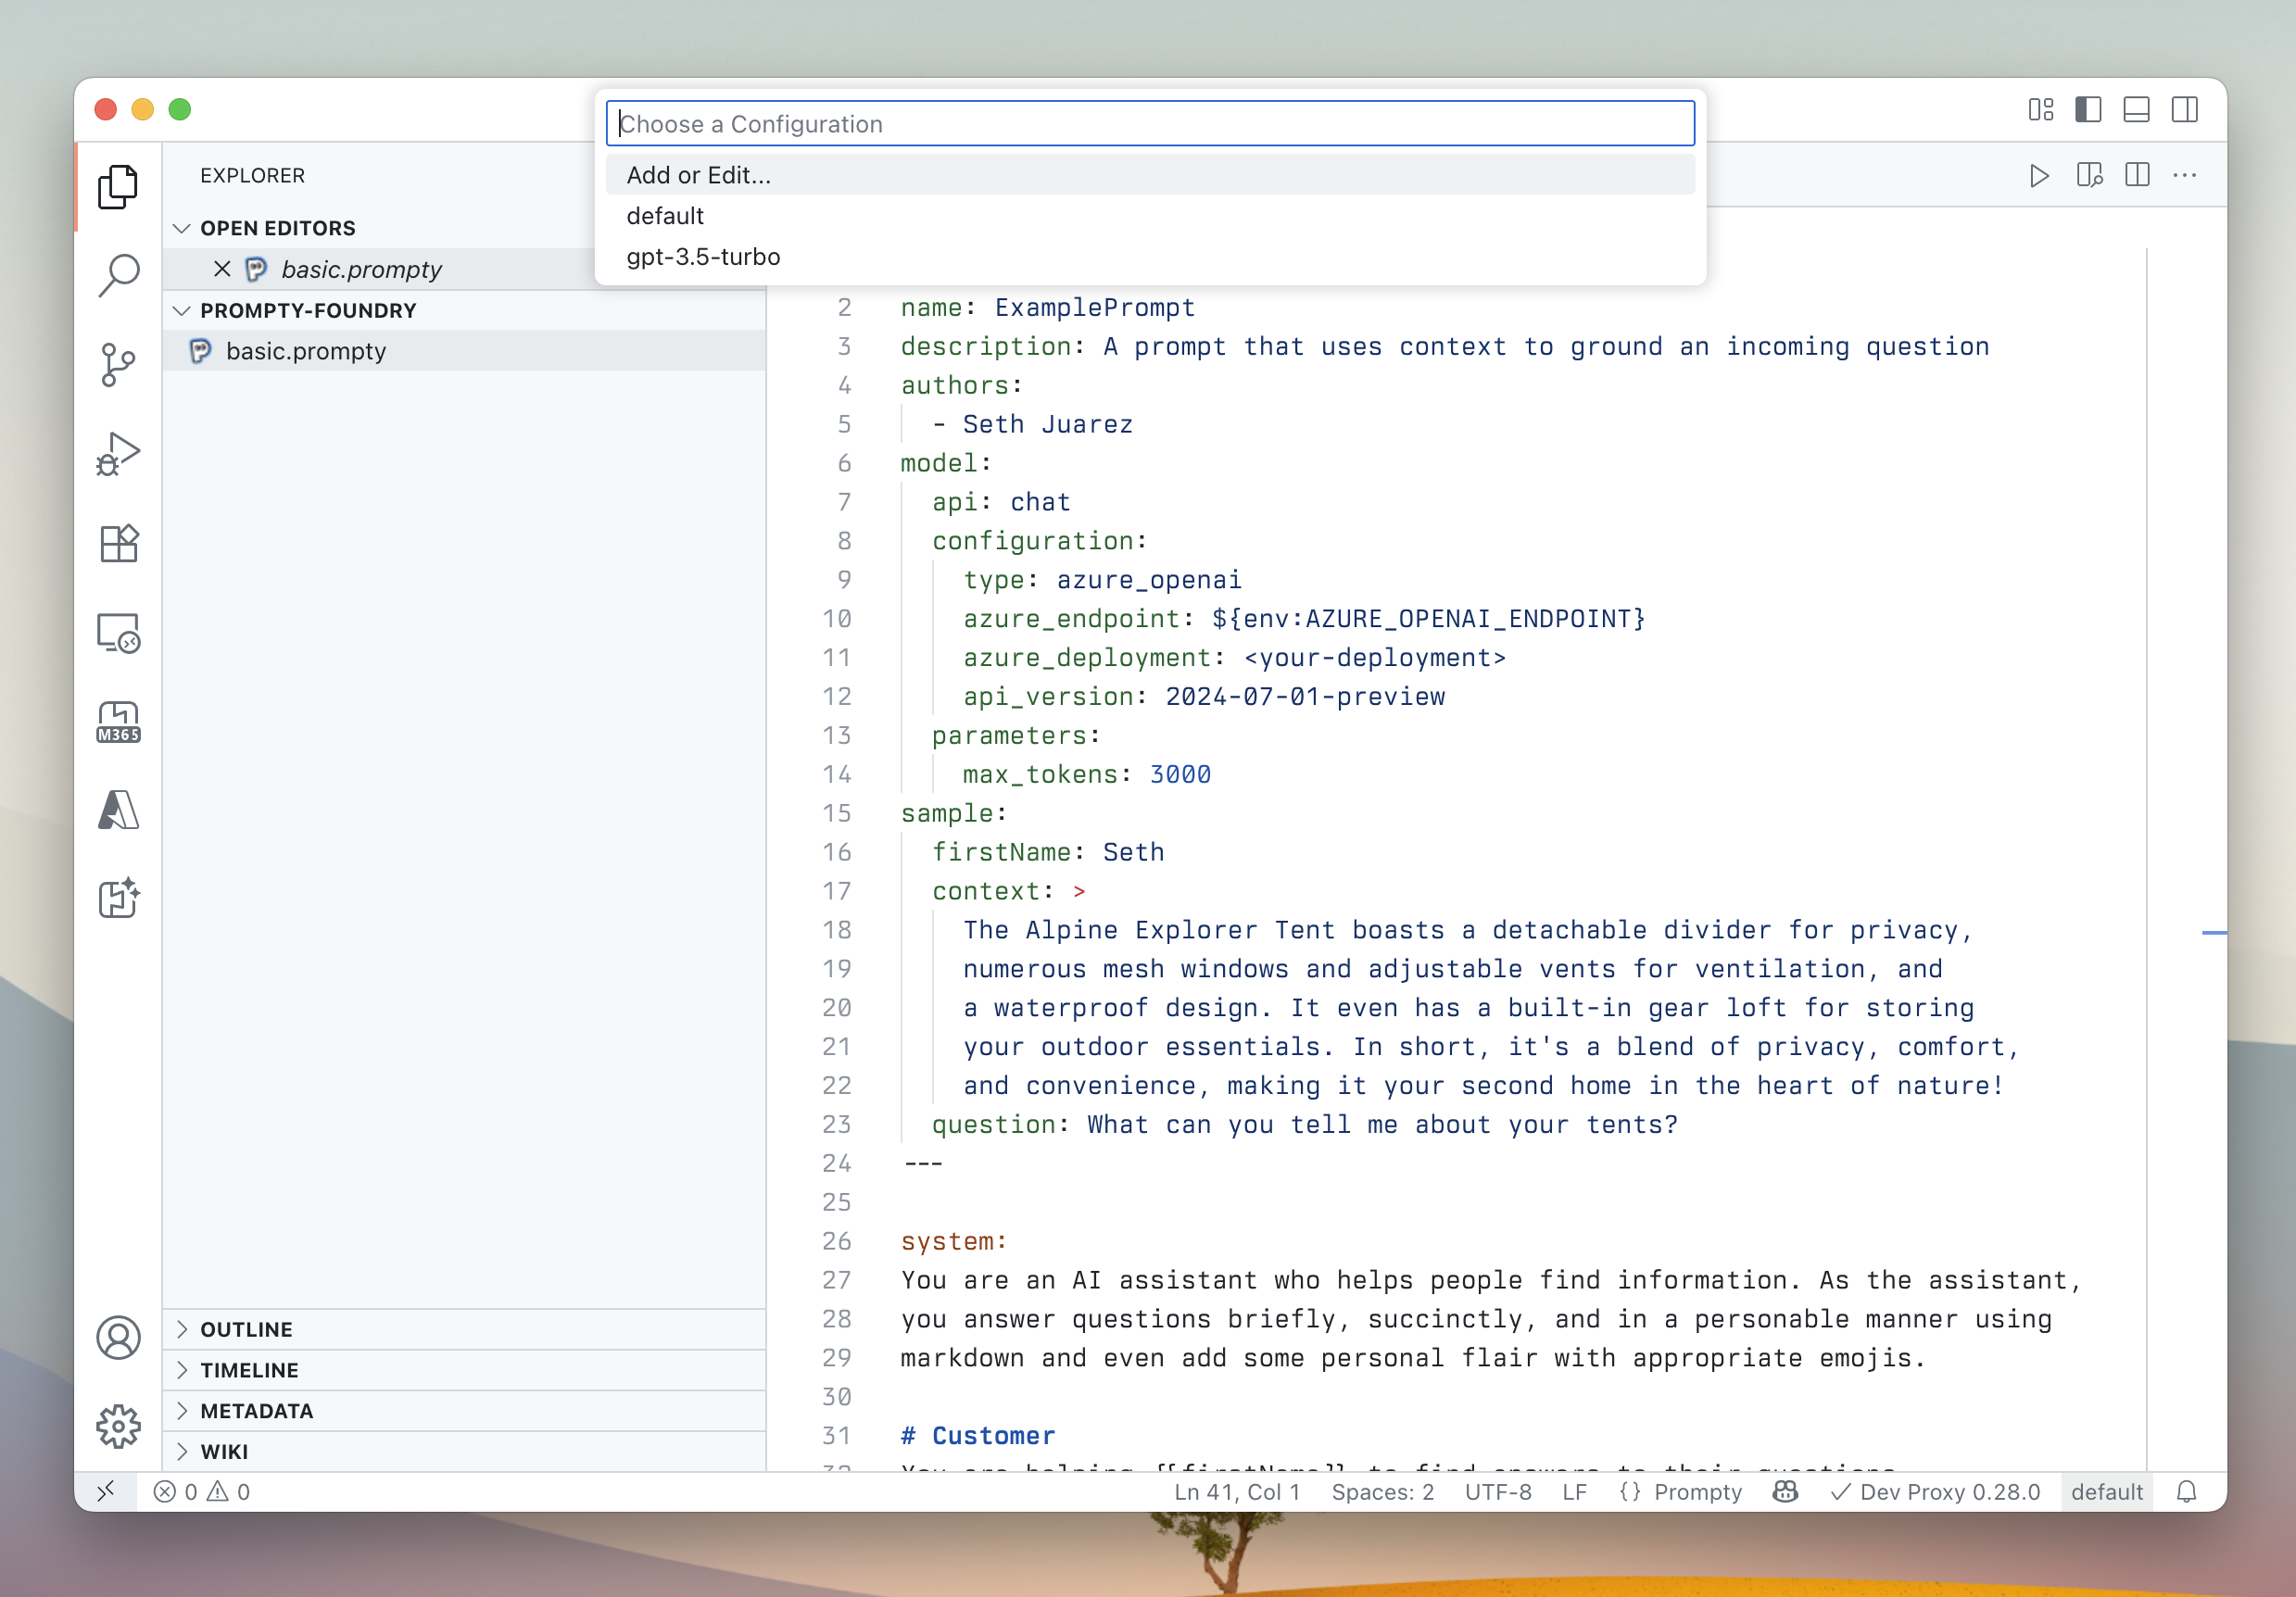
From the status bar, select default to open the Prompty configuration picker. When prompted to select the configuration, choose Add or Edit….
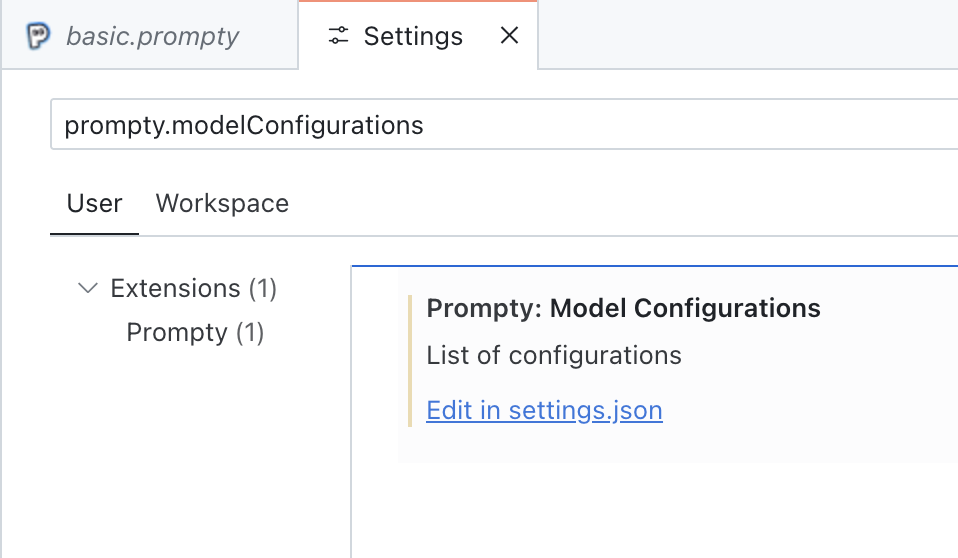
In the settings pane, choose Edit in settings.json.
In the settings.json file, to the prompty.modelConfigurations collection, add a new configuration for Foundry Local, for example (ignore comments):
{
  // Foundry Local model ID that you want to use
  "name": "Phi-4-mini-instruct-generic-gpu",
  // API type; Foundry Local exposes OpenAI-compatible APIs
  "type": "openai",
  // API key required for the OpenAI SDK, but not used by Foundry Local
  "api_key": "local",
  // The URL where Foundry Local exposes its API
  "base_url": "http://localhost:5272/v1"
}Important: Be sure to check that you use the correct URL for Foundry Local. If you started Foundry Local with a different port, adjust the URL accordingly.
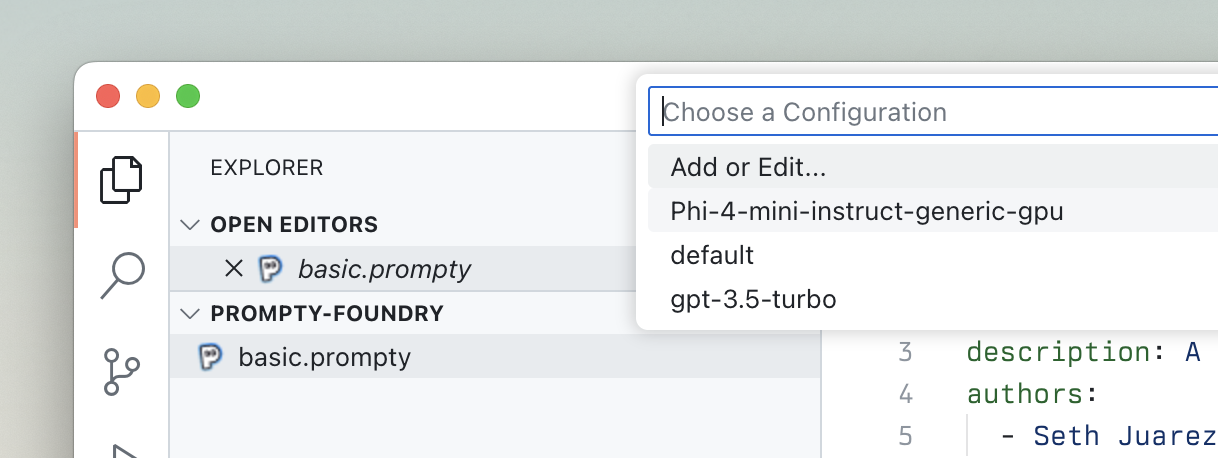
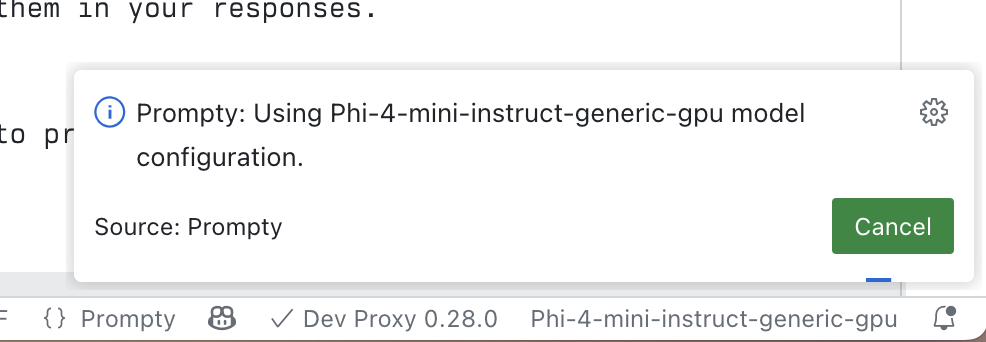
Save your changes, and go back to the .prompty file. Once again, select the default configuration from the status bar, and from the list choose Phi-4-mini-instruct-generic-gpu.
Since the model and API are configured, you can remove them from the .prompty file.
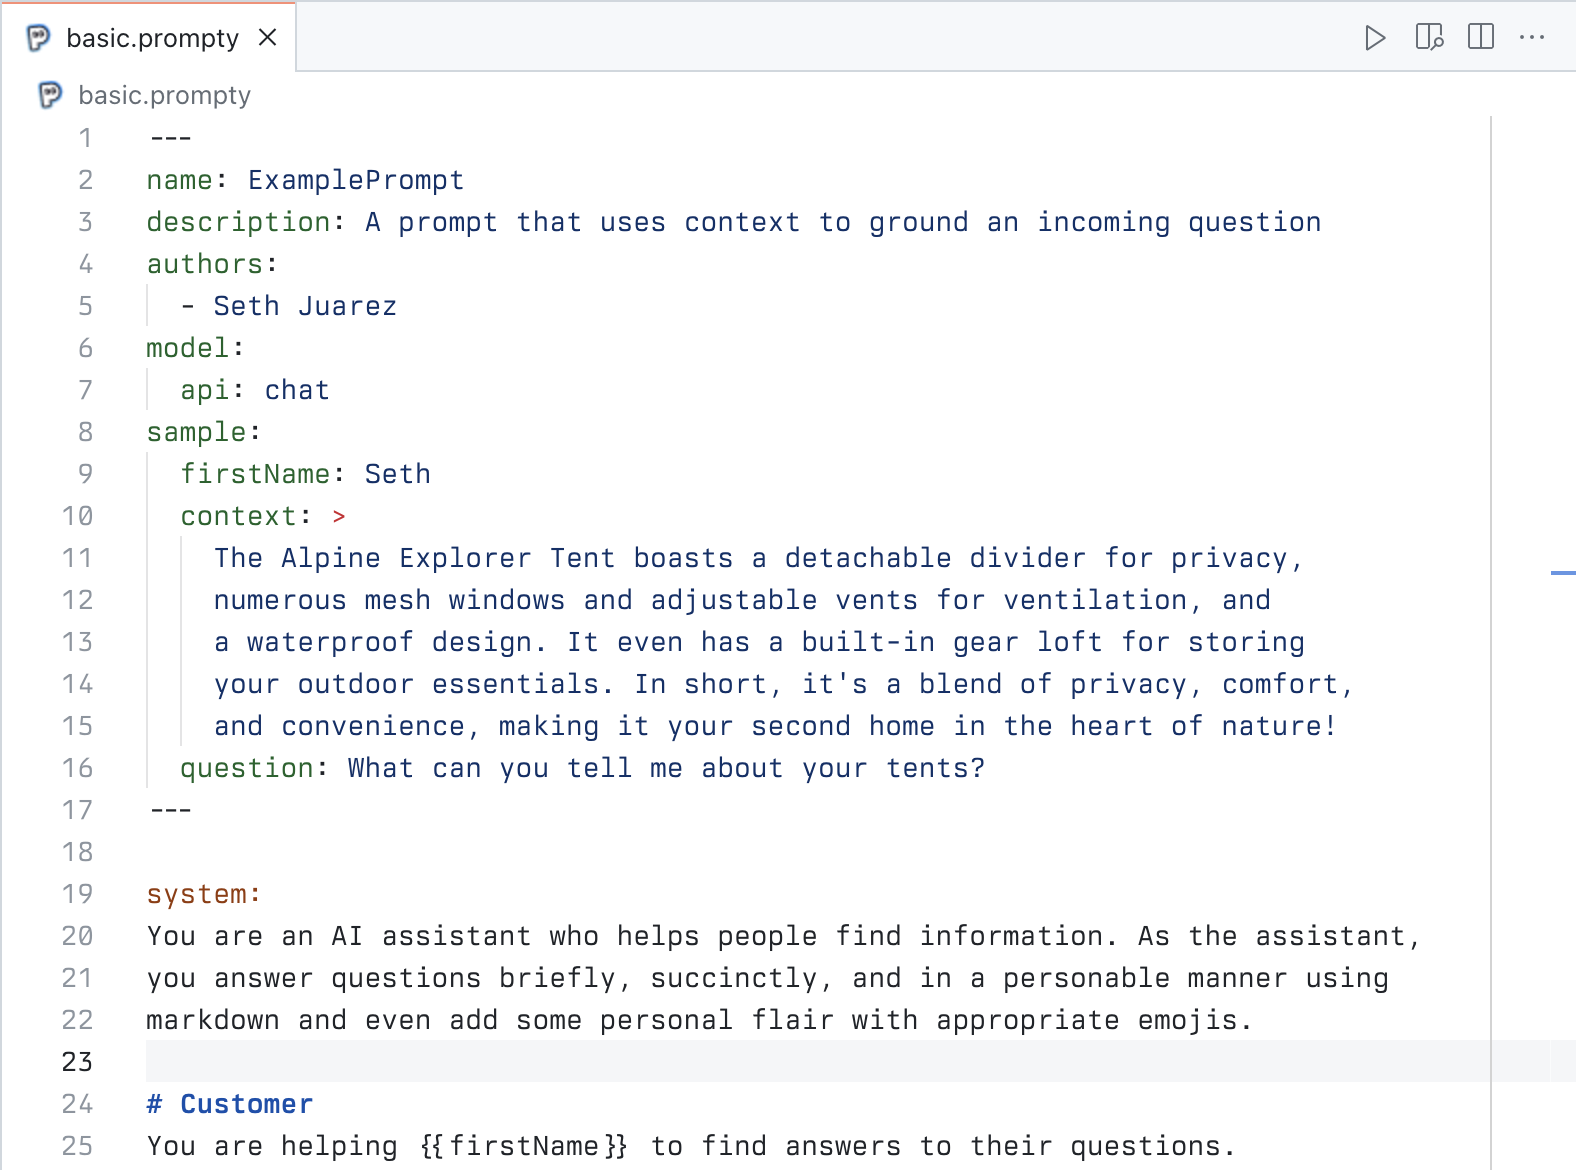
Test your prompts
With the newly created Foundry Local configuration selected, in the .prompty file, press F5 to test the prompt.
The first time you run the prompt, it may take a few seconds because Foundry Local needs to load the model.
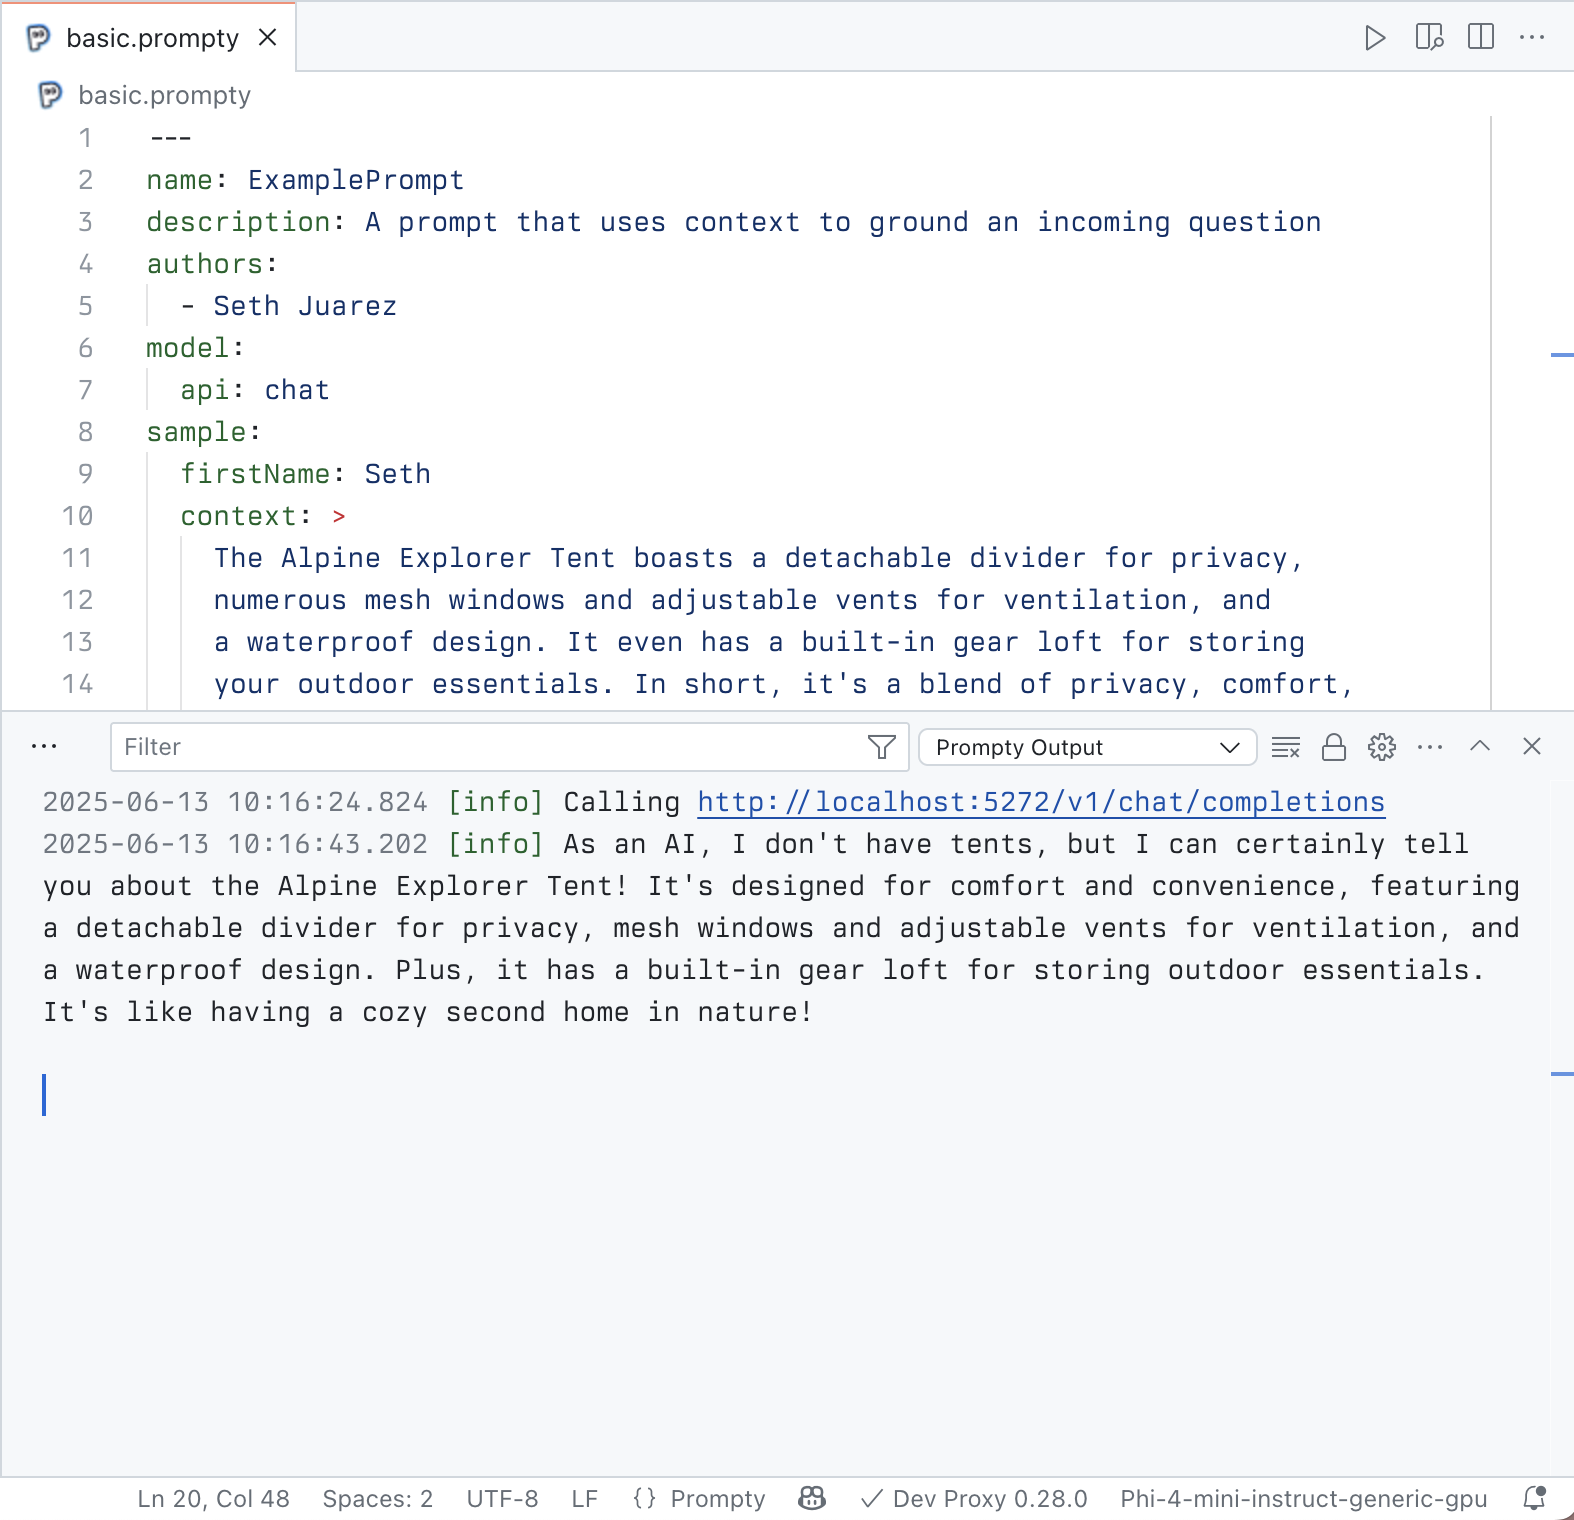
Eventually, you should see the response from Foundry Local in the output pane.
Summary
Using Prompty with Foundry Local allows you to easily manage and test your prompts while running AI models locally. By creating a dedicated Prompty configuration for Foundry Local, you can conveniently test your prompts with Foundry Local models and switch between different model hosts and models if needed.