Show files as cards using Microsoft Graph Toolkit and hTWOo
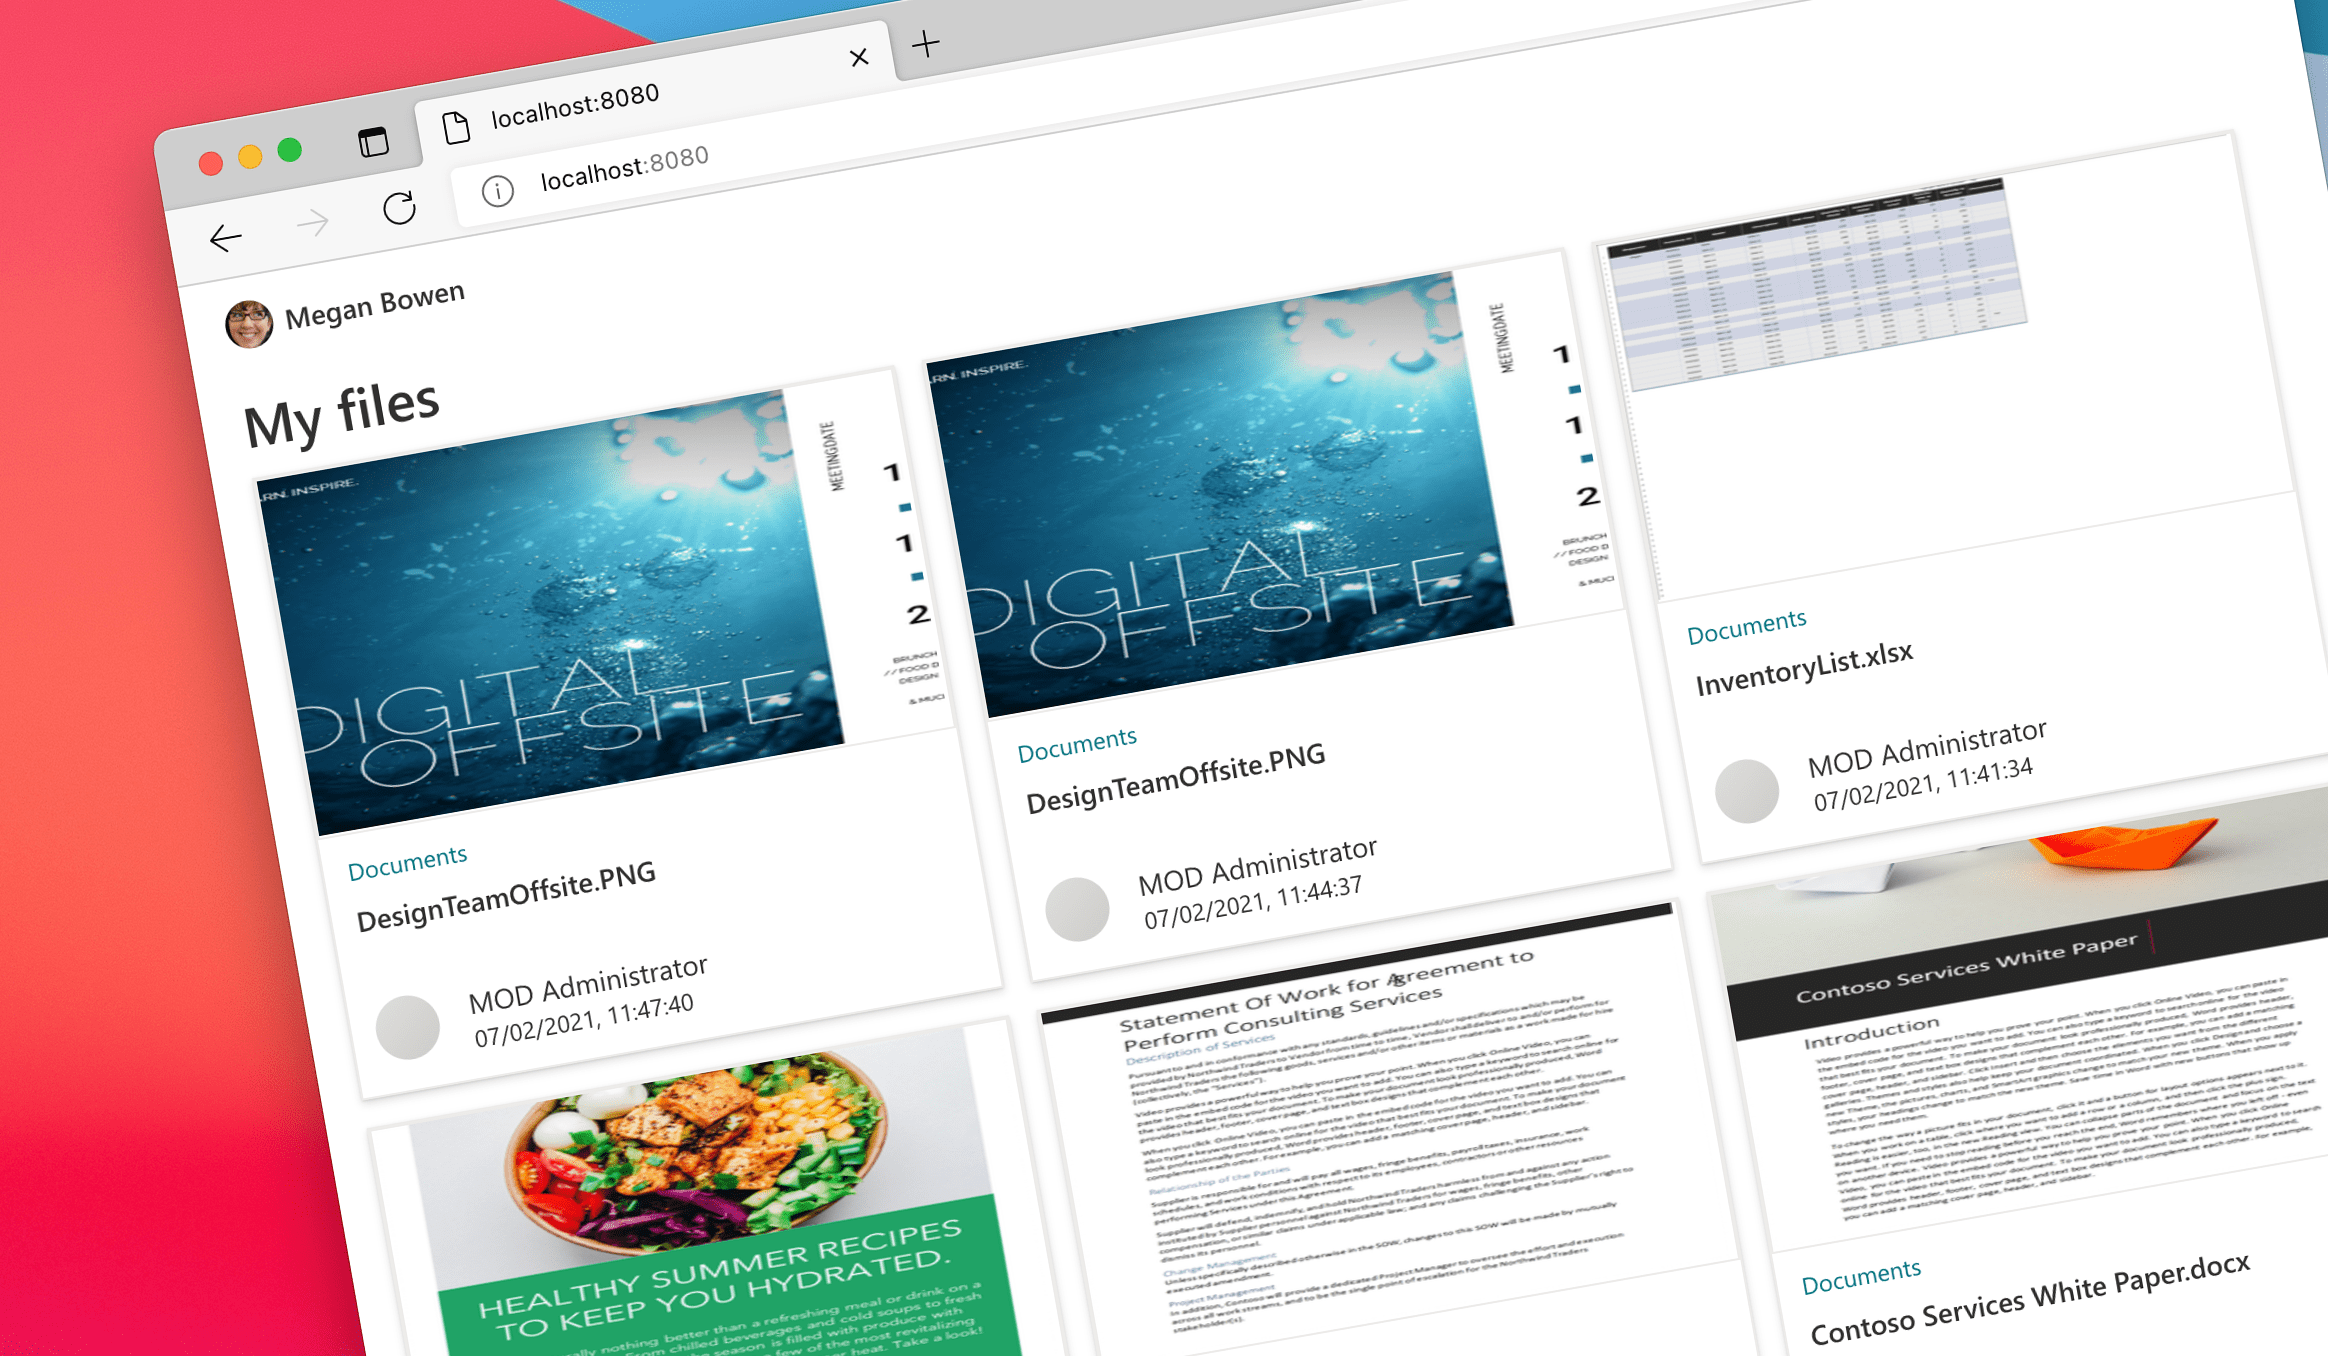
Say you wanted to show a list of files in your app as cards. Here’s how you’d do it using Microsoft Graph Toolkit and hTWOo.
The easiest way to connect your app to Microsoft 365
Microsoft Graph Toolkit is a collection of reusable components and authentication providers that allow you to easily connect your app to Microsoft 365. With just three lines of code, you’re able to let users sign in to your app with their Microsoft 365 account and see relevant data from Microsoft 365:
<mgt-msal2-provider client-id="050f650c-8248-4bcc-8796-10a46041c6c8"></mgt-msal2-provider>
<mgt-login></mgt-login>
<mgt-agenda></mgt-agenda>
It’s seriously that simple.
Show relevant files using Microsoft Graph Toolkit
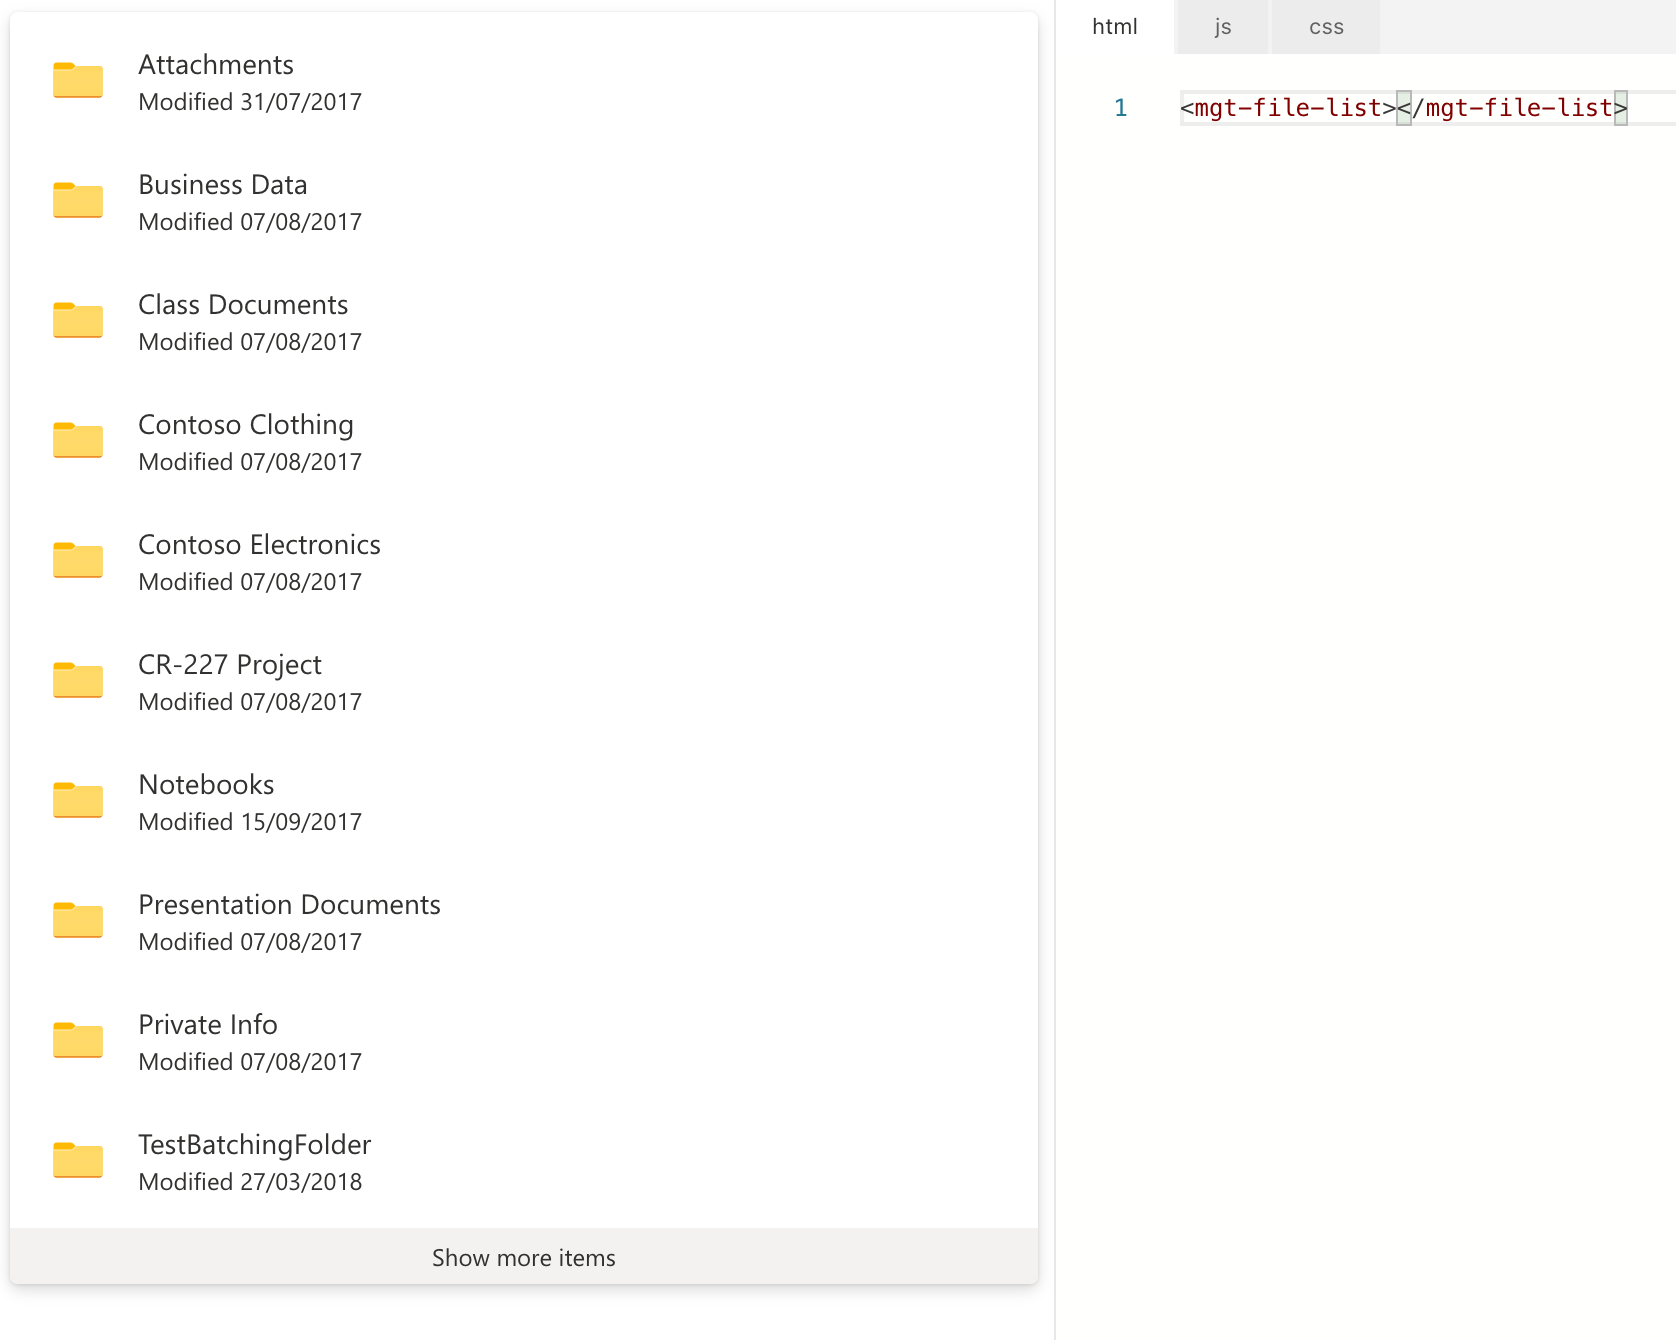
In version 2.2 Microsoft Graph Toolkit introduced the File list component which allows you to easily show a list of files. By default, the component shows files from your OneDrive for Business.
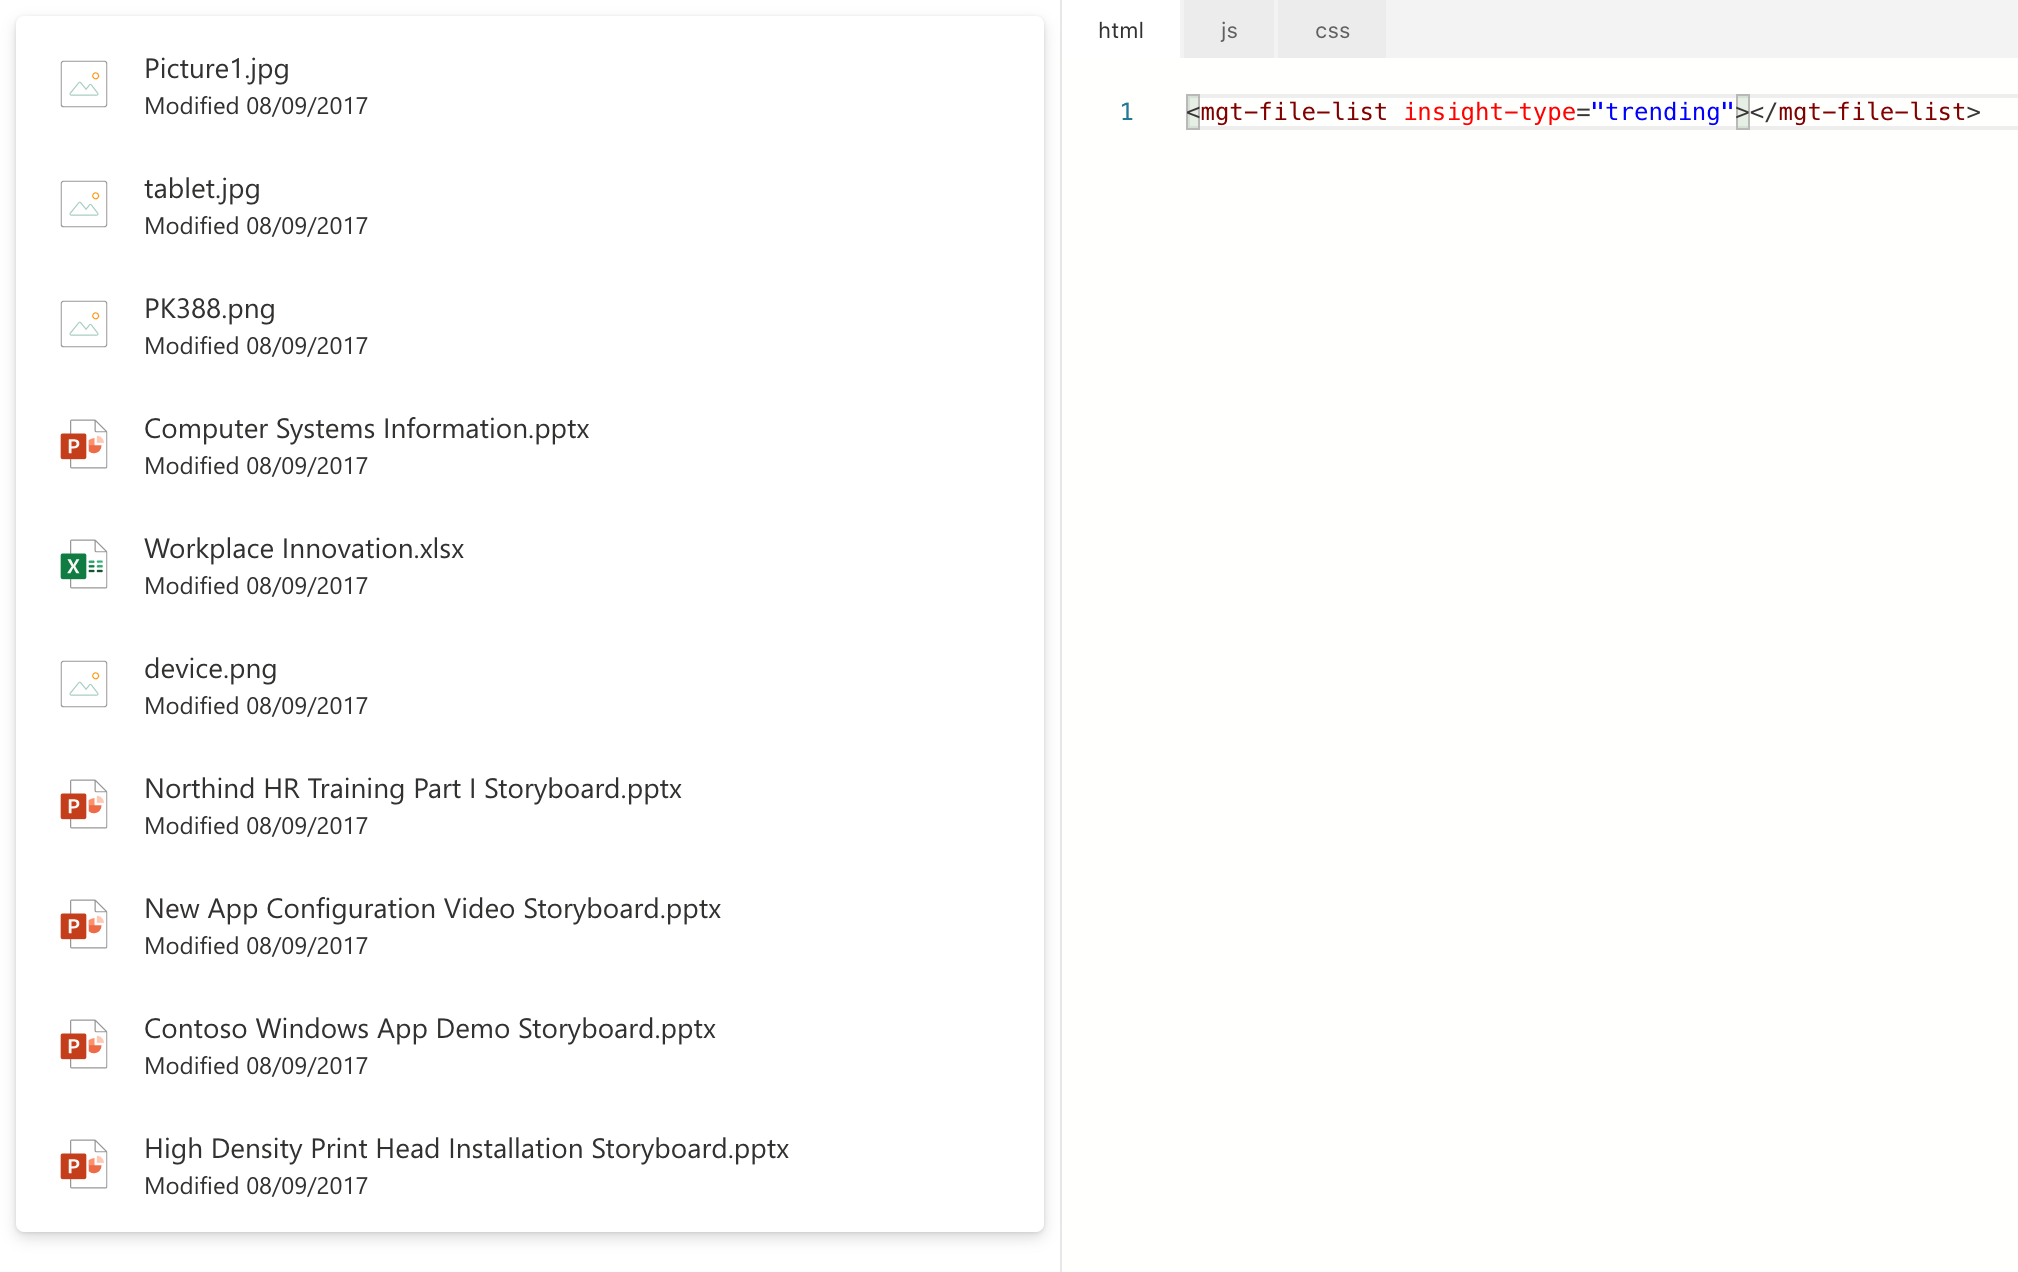
To have it show relevant files, set the insight-type attribute to trending.
But what if you wanted to display these files as cards?
Show files as cards with hTWOo
To display files retrieved with the Microsoft Graph Toolkit as cards, you can use the toolkit’s templating capability. By specifying your own template, you can have the toolkit render the list of files in any way you want, including a document card. But where can you get a document card template from?
Show files as cards
The easiest way to show a document card in your app is by using hTWOo - a community-driven implementation of the Fluent UI design language. hTWOo comes with a variety of ready-to-use building blocks: from colors and typography to complex components like document cards. And because it’s just HTML and CSS, it’s very easy to integrate in your app. Let me show you.
The complete sample app used in this article is available on GitHub.
Say, you had a plain JavaScript app using Microsoft Graph Toolkit to show relevant files:
<html>
<head>
  <script src="https://unpkg.com/@microsoft/mgt@2/dist/bundle/mgt-loader.js"></script>
</head>
<body>
  <mgt-msal2-provider client-id="050f650c-8248-4bcc-8796-10a46041c6c8"></mgt-msal2-provider>
  <mgt-login></mgt-login>
  <mgt-file-list></mgt-file-list>
</body>
</html>
The next step is to add hTWOo and change the template to show files as cards:
<html>
<head>
  <script src="https://unpkg.com/@microsoft/mgt@2/dist/bundle/mgt-loader.js"></script>
  <link rel="stylesheet" href="https://lab.n8d.studio/htwoo/htwoo-core/css/style.css">
  <style>
    mgt-file-list {
      padding: 0 20px;
      margin-bottom: 1em;
    }

    .files {
      display: flex;
      flex-wrap: wrap;
    }

    .hoo-doccard {
      margin: 0 1em 1em 0;
      cursor: pointer;
    }
  </style>
</head>
<body>
  <mgt-msal2-provider client-id="050f650c-8248-4bcc-8796-10a46041c6c8"></mgt-msal2-provider>
  <mgt-login></mgt-login>
  <mgt-file-list>
    <template>
      <h1>My files</h1>
      <div class="files">
        <div data-for="file in files" class="hoo-doccard">
          <div class="hoo-cardimage i{% raw %}{{file.id}}{% endraw %}">
            <div class="hoo-ph-squared"></div>
          </div>
          <div class="hoo-cardlocation i{% raw %}{{file.id}}{% endraw %}">
            <div class="hoo-ph-row"></div>
          </div>
          <div class="hoo-cardtitle">{% raw %}{{file.name}}{% endraw %}</div>
          <div class="hoo-cardfooter">
            <div class="hoo-avatar i{% raw %}{{file.id}}{% endraw %}">
              <div class="hoo-ph-circle"></div>
            </div>
            <div class="hoo-cardfooter-data">
              <div class="hoo-cardfooter-name">{% raw %}{{file.lastModifiedBy.user.displayName}}{% endraw %}</div>
              <div class="hoo-cardfooter-modified">{% raw %}{{file.lastModifiedDateTime}}{% endraw %}</div>
            </div>
          </div>
        </div>
      </div>
    </template>
  </mgt-file-list>
</body>
</html>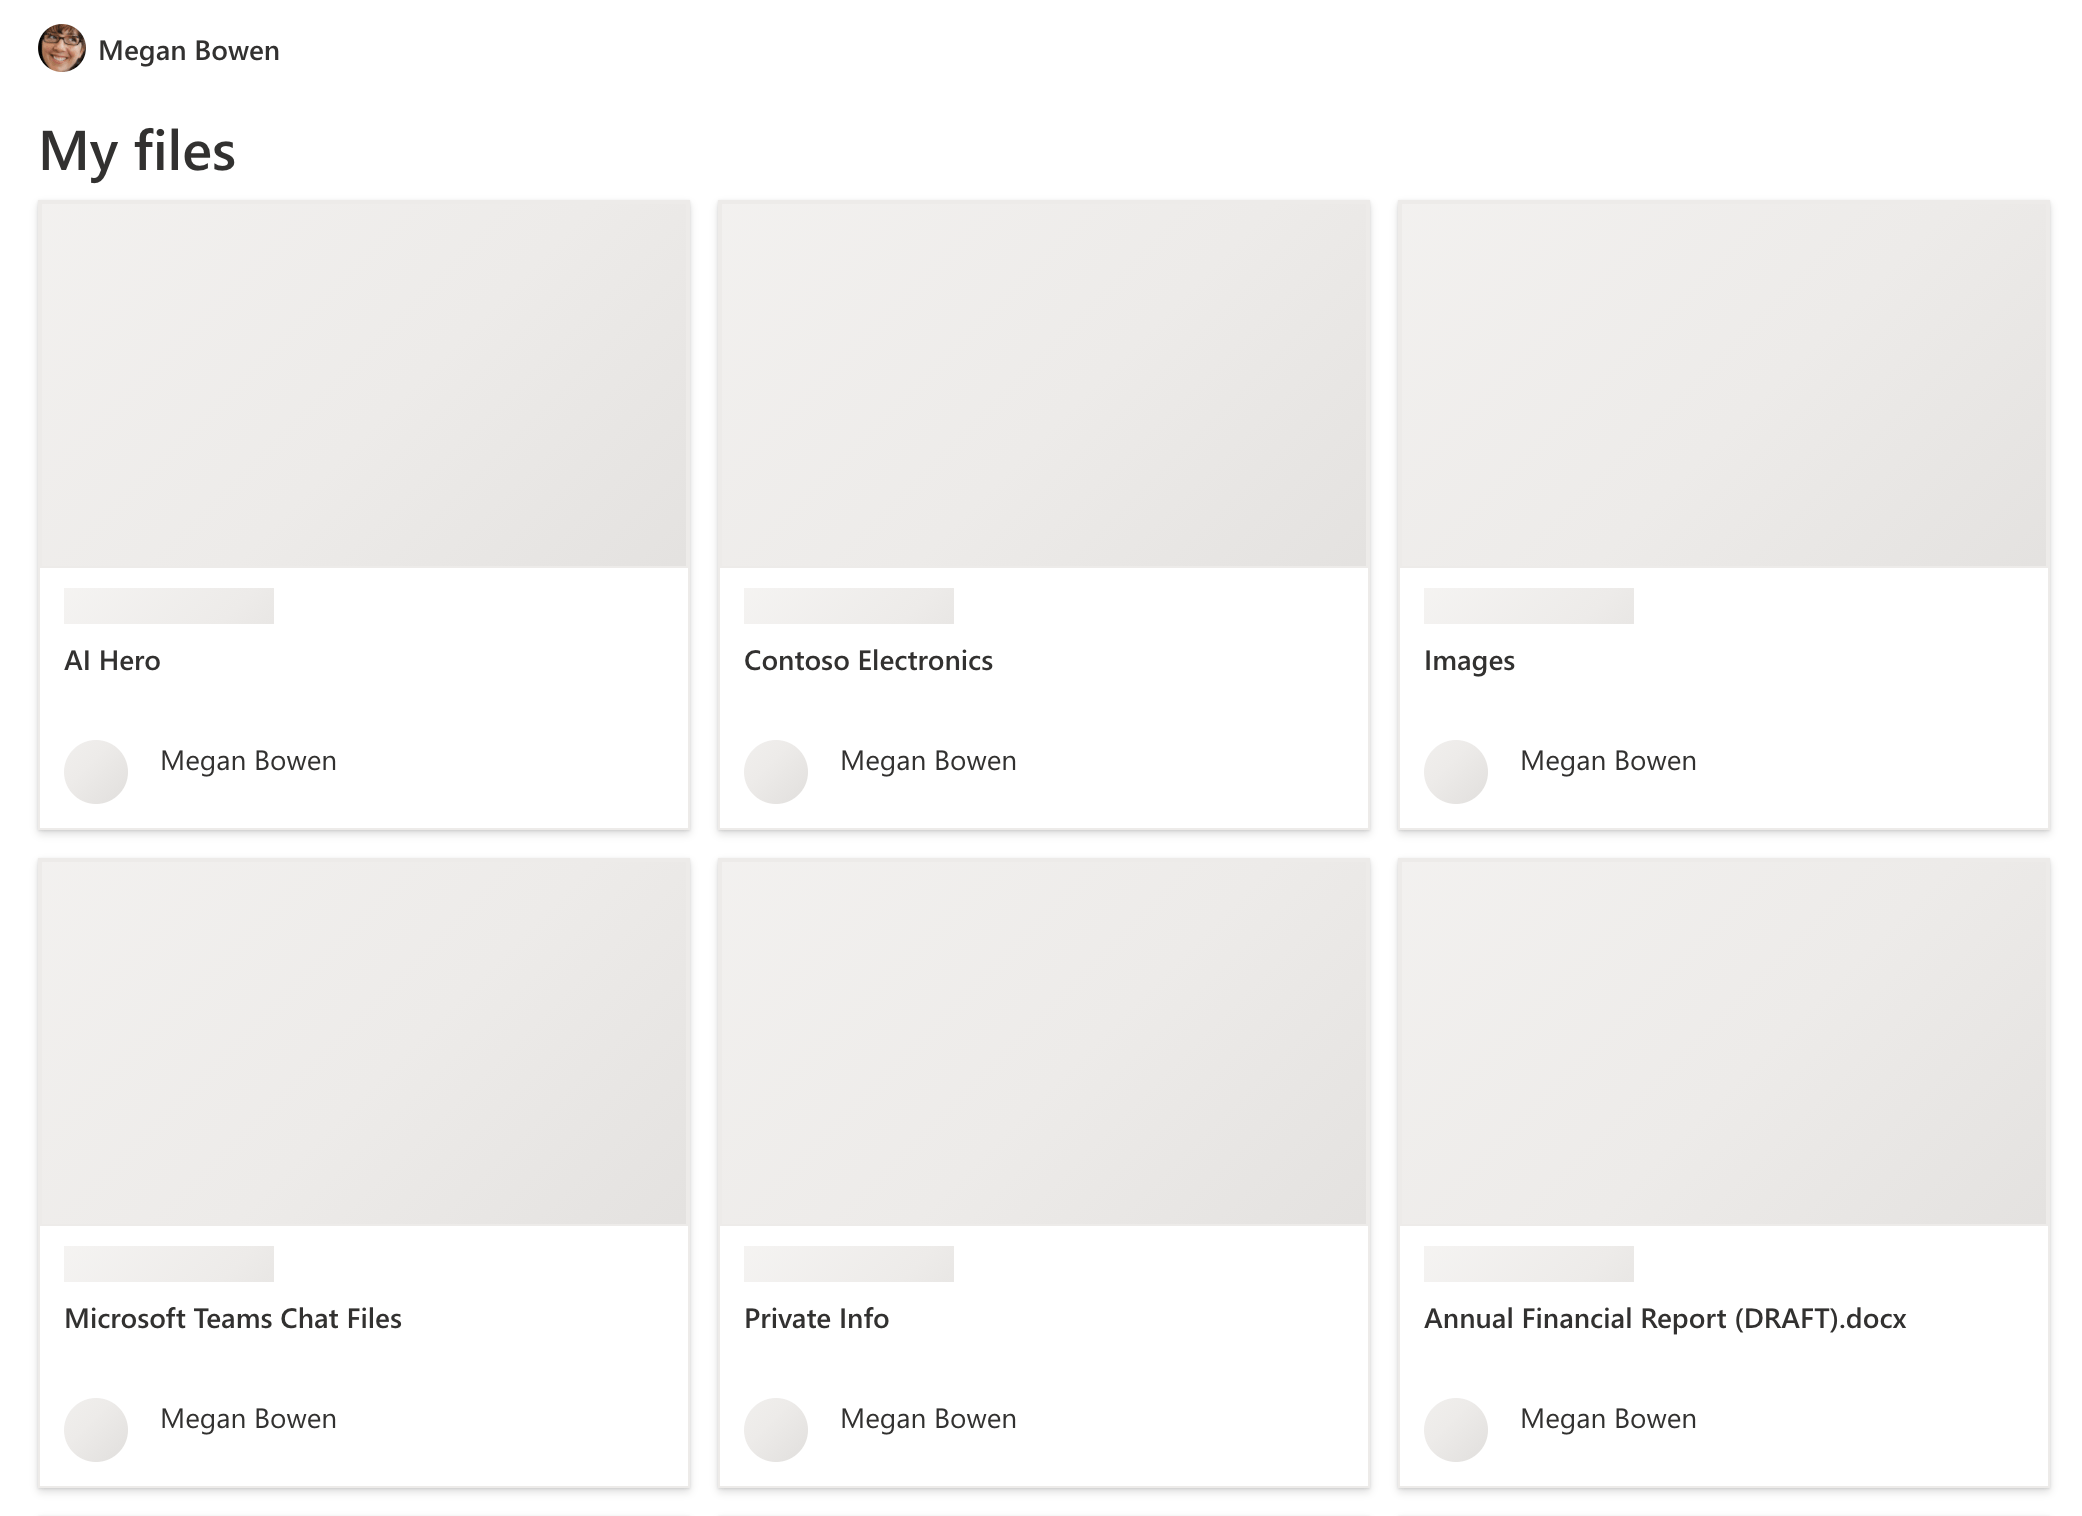
We show files as document cards, but we’re missing a few things. Each card is meant to show the file’s thumbnail, name of the site where it’s located, and the picture of the person who last modified the document. While this information isn’t available readily as a part of the data exposed in the template, we can load it ourselves.
Load file thumbnails and users’ avatars
One way to load additional information in Microsoft Graph Toolkit is by attaching to the templateRendered event which is triggered after the component rendered its data. In the context of that event, we get access to the rendered data, and the DOM element hosting the template which is all we need to replace the placeholder with the actual data.
Create a new JavaScript file and add the following functions to load the missing data from Microsoft Graph:
function loadFileThumbnail(file, templateElement) {
  if (file.folder) { return; }

  mgt.Providers.globalProvider.graph
    .api(`/drives/${file.parentReference.driveId}/items/${file.id}/thumbnails/0/c320x320_crop/content`)
    .get()
    .then(thumbnail => {
      const url = URL.createObjectURL(thumbnail);
      templateElement
        .querySelector(`.hoo-cardimage.i${file.id}`)
        .innerHTML = `<img src="${url}" width="320" height="180" alt="">`;
    }, err => { });
}

function loadUserAvatar(file, templateElement) {
  mgt.Providers.globalProvider.graph
    .api(`/users/${file.lastModifiedBy.user.id}/photo/$value`)
    .get()
    .then(photo => {
      const url = URL.createObjectURL(photo);
      templateElement
        .querySelector(`.hoo-avatar.i${file.id}`)
        .innerHTML = `<img src="${url}" alt="" class="hoo-avatar-img" loading="lazy">`;
    }, err => { });
}

function loadSiteTitle(file, templateElement) {
  mgt.Providers.globalProvider.graph
    .api(`/drives/${file.parentReference.driveId}`)
    .select('name')
    .get()
    .then(res => {
      templateElement
        .querySelector(`.hoo-cardlocation.i${file.id}`)
        .innerHTML = res.name;
    }, err => { });
}
In each of these functions, we’re using the Microsoft Graph client exposed by Microsoft Graph Toolkit to call the Graph and retrieve the missing data. After we retrieved the data, we’re finding the matching placeholder and replace it with the actual data.
To call these commands, add an event listener to the mgt-file-list element:
const fileList = document.querySelector('mgt-file-list');
fileList.addEventListener('templateRendered', e => {
  e.detail.context.files.forEach(file => {
    loadFileThumbnail(file, e.detail.element);
    loadUserAvatar(file, e.detail.element);
    loadSiteTitle(file, e.detail.element);
  });
});
e.detail.context.files exposes the array of files retrieved from Microsoft 365 by the File list component. e.detail.element is the parent div where the contents of the template have been rendered.
To finish, just before the closing body tag, add a reference to the newly created JavaScript file:
  <!-- ... -->
  <script src="script.js"></script>
</body>
</html>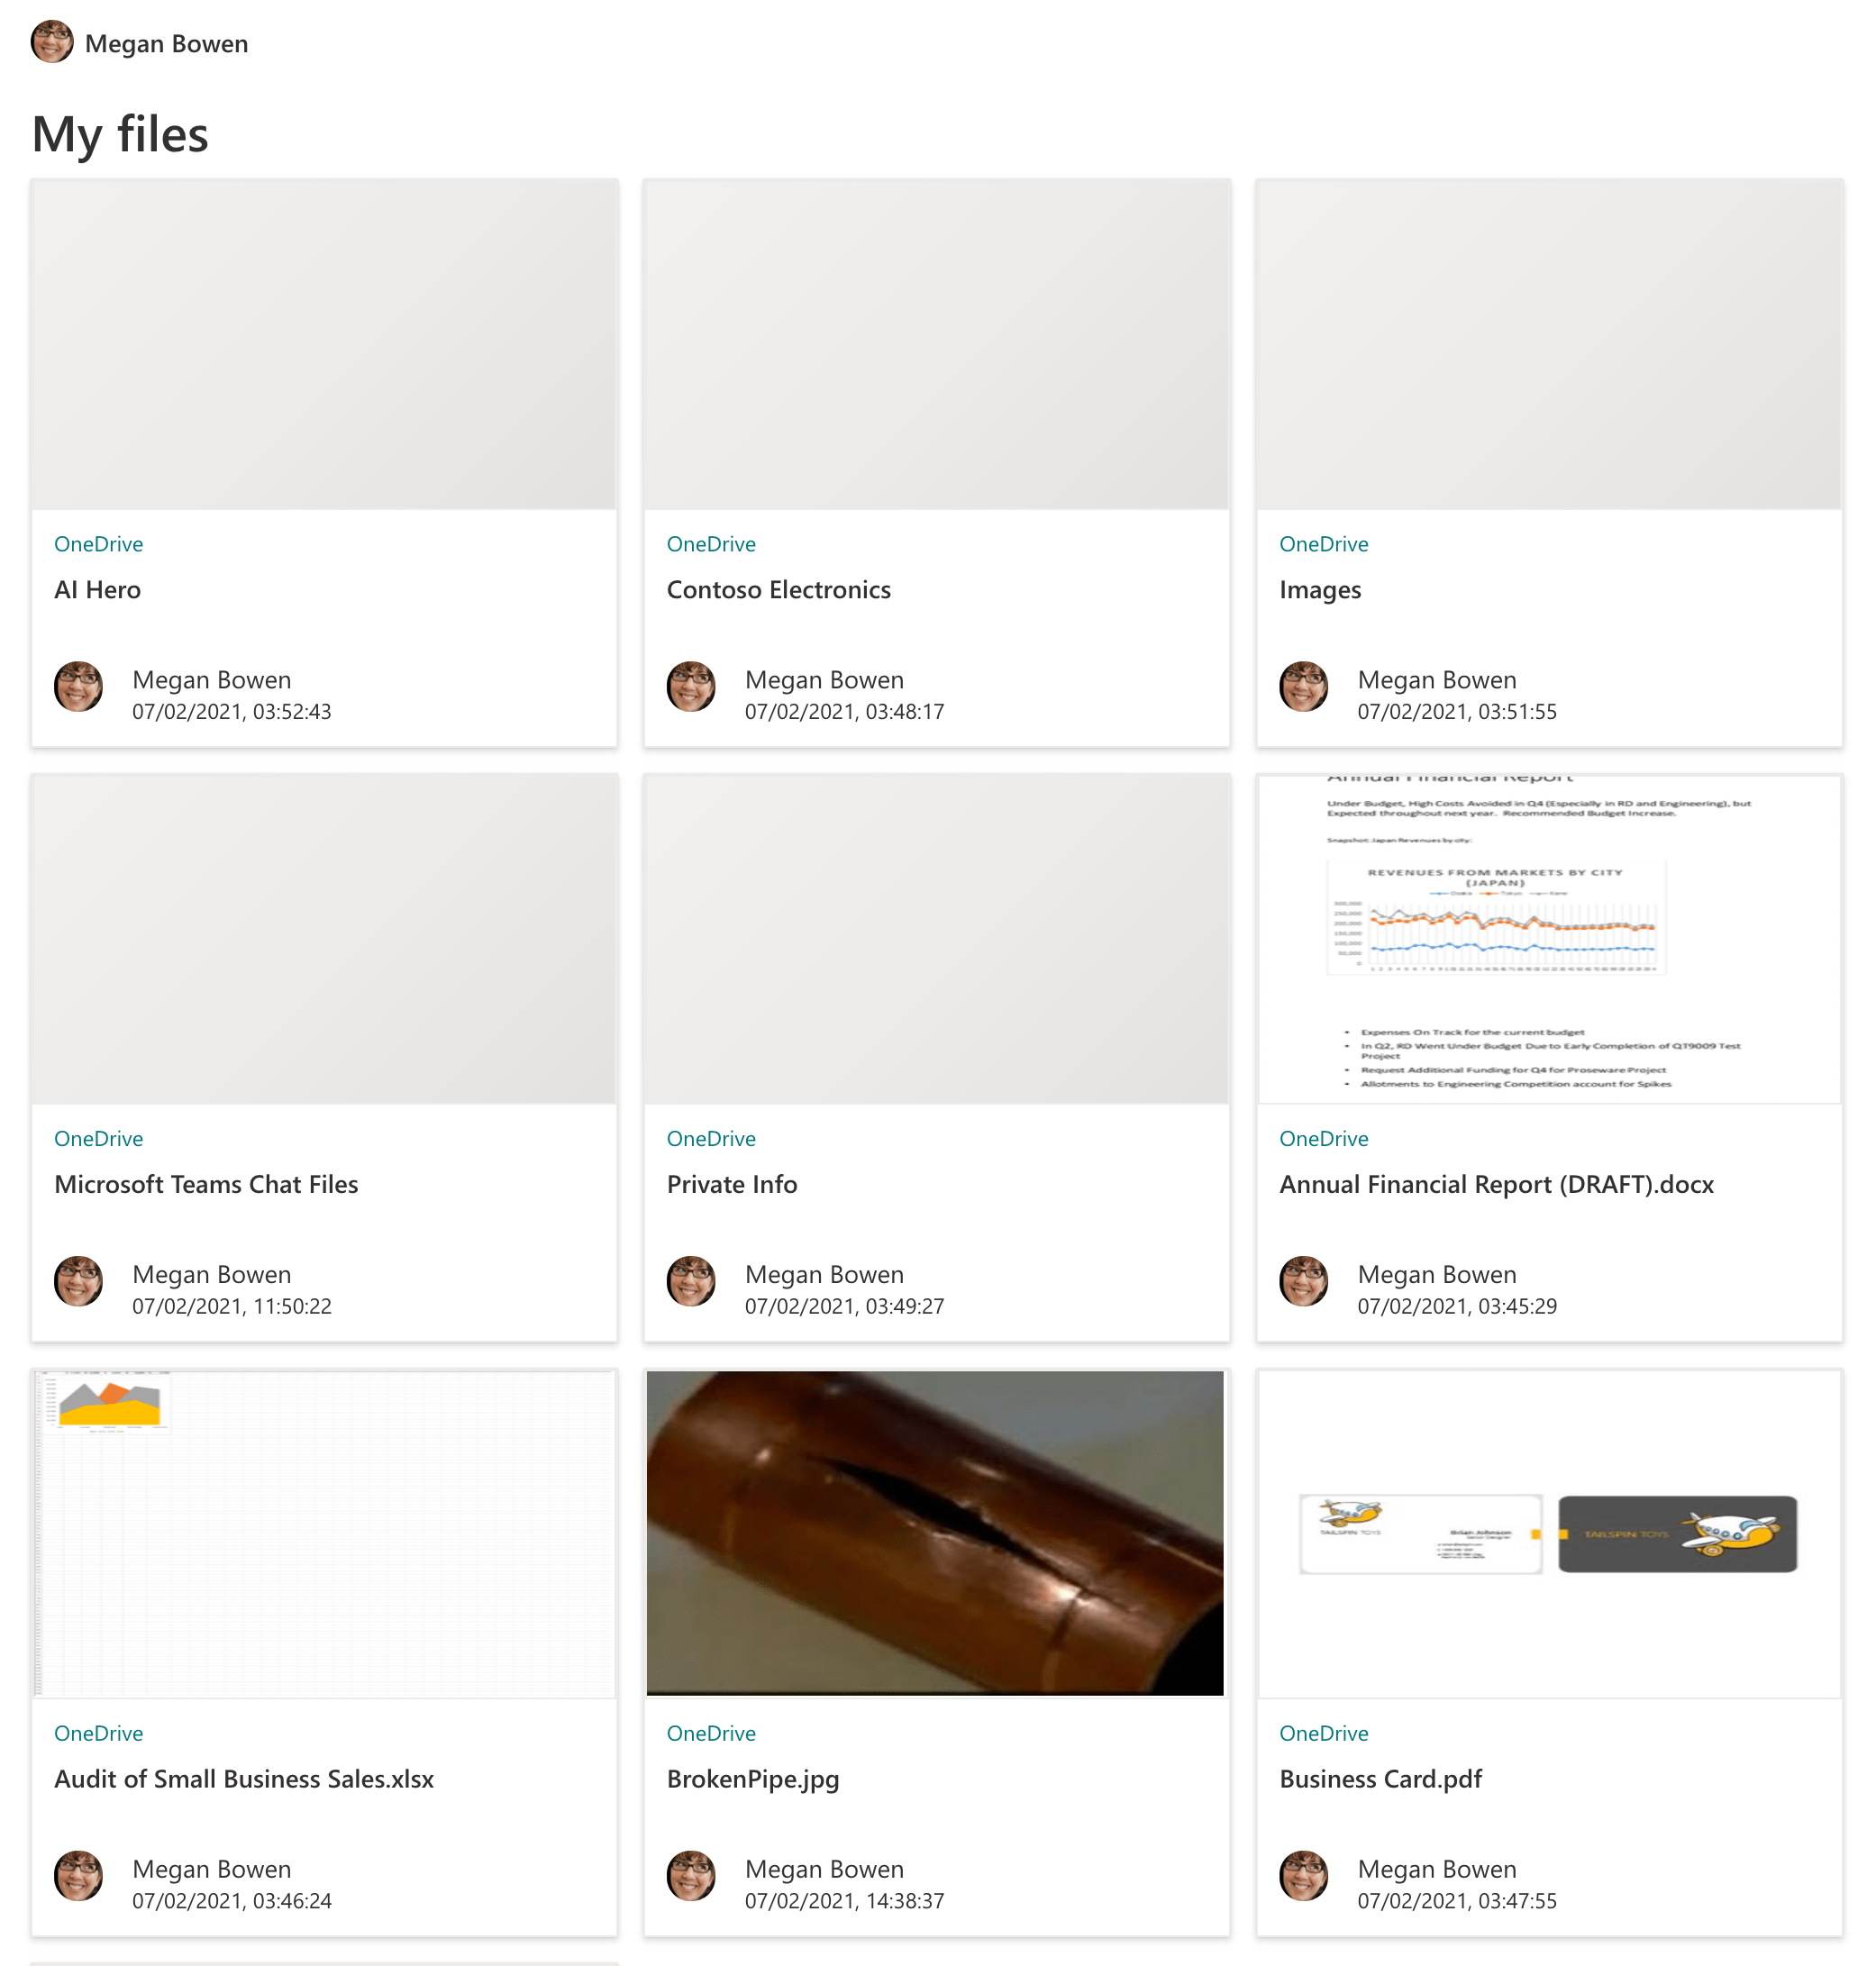
Format dates and let users open files
If you look closely at the rendered cards, you’ll see raw ISO dates when files were last modified.
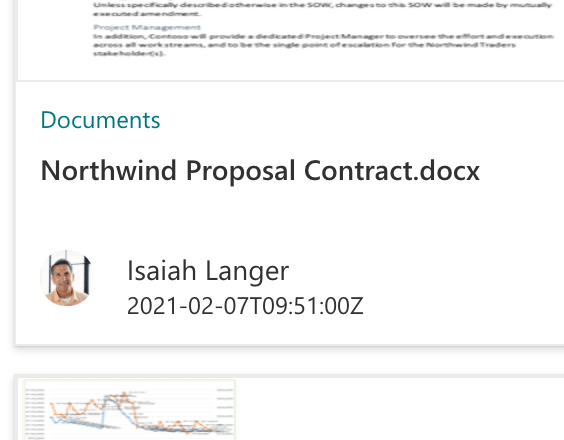
What’s more, right now users have no way to open the files. Let’s change that by extending the template context and adding helper functions to facilitate date and time formatting and opening files.
In the JavaScript file, add:
fileList.templateContext = {
  formatpubDate: date => {
    const d = new Date(date);
    return d.toLocaleString();
  },
  openFile: (e, context, root) => {
    window.open(context.file.webUrl, '_blank');
  }
};
Update the template to:
<mgt-file-list insight-type="trending">
  <template>
    <h1>Relevant files</h1>
    <div class="files">
      <div data-for="file in files" class="hoo-doccard" data-props="{% raw %}{{@click: openFile}}{% endraw %}">
        <div class="hoo-cardimage i{% raw %}{{file.id}}{% endraw %}">
          <div class="hoo-ph-squared"></div>
        </div>
        <div class="hoo-cardlocation i{% raw %}{{file.id}}{% endraw %}">
          <div class="hoo-ph-row"></div>
        </div>
        <div class="hoo-cardtitle">{% raw %}{{file.name}}{% endraw %}</div>
        <div class="hoo-cardfooter">
          <div class="hoo-avatar i{% raw %}{{file.id}}{% endraw %}">
            <div class="hoo-ph-circle"></div>
          </div>
          <div class="hoo-cardfooter-data">
            <div class="hoo-cardfooter-name">{% raw %}{{file.lastModifiedBy.user.displayName}}{% endraw %}</div>
            <div class="hoo-cardfooter-modified">{% raw %}{{formatDate(file.lastModifiedDateTime)}}{% endraw %}</div>
          </div>
        </div>
      </div>
    </div>
  </template>
</mgt-file-list>
Notice the click handler added to div.hoo-doccard and the call to the formatDate function in div.hoo-cardfooter-modified.
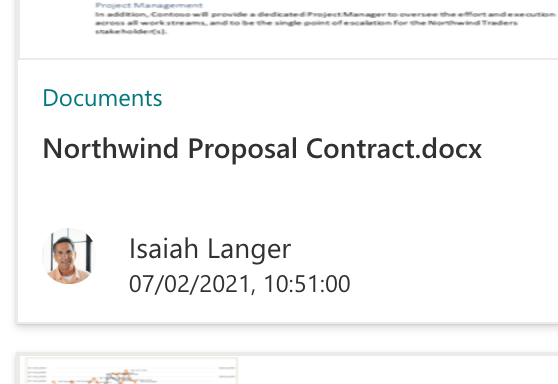
There is still on more thing we need to do…
Load more files
If you look at the list of files displayed by the File list component using its default template, at the end, there is a button that lets users load more files.
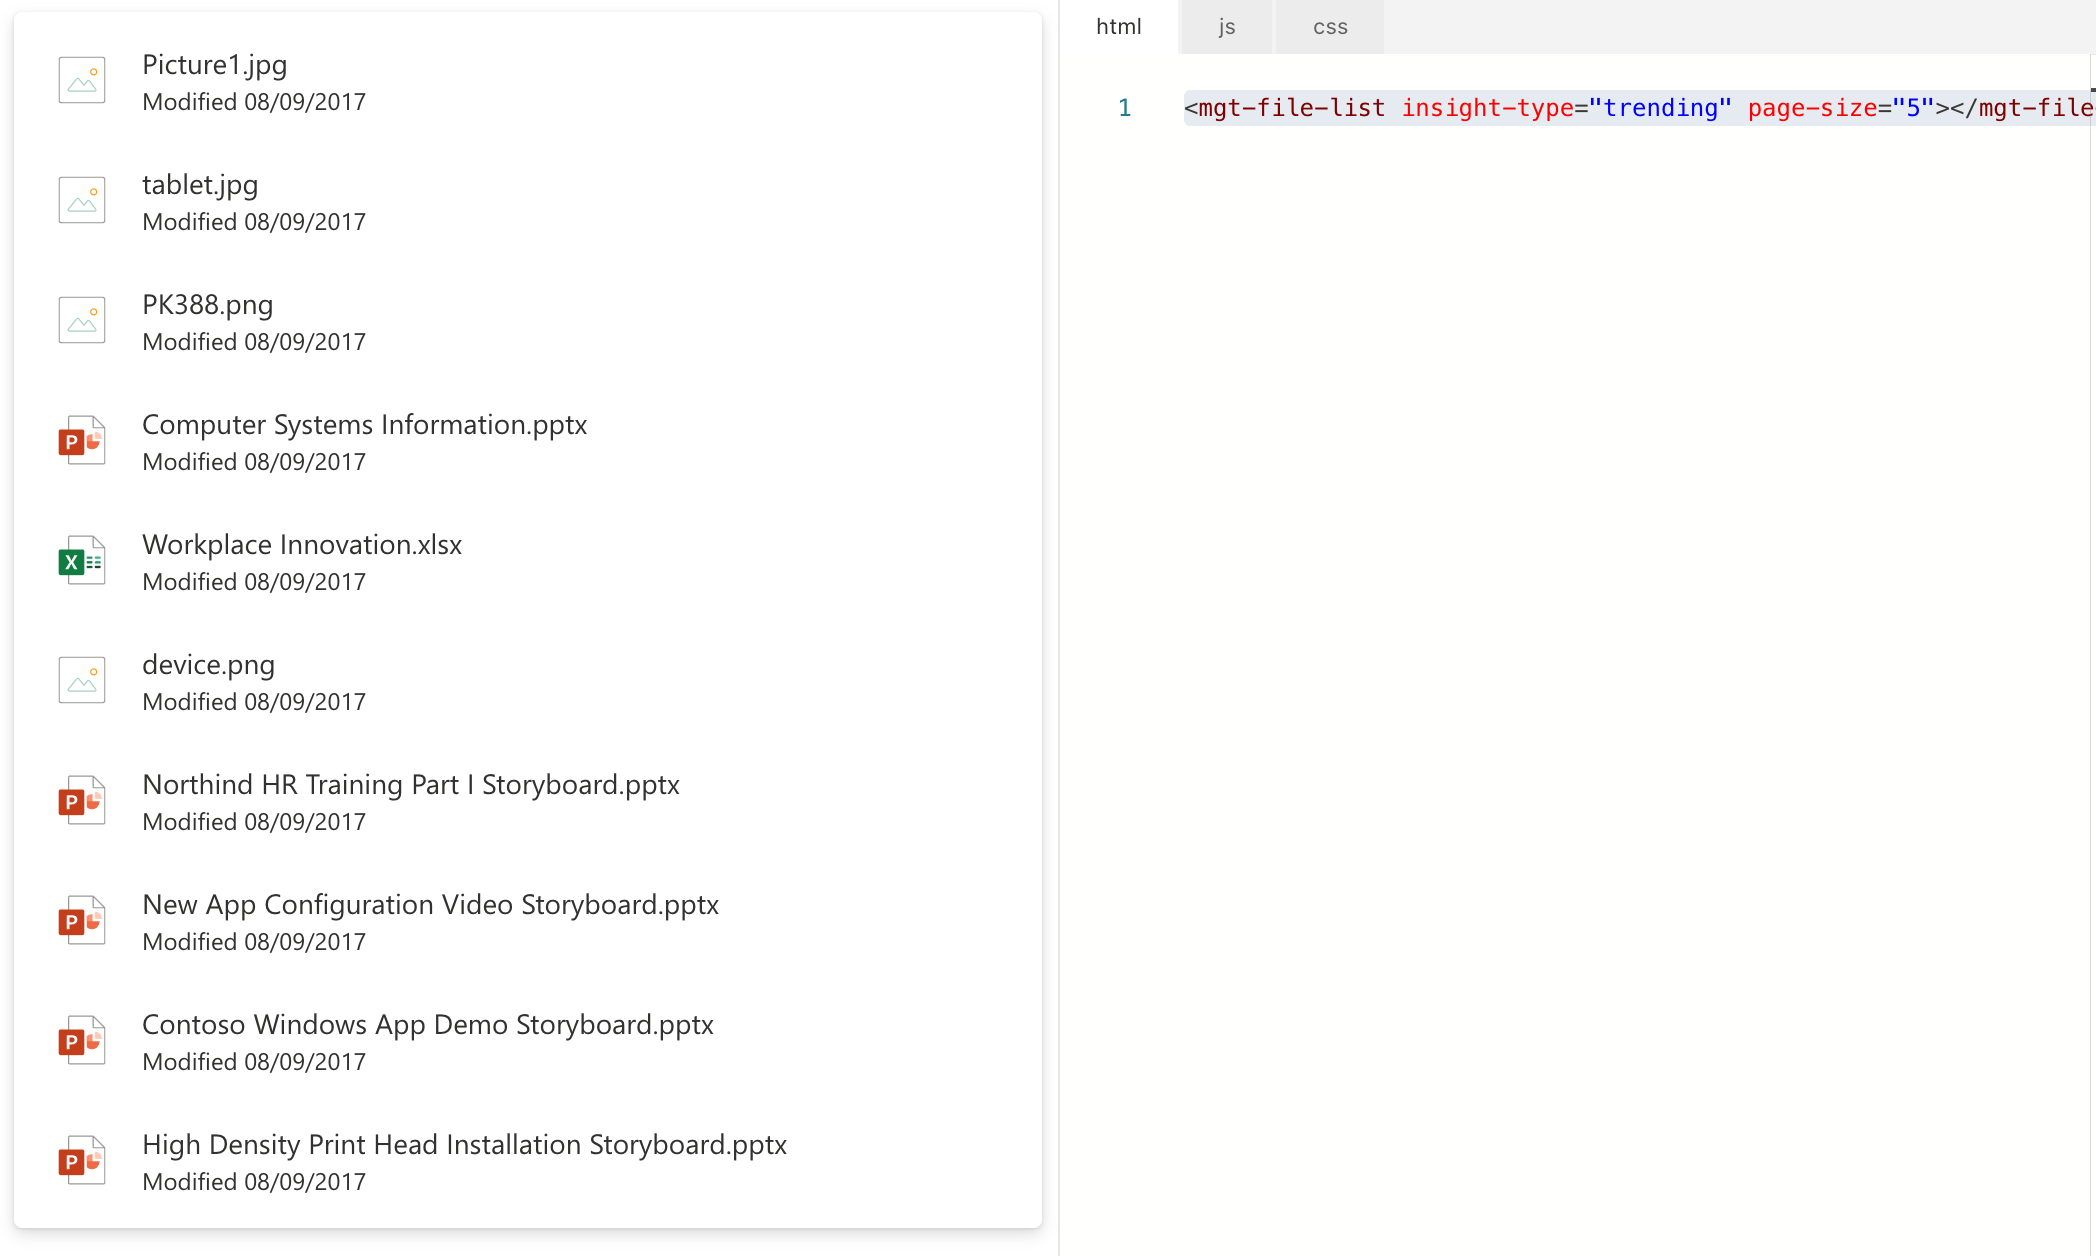
Since we replaced the whole template, we’re missing this functionality, so let’s add it back.
Let’s start with adding a button to our template that will let users load more items:
<mgt-file-list>
  <template>
    <h1>My files</h1>
    <div class="files">
      <div data-for="file in files" class="hoo-doccard" data-props="{% raw %}{{@click: openFile}}{% endraw %}">
        <div class="hoo-cardimage i{% raw %}{{file.id}}{% endraw %}">
          <div class="hoo-ph-squared"></div>
        </div>
        <div class="hoo-cardlocation i{% raw %}{{file.id}}{% endraw %}">
          <div class="hoo-ph-row"></div>
        </div>
        <div class="hoo-cardtitle">{% raw %}{{file.name}}{% endraw %}</div>
        <div class="hoo-cardfooter">
          <div class="hoo-avatar i{% raw %}{{file.id}}{% endraw %}">
            <div class="hoo-ph-circle"></div>
          </div>
          <div class="hoo-cardfooter-data">
            <div class="hoo-cardfooter-name">{% raw %}{{file.lastModifiedBy.user.displayName}}{% endraw %}</div>
            <div class="hoo-cardfooter-modified">{% raw %}{{formatDate(file.lastModifiedDateTime)}}{% endraw %}</div>
          </div>
        </div>
      </div>
    </div>
    <button class="hoo-button-primary" data-props="{% raw %}{{@click: loadMore}}{% endraw %}">
      <div class="hoo-button-label">Load more</div>
    </button>
  </template>
</mgt-file-list>
Next, let’s extend the template context with the loadMore function that will load more items:
fileList.templateContext = {
  formatpubDate: date => {
    const d = new Date(date);
    return d.toLocaleString();
  },
  openFile: (e, context, root) => {
    window.open(context.file.webUrl, '_blank');
  },
  loadMore: (e, context, root) => {
    root.parentNode.renderNextPage();
  }
};
In the loadMore function, we’re using the context information to get to the mgt-file-list element. That element exposes the renderNextPage function which is responsible for loading more data.
That’s it!
Summary
Microsoft Graph Toolkit offers you an easy way to connect your app to Microsoft 365. Because it takes care of authentication and retrieving and showing the data in your app, you can focus on building your app. Toolkit’s components are also highly-customizable so you can seamlessly integrate with your app no matter which web framework and design language you use.