Visual Studio 2010 SharePoint Developer Tools vs. Modules with many files
Visual Studio 2010 ships with new SharePoint Developer Tools that simplify the process of developing solutions for the SharePoint platform. Using nothing more than the standard functionality provided with the tools you can rapidly create custom solution by focusing on the real work instead of the plumbing. There are however things that you still have to do by hand.
If you ever worked with Web Content Management solutions or just highly branded collaboration solutions, you know that at some point you have to include the branding in your solution package. One of the steps of that process is including all the files like images, Cascading Style Sheets, JavaScript scripts, etc. and including them in a Feature so that they can be provisioned to SharePoint. In SharePoint 2007 this was all a manual process. While you could easily include all the assets in your project, you had to write the Module Manifest yourself. At some point code templates became available to simplify this tedious process.
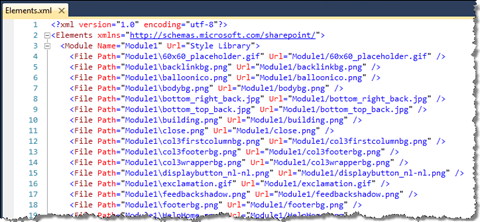
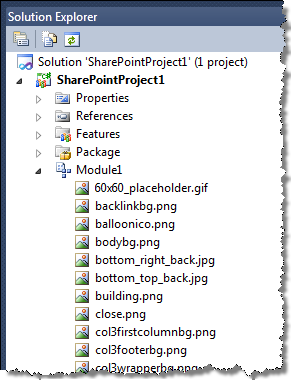
Thanks to the Visual Studio 2010 SharePoint Developer Tools the developer experience in SharePoint 2010 is a lot better. The tools allow you to create Modules and every file added to the module will automatically get included in the Module Manifest generated by the tools:
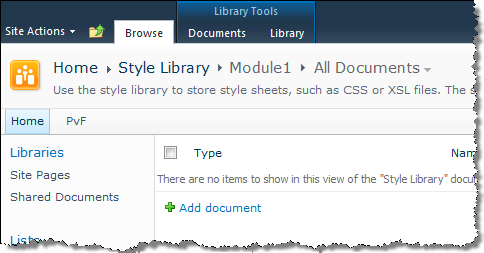
The challenge that developers still are facing, is that the generated contents of the Module Manifest are not complete! If you deploy your project right now, all that you will see is an empty Module1 folder provisioned to the Style Library.
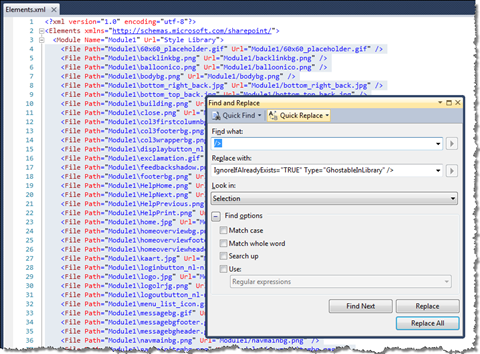
In order to provision the files, you need to add the Type attribute. Additionally it might be useful to add the IgnoreIfAlreadyExists attribute to prevent your Feature from crashing on reactivation.
Features containing branding files consist in general of many files. In order to provision them all, you would have to either manually modify the entry for every single file or use the templates that I created for SharePoint 2007, but then you wouldn’t be able to use the new developer tools. So is it really that bad or is there a better – more efficient way to get this done?
Find & Replace to the rescue!
It turns out that you can easily modify all the entries at once using a single Find & Replace action. All you need to do is to select all File elements, choose Edit > Find & Replace (or press CTRL+H) and replace all /> with IgnoreIfAlreadyExists=“TRUE” Type=“GhostableInLibrary” />.
This will add the missing attributes to all File entries with a single mouse click.
And if you add a new file to the Module, all the tools will do is to add an entry for it at the end of the file. The previously modified entries will remain unchanged.
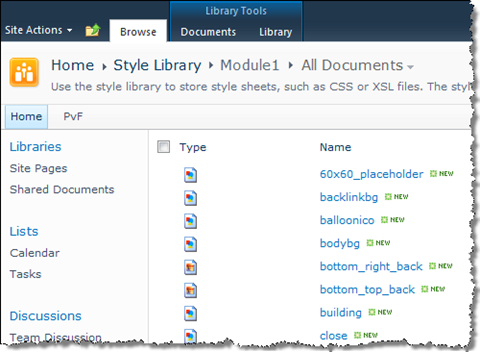
If you deploy the solution package now, you will that all the files have been correctly provisioned to your SharePoint site as expected.
Technorati Tags: SharePoint 2010,Visual Studio 2010
