#48 2 Tips for a solid UX when using Microsoft Graph Toolkit
Recently I told you about Microsoft Graph Toolkit: the easiest way to connect your app to Microsoft 365. Using the toolkit’s components, you can show data from Microsoft 365 in your app with a single line of code. And because the toolkit handles the auth for you, you can focus on building your app. Here are two tips for you to ensure a solid user experience in your app using MGT.
Avoid multiple consent prompts
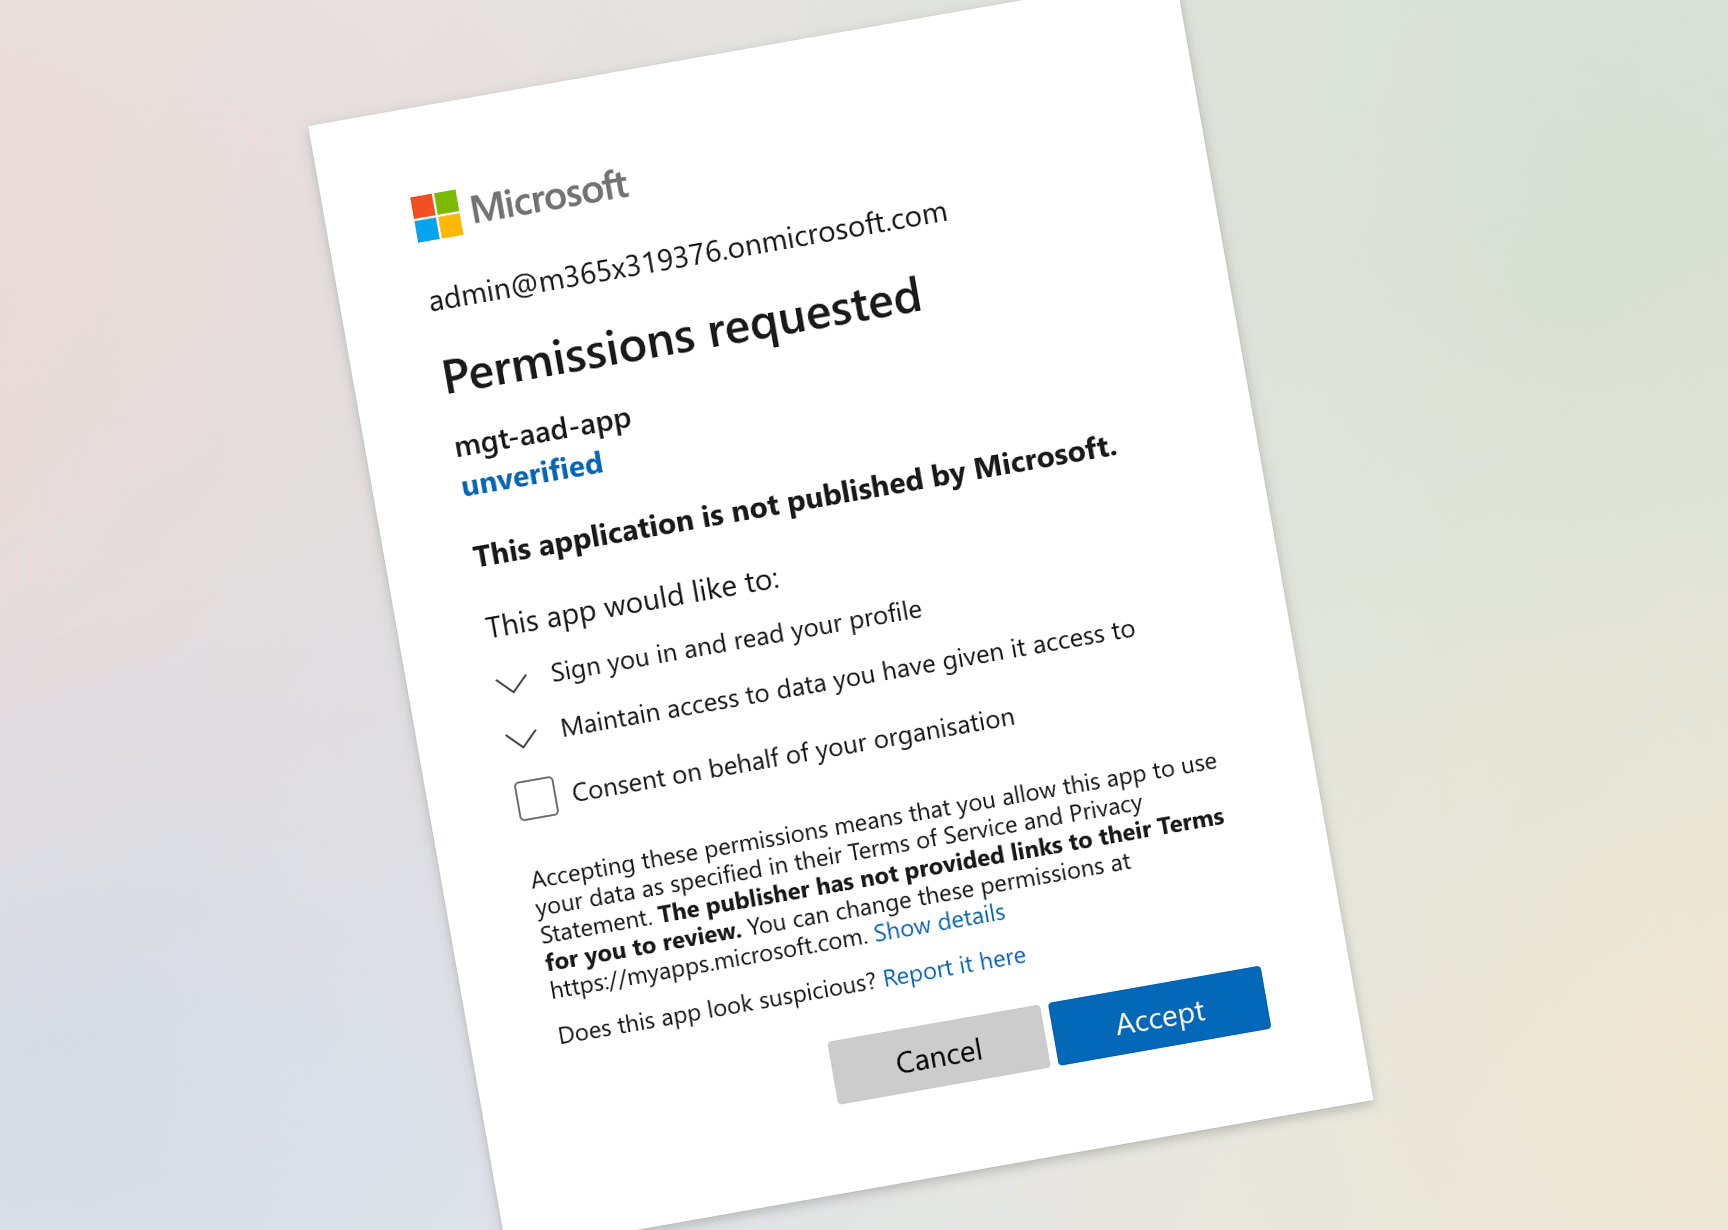
Microsoft Graph Toolkit automatically handles requesting the necessary Microsoft Graph permissions for you. The toolkit components that you used in your app will check if the user granted the necessary permissions, and if not, show them a consent prompt. This saves you a lot of time and code but can lead to a suboptimal experience where the user is shown multiple consent prompts one after another. You can avoid it by specifying the list of scopes your app needs using the scopes attribute. See here how.
Which permissions do you need to request
Depending on which toolkit components you use in your app, you’ll need to request a different set of permissions. You can figure out which permissions you need exactly in three ways:
- Get permissions from the UI
- Get permissions used by each component
- Use the docs
Personally, I find using the docs the most convenient. Here is why.
Over to you
Have you tried using Microsoft Graph Toolkit in your app yet? If so, what do you think? If you didn’t have the opportunity yet, I’d highly recommend you take a look at the Microsoft Graph Toolkit learning path that shows you how to use the toolkit.